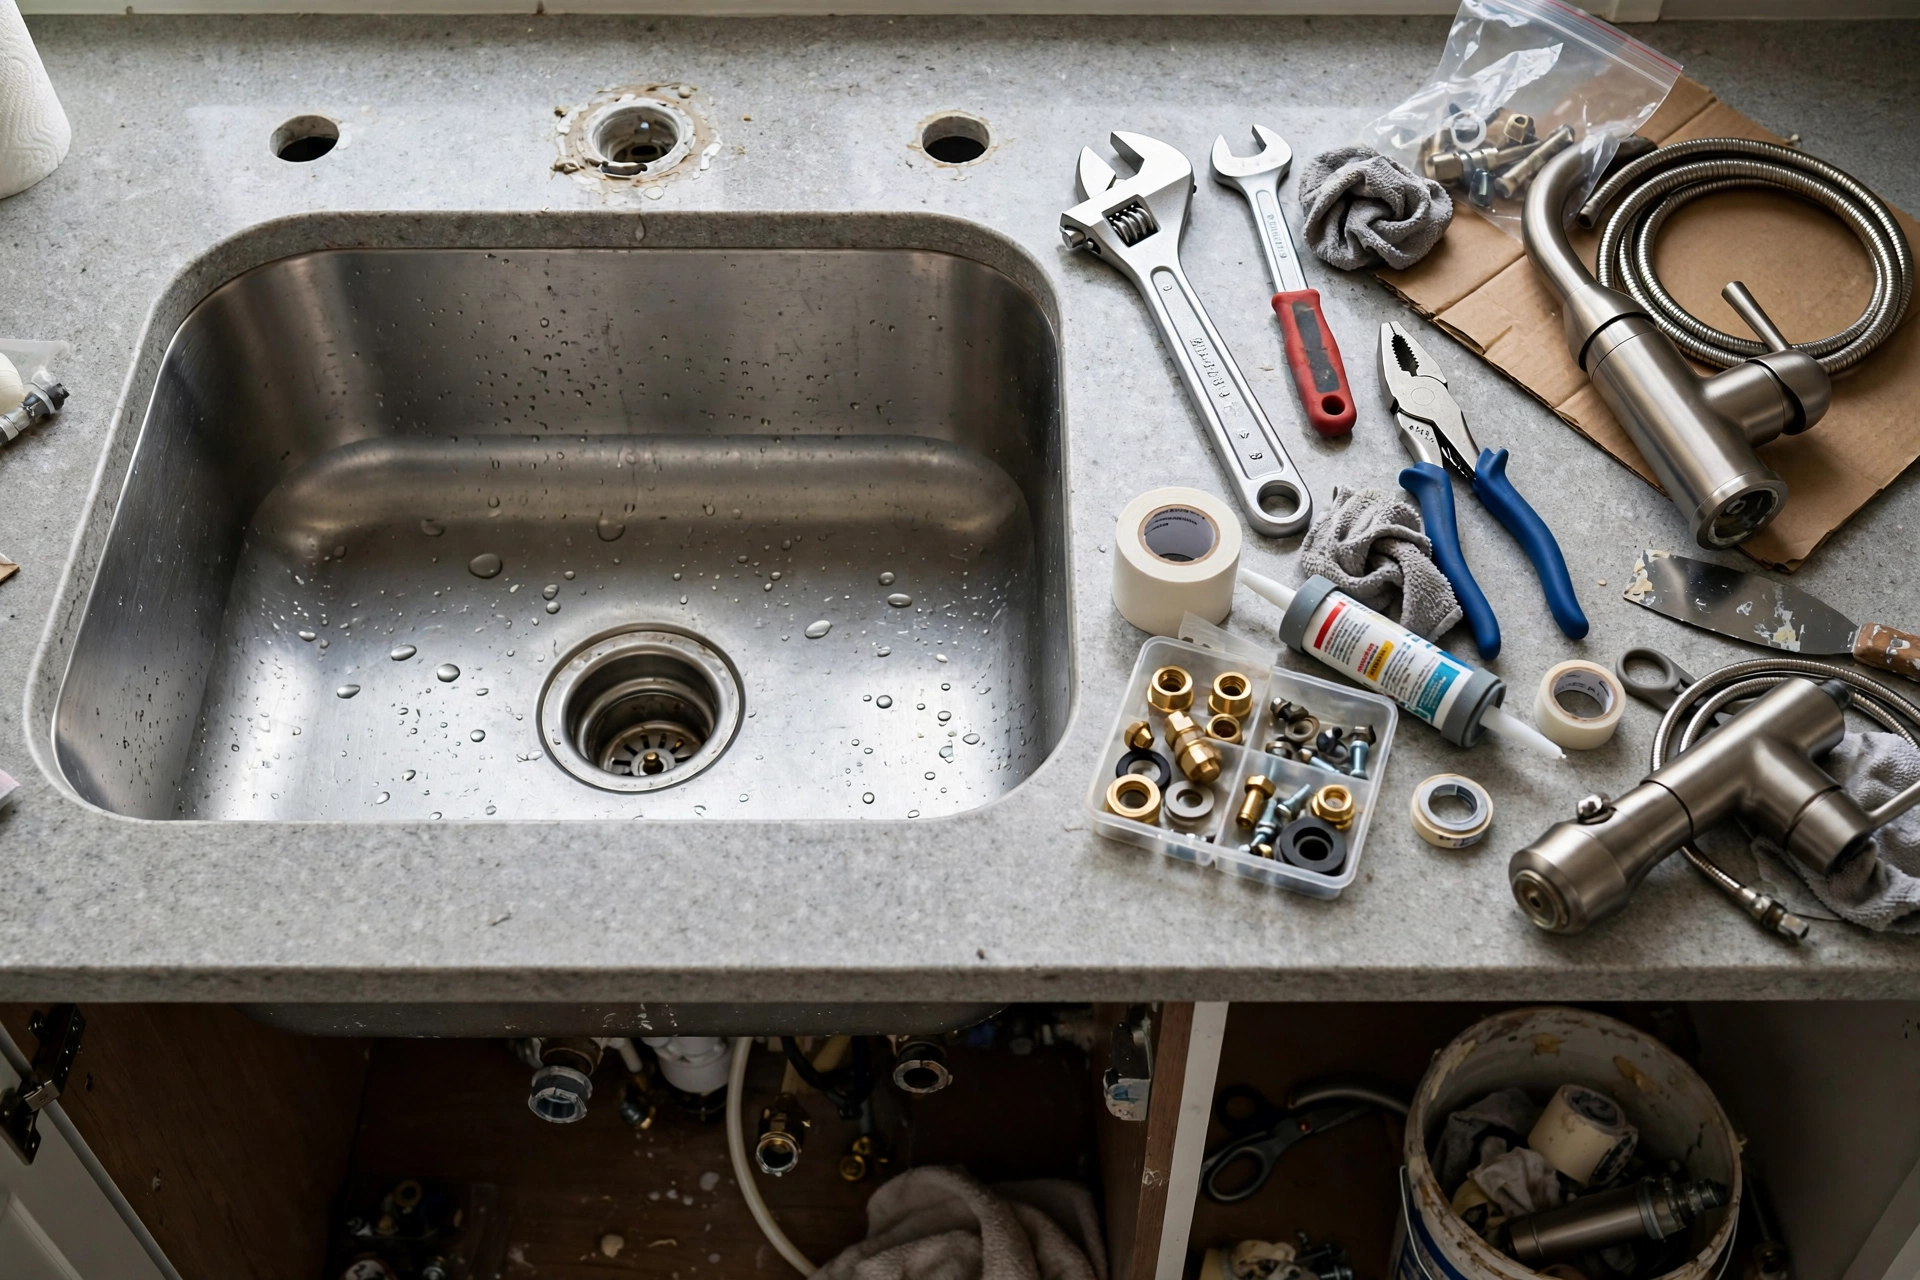
A kitchen faucet swap looks simple from above the sink, yet most of the damage happens where you cannot see it: under the deck, inside a tight cabinet, and on the finish around the holes. A wrench slipped in a cramped space can chip porcelain, dent stainless steel, crack a composite deck, or twist a supply line until it leaks weeks later. The good news is that a careful, unhurried replacement avoids almost all of that risk, and it rarely needs special plumbing skill.
The direct answer is this: match the new faucet to your sink's hole layout, shut off both supply valves and prove they hold, protect the sink deck before you loosen anything, loosen corroded nuts with patience and penetrating oil rather than force, lift the old faucet straight out, seat the new one on a clean, even seal, tighten mounting hardware only until it is snug, and test every joint slowly.
Reading Your Kitchen Faucet and Sink Before You Touch a Wrench
Start by counting holes and measuring spacing, because a faucet that does not fit the sink is the fastest route to a forced installation. Look under the sink and behind the faucet base to see whether you have one hole, three holes in a tight group, or a widespread layout with handles set apart. Note whether a deck plate covers extra holes, how far the spout reaches over the basin, and whether the backsplash leaves room for the handle to move. Take a photo of the underside before you disturb anything, so you have a record of how washers, nuts, and supply lines were stacked.
Also identify your sink material, since porcelain, stainless steel, fireclay, and composite each fail in a different way. Porcelain chips when a metal tool drops or a nut is levered against the rim, stainless steel dents and scratches when a wrench slips, and composite can crack if mounting pressure is uneven. Check for existing hairline cracks, loose mounting clips, and soft spots in the cabinet floor. If the sink already moves when you push it, fix that movement first or call a professional, because a new faucet will not stay sealed on a shifting deck.
Shutting Off Water Without Flooding the Cabinet Below
Find the two shutoff valves under the sink, one for hot and one for cold, and turn each clockwise until it stops. Open the old faucet afterwards to release pressure and confirm that the flow has truly stopped, not merely slowed to a drip. Place a bucket and old towels under the connections before you loosen anything, because trapped water in the lines and spout will still drain out. If a valve handle is frozen, do not force it with a long lever, since a broken valve stem turns a faucet job into an emergency shutoff at the main.
If either valve leaks around its stem when you turn it, drips after closing, or will not close fully, stop and plan around it. You can shut off the main water supply to the house and drain the lines, but a leaking or seized valve is a strong sign to involve a plumber before you go further. Testing the shutoff properly takes only a few minutes, and it is the single step that prevents the most common and most expensive faucet-replacement flood.
Protecting Porcelain, Stainless Steel, and Composite Sinks While You Work
Lay protection on the sink deck and inside the basin before tools come out. A folded towel over the rim, a piece of cardboard in the basin, and masking tape around the faucet base all reduce the chance that a dropped wrench or a slipping basin wrench leaves a mark. Work with hand tools rather than power tools in this tight space, and keep a magnetic tray or small container nearby so nuts and washers cannot roll into the drain or scratch the basin as you hunt for them.
Loosening Seized Faucet Nuts Without Cracking the Deck
Old mounting nuts are often corroded, and corrosion makes force tempting and dangerous. Spray penetrating oil on the threads, give it time to work, and try again with a basin wrench that fits the nut properly, rather than an adjustable wrench that can round the corners and slip. Support the faucet from above while you work below, so the whole assembly does not twist against the sink deck as the nut breaks free. Short, steady pressure beats sudden jerks every time.
If penetrating oil and the correct wrench do not free the nut, that is useful information, not a defeat. A plumber with a proper nut splitter or access tools can remove it without stressing a brittle sink, and that visit usually costs far less than replacing a cracked sink or a damaged countertop. Knowing when to pause is part of doing the job without costly repairs.
Lifting the Old Faucet Out Without Scratching the Sink
Once the mounting hardware and supply lines are free, cut any old caulk or sealant with a plastic scraper, working around the base rather than prying upward with a metal blade. Lift the faucet straight up through the holes, keeping supply hoses clear of the deck edges so they do not drag grit across the finish. If the faucet resists, check for a forgotten clip, a sprayer hose still attached, or sealant holding one side down, rather than rocking it side to side.
Clean the deck thoroughly once the old faucet is out, scraping old putty and sealant gently and wiping the surface with a non-abrasive cleaner. A clean deck is what allows the new gasket or sealant to sit evenly, and an uneven seal is what causes slow leaks that rot a cabinet floor over months. Inspect the holes for chips or rough edges at this point, and smooth only what the faucet manufacturer's instructions allow, without enlarging a hole to make a poor fit work.
Seating the New Faucet So It Seals the First Time
Follow the new faucet's instructions for the order of gaskets, washers, and the deck plate, because that stack is designed to spread pressure evenly across the deck. Set the faucet in place, check from above that it is centred and square to the backsplash, and confirm the spout reaches the basin without hitting the backsplash when it swings. Only then tighten the mounting hardware from below, alternating sides on a widespread faucet so one side is not pulled down hard while the other is still loose.
Tighten by hand first, then add only a modest final turn with the basin wrench. The faucet should not rock, but the deck should not bow or creak under the load. Over-tightening is a common cause of cracked composite sinks and deformed stainless decks, and it rarely improves a seal that is already seated correctly. If the faucet still rocks after snug tightening, the problem is usually a missing washer, a deck plate sitting on old sealant, or an uneven deck, not a need for more force.
Connecting Supply Lines Without Overtightening Them
Connect supply lines to the shutoff valves by hand first, making sure each line reaches its valve without stretching, kinking, or rubbing against the drain or cabinet hardware. Wrap thread tape only where the faucet or valve instructions call for it, in the direction that tightens as the fitting turns, and avoid stacking tape so thick that the fitting cannot seat. Keep hot on the hot side and cold on the cold side, and label them mentally by checking the valve markings before you close the cabinet.
Do not reuse cracked, stiff, or corroded supply lines to save a small amount, since a failed line under the sink can release far more water than a dripping faucet ever would. Replace lines that show green corrosion, bulging, or damaged threads, and choose the length and fitting type the manufacturer specifies. A short, calm connection job now is much cheaper than cabinet, flooring, and sink repairs later.
Testing for Leaks Slowly, Then Checking Again Tomorrow
Open the shutoff valves slowly, one at a time, and watch each joint with a dry paper towel held near it, rather than relying on a quick glance. Run the faucet, switch between hot and cold, extend the sprayer if you have one, and check the mounting area from above for water creeping under the base. Flush the lines for a minute or two to clear debris, and remove the aerator first if the instructions suggest it, so trapped grit does not clog the new fixture on its first use.
Leave the cabinet empty overnight and check again the next day, because slow leaks often take hours to show as a damp towel, a swollen cabinet floor, or a faint drip at a fitting. Check once more after a week of normal use, especially after the first time the faucet is used hard or the sprayer is pulled out fully. A leak found on day two is a free fix; the same leak found months later can mean a ruined cabinet and a stained ceiling below.
Faucet Swap Slip-Ups That Turn Into Costly Sink Repairs
The most expensive mistakes are rarely dramatic. Forcing a frozen shutoff, over-tightening a mounting nut, prying a sealed faucet with a metal blade, reusing a damaged supply line, and skipping the overnight leak check each look harmless in the moment. Together they explain most cracked decks, chipped porcelain, swollen cabinets, and hidden leaks that homeowners discover only when the damage is already done. Slow, protected, well-lit work avoids all of them without adding much time to the job.
Final Thoughts: A Kitchen Faucet Swap That Leaves the Sink Unharmed
Replace a kitchen faucet by protecting the sink first, proving the water is off, loosening old hardware with patience, seating the new faucet evenly, and testing slowly. That order matters more than speed or strength, and it is what separates a clean upgrade from a costly repair. When the new faucet sits square, the joints stay dry overnight, and the sink deck looks exactly as it did before you started, the job is done properly.
Kitchen Faucet Replacement FAQs: Sinks, Seals, and Costly Mistakes
How long does a careful kitchen faucet replacement usually take?
A straightforward replacement usually takes one to two hours, with extra time for corroded nuts, cleaning the old sealant, or a trip for a fitting that does not match. Rushing to beat that time is where most sink damage happens, so allow a full afternoon if this is your first faucet swap.
Can I replace a kitchen faucet if my shutoff valves do not work?
You can shut off the main water supply instead, but a valve that leaks, will not close, or breaks when turned should be repaired first. Working with live pressure or a failing valve risks a flood that costs far more than a valve replacement.
Should I use plumber's putty or silicone sealant under a new faucet?
Follow the faucet manufacturer's instructions, because some finishes and sink materials suit one sealant better than the other. Either way, apply a thin, even layer on a clean deck and avoid excess sealant squeezing into the basin or cabinet.
Why does my new faucet leak under the sink after installation?
The usual causes are a supply line that is not seated squarely, a washer damaged by over-tightening, or a mounting seal that is uneven. Shut off the water, dry the joint, inspect the washer and threads, and reseat the connection rather than tightening it harder.
How do I protect a porcelain sink during a faucet swap?
Cover the rim with a towel, work with hand tools, use a plastic scraper on old sealant, and never lever a wrench against the porcelain. A dropped tool or a slipped basin wrench is the most common cause of a chip, so keep tools on a towel, not on the deck.
When should I call a plumber instead of replacing the faucet myself?
Call a professional if a valve fails, pipes move in the wall, mounting nuts are severely corroded, the sink is cracked or loose, or the new faucet does not match the sink's holes. Those are structural or plumbing problems, not fitting problems, and fixing them first protects the sink.