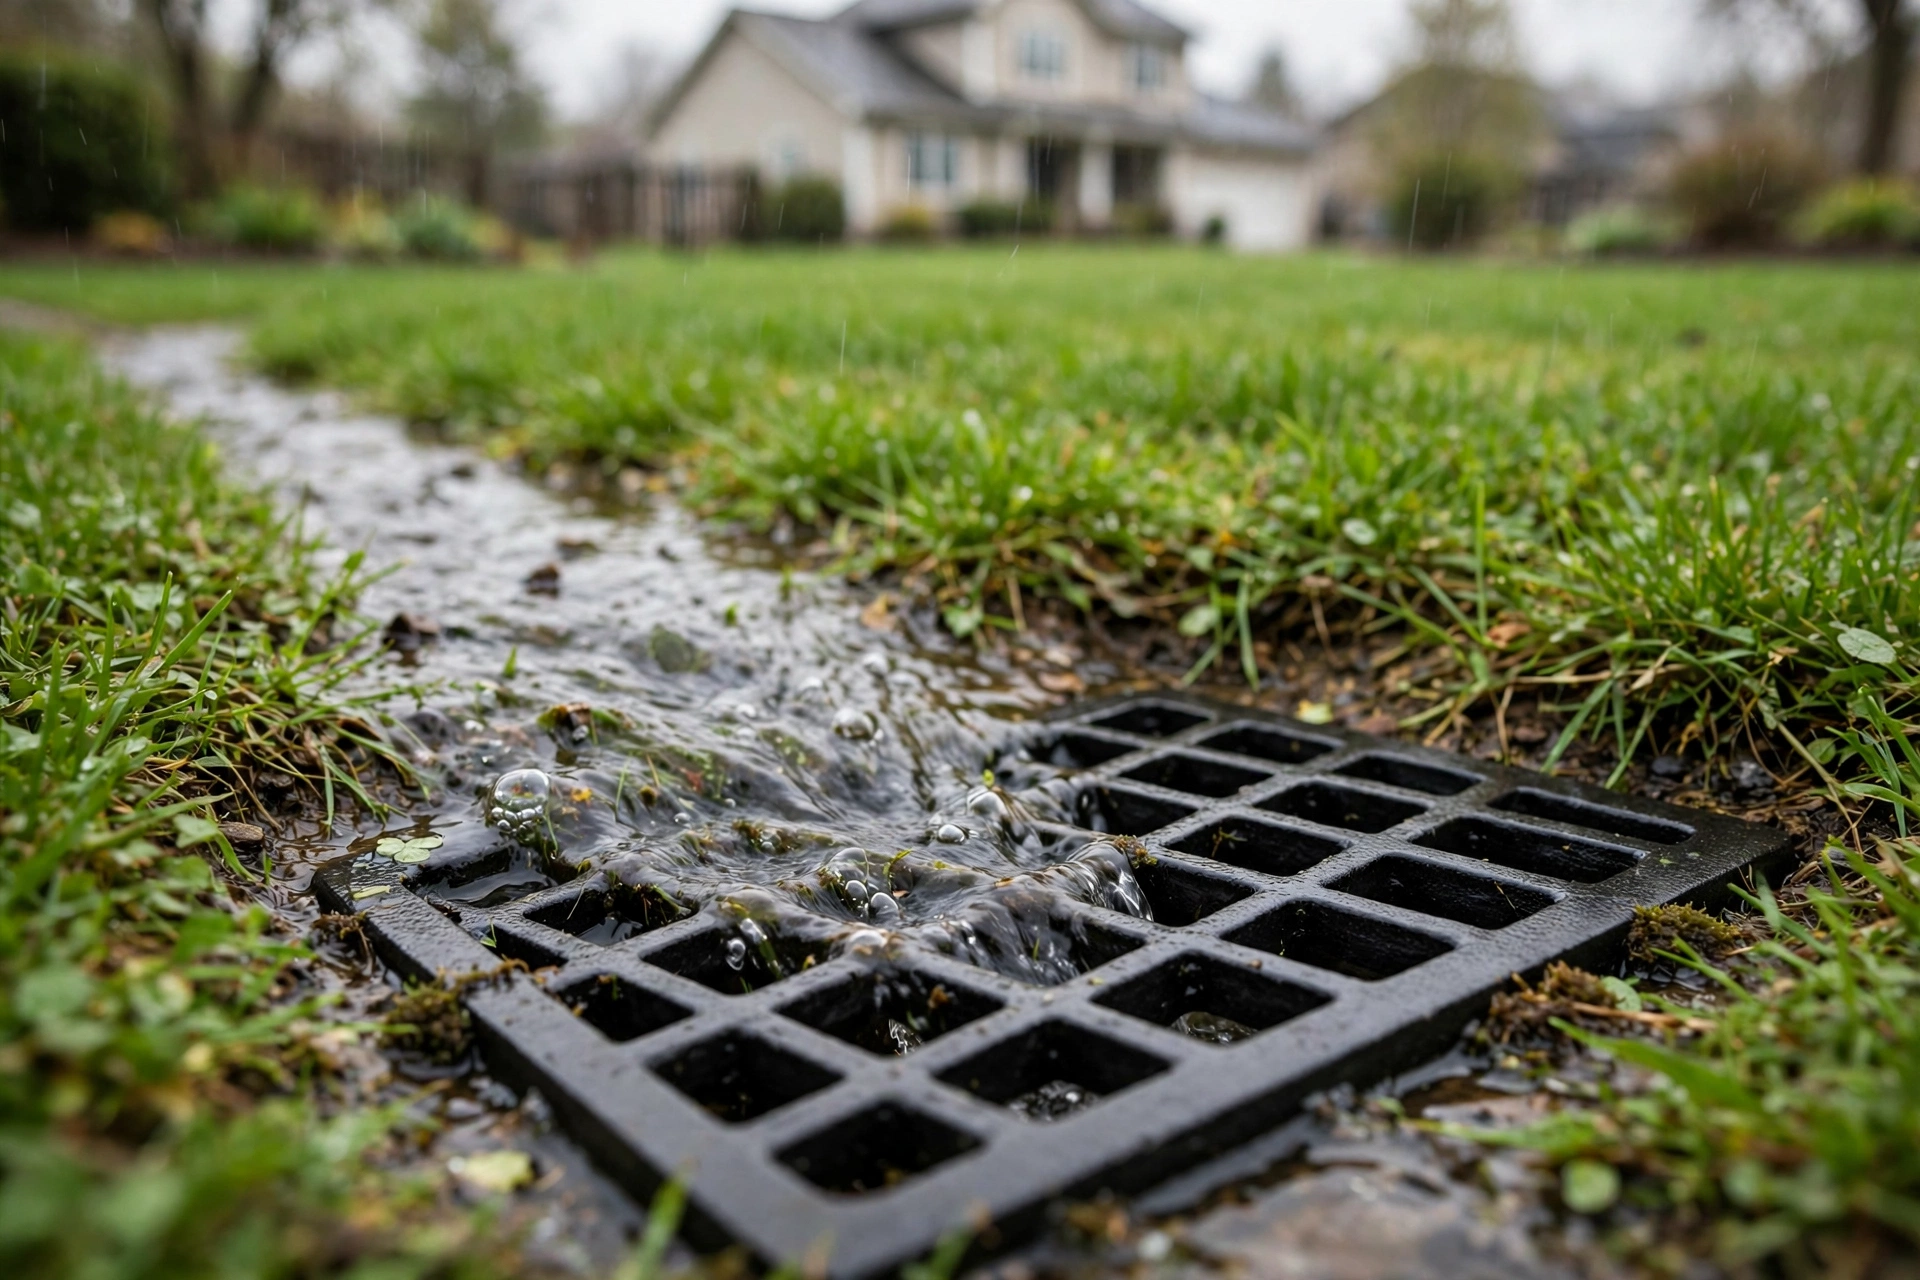
Standing water after every storm, a swampy lawn corner, mulch washing off beds — runoff has nowhere to go. A catch basin fixes this: a buried box with a grate that collects water at a low point and sends it away through an underground pipe. Placement matters most: work with gravity and your yard's shape, or water still pools.
The Short Answer on Catch Basin Placement
Place it at the lowest point where water collects — yard low spots, slope bottoms, under downspouts discharging onto hard surfaces, and anywhere runoff concentrates. Set the grate flush with the grade, slope the pipe at least 1/8 inch per foot, and discharge at least 10 feet from your foundation. Most yards need one to three basins on one 4-inch line.
What a Catch Basin Is and How It Works
A catch basin is a buried box — square, 9, 12, 18, or 24 inches across — with a grate on top. An outlet pipe carries water downhill to a pop-up emitter, dry well, or storm drain. The bottom sits below the outlet, forming a sump where sand and grit settle instead of entering the pipe.
Flat grates suit lawns, sitting flush so a mower can pass; domed atrium grates suit mulch beds, as leaves slide around them instead of sealing the opening. Basins collect surface water only — soggy soil, high water tables, and basement seepage are a French drain's job.
Signs Your Yard Could Use a Catch Basin
Consider a basin when you see:
- Water standing in the same spots 24 to 48 hours after rain.
- Erosion ruts or washed-out mulch at downspout ends or slope bottoms.
- Driveway or patio flow toward a garage, walkway, or foundation.
- Downspouts dumping roof water onto concrete or compacted soil.
- Lawn edges soft and marshy long after the rest dries.
- Pooling near window wells, crawl space vents, or retaining walls.
If the whole yard is soggy, suspect grading or groundwater first.
Mapping Water Flow Before You Dig
Watch water, don't guess. After heavy rain, note where water flows, slows, and sits: saturated streaks, erosion channels in mulch, debris lines, and spots that squish on dry days. Photos from upstairs during a storm reveal the pattern. The basin belongs at each area's lowest point, but its pipe must keep falling to discharge. If the low point is against the house, fix grading first.
Understanding Grading and Slope
Outlet pipe needs at least 1/8 inch of fall per foot (about 1%, or 1 inch per 8 feet) for smooth-wall PVC; 1/4 inch per foot is better, helping flush sediment. Too little slope leaves water standing in the pipe. Surface grade should tilt gently toward each basin.
Sketching Your Drainage Plan
Draw a simple plan: low points, downspouts, slope directions, and candidate discharge points. Check local rules — many municipalities restrict discharge, require permits for storm sewer connections, and prohibit discharge into sanitary sewers. Call 811 before digging so utilities are marked; in most states this is free and legally required.
Best Places to Put a Catch Basin
At Yard Low Spots and Swale Bottoms
Put the basin at the bottom of the bowl or dip that holds water. In a swale — a channel collecting runoff — place it at the lowest point. For a long swale, link two or three basins along its length so no grate is overwhelmed.
Beneath or Beside Downspouts
One downspout can deliver hundreds of gallons in a moderate storm. Where it discharges onto a patio, walkway, or compacted bed, place a basin directly beneath or beside the outlet. Size up: 12 inches or larger, outlet heading straight away from the house.
At the Base of Driveways and Slopes
Place the basin at the lowest point of a driveway sloping toward a garage or street, or where a sloped lawn meets a patio edge, catching sheet flow before it floods the garage or undermines the patio. Keep the grate flush; use a load-rated grate where vehicles pass.
Along Patios, Walkways, and Retaining Walls
Place basins along a patio's low edge or beside a walkway, collecting runoff before it saturates soil at the slab base. At a retaining wall's foot, a basin relieves surface water adding pressure behind the wall — groundwater needs drainage behind the wall itself.
Placement Rules That Prevent Common Failures
Catch Water Early, Keep Discharge Away From the Foundation
Collect water near the problem, but release it at least 10 feet from the foundation — ideally 20 or more — onto ground sloping away from the house. Releasing it back against the basement wall is the worst mistake.
Keep Basins Clear of Structures and Property Lines
Don't set basins tight against foundation walls, where digging risks footings and water is invited toward the structure. Watch property lines: discharging onto a neighbor's property can create liability and may violate ordinances. Keep dry wells away from structures and septic components; check setbacks.
Slope and Pipe Sizing Essentials
The outlet pipe does the real work, so give it every advantage:
- Use 4-inch pipe for most residential runs.
- Prefer smooth-wall PVC or SDR-35 over corrugated pipe, whose ridges trap sediment.
- Maintain at least 1/8 inch of fall per foot; never let the run flatten or dip.
- Bury below frost depth where freezing matters; 12 to 18 inches deep elsewhere.
- Drill small sump drain holes if none are pre-drilled.
Grate Elevation and Flush Finishes
Set the grate flush with, or slightly below, finished grade. Too high, water flows around it; buried under sod, it barely works. Recheck after settling, adjusting with gravel beneath. In mulch beds, use atrium grates, standing proud by design.
Choosing a Safe Discharge Point
Every system is only as good as its outlet:
Pop-up emitter. A spring-loaded cap sits flush with the lawn, pops open as the pipe fills, and releases water across the grass. Cheap, easy to inspect; needs lawn below to soak in.
Daylighting. The pipe exits a downhill slope or small curb onto a splash pad or riprap. Most reliable where terrain allows — nothing to clog.
Dry well. A perforated barrel, gravel pit, or modular chamber holds water underground, letting it soak into surrounding soil. Suits permeable soil, no high water table; test drainage first — heavy clay backs up.
Municipal storm drain. Tying into a public storm sewer almost always needs a permit and must meet local size, material, and inspection rules. Check with public works first; never connect to the sanitary sewer — illegal almost everywhere.
Sizing Your Catch Basin
Bigger is generally better: a larger box holds more sediment, needs less cleaning, and handles surges better.
Match the basin to the roof area draining to it — large roof sections deserve at least a 12-inch basin. Link basins in series on one line when one is not enough. Professional installation runs roughly $500 to $1,500 per basin; DIY materials commonly run in the low hundreds, varying with soil and pipe length.
Step-by-Step Installation of a Catch Basin
Call 811 and mark utilities. Have underground lines located first.
Stake the basin location and pipe route. Mark the low point; route straight downhill to discharge.
Dig the basin hole. Dig 6 to 12 inches deeper than the basin.
Dig the outlet trench. At least 8 inches wide, holding fall to discharge.
Set a gravel base. Add 4 to 6 inches of crushed gravel.
Set the basin. Grate flush with finished grade; check level.
Connect the outlet pipe. Seal the joint; use solid PVC, solvent-welded.
Lay the pipe on a steady slope. Smooth trench bottom; continuous fall, no dips.
Backfill and compact. Gravel, then soil, compacted in layers.
Test the system. Hose into the grate; confirm discharge flow, no leaks.
One basin takes a competent DIYer an afternoon; a multi-basin system can fill a weekend.
Catch Basins vs. French Drains: Which Does Your Yard Need?
Rule of thumb: surface ponding means a catch basin; soggy soil after the surface dries means a French drain. Many properties need both.
Maintaining Your Catch Basin System
Clean before the sump fills: debris reaching the outlet blocks flow or sends sediment into the pipe. Two full cleanings a year plus leaf-season grate checks suit most homes.
Winter and Freeze Protection
Bury pipe below frost depth — the main defense against trapped water freezing before spring melt. After thaws, clear ice and snow from grates. Never pour deicing chemicals in; runoff reaches waterways and many municipalities prohibit it. Reset a frost-heaved basin on fresh gravel in spring.
Common Catch Basin Placement Mistakes
- Placing the basin where water does not collect. Dry-day guesses miss the real low point; confirm with a rain-walk or hose test.
- A flat or sagging outlet pipe. A small dip traps sediment and becomes the first clog; check fall with a level.
- Discharging too close to the house. Releasing water 4 feet from the foundation achieves nothing; extend to a safe point.
- Corrugated pipe with no slope. Ridges slow flow and collect sediment; smooth-wall PVC performs far better.
- Forgetting sediment maintenance. An uncleaned basin passes sediment into the pipe; clean before problems appear.
- Blocking the grate with mulch or sod. Mulch migrates and sod grows; check grate exposure each season, especially after re-mulching.
Safety and When to Call a Professional
Call 811 before digging; hand-dig near marked utilities — a strike is a serious emergency. Trenches over about 4 feet deep in unstable soil need shoring or sloping under OSHA guidance; a collapsing wall can be fatal. If your system ties into a public storm sewer, crosses an easement, or needs engineered discharge calculations, hire a drainage contractor or civil engineer. If water enters your basement or involves a septic system, get a professional assessment first.
Final Thoughts
Good placement is observation: find where water collects, put the grate there, and send water where it cannot do harm. Size to the inflow, keep smooth-wall 4-inch pipe sloping downhill, and clean the sump before sediment reaches the outlet. One to three basins can make a yard's worst puddles a non-event.
Frequently Asked Questions
Where is the best place to put a catch basin in my yard?
At the lowest point where water collects — a low spot, slope bottom, under a downspout on a hard surface, or a swale's low end. Confirm by watching a real storm.
How far should a catch basin be from the house foundation?
The basin sits at the low point; discharge must release water at least 10 feet from the foundation — farther is better. Discharging near the house defeats the system.
What size catch basin do I need for a downspout?
A 12-inch square basin is a good minimum for concentrated downspout surges. Large roof sections deserve a larger basin or a dedicated line.
Can I connect multiple catch basins to one pipe?
Yes — in series along a swale or across low spots, sharing one 4-inch outlet pipe sloping continuously downhill, in solid PVC with solvent-welded joints.
How often should I clean a catch basin?
Twice a year — early spring and after fall leaf drop — plus grate checks during leaf season. Clean before sediment reaches the outlet.
Why does my catch basin still leave standing water nearby?
Usually a grate above grade, dips in the pipe, a clogged or iced discharge, or the wrong low point. Check grate height, pipe fall, and outlet first.
Should I use a catch basin or a French drain?
A catch basin if water ponds on the surface; a French drain if soil stays soggy and water seeps rather than pools. Many yards need both.