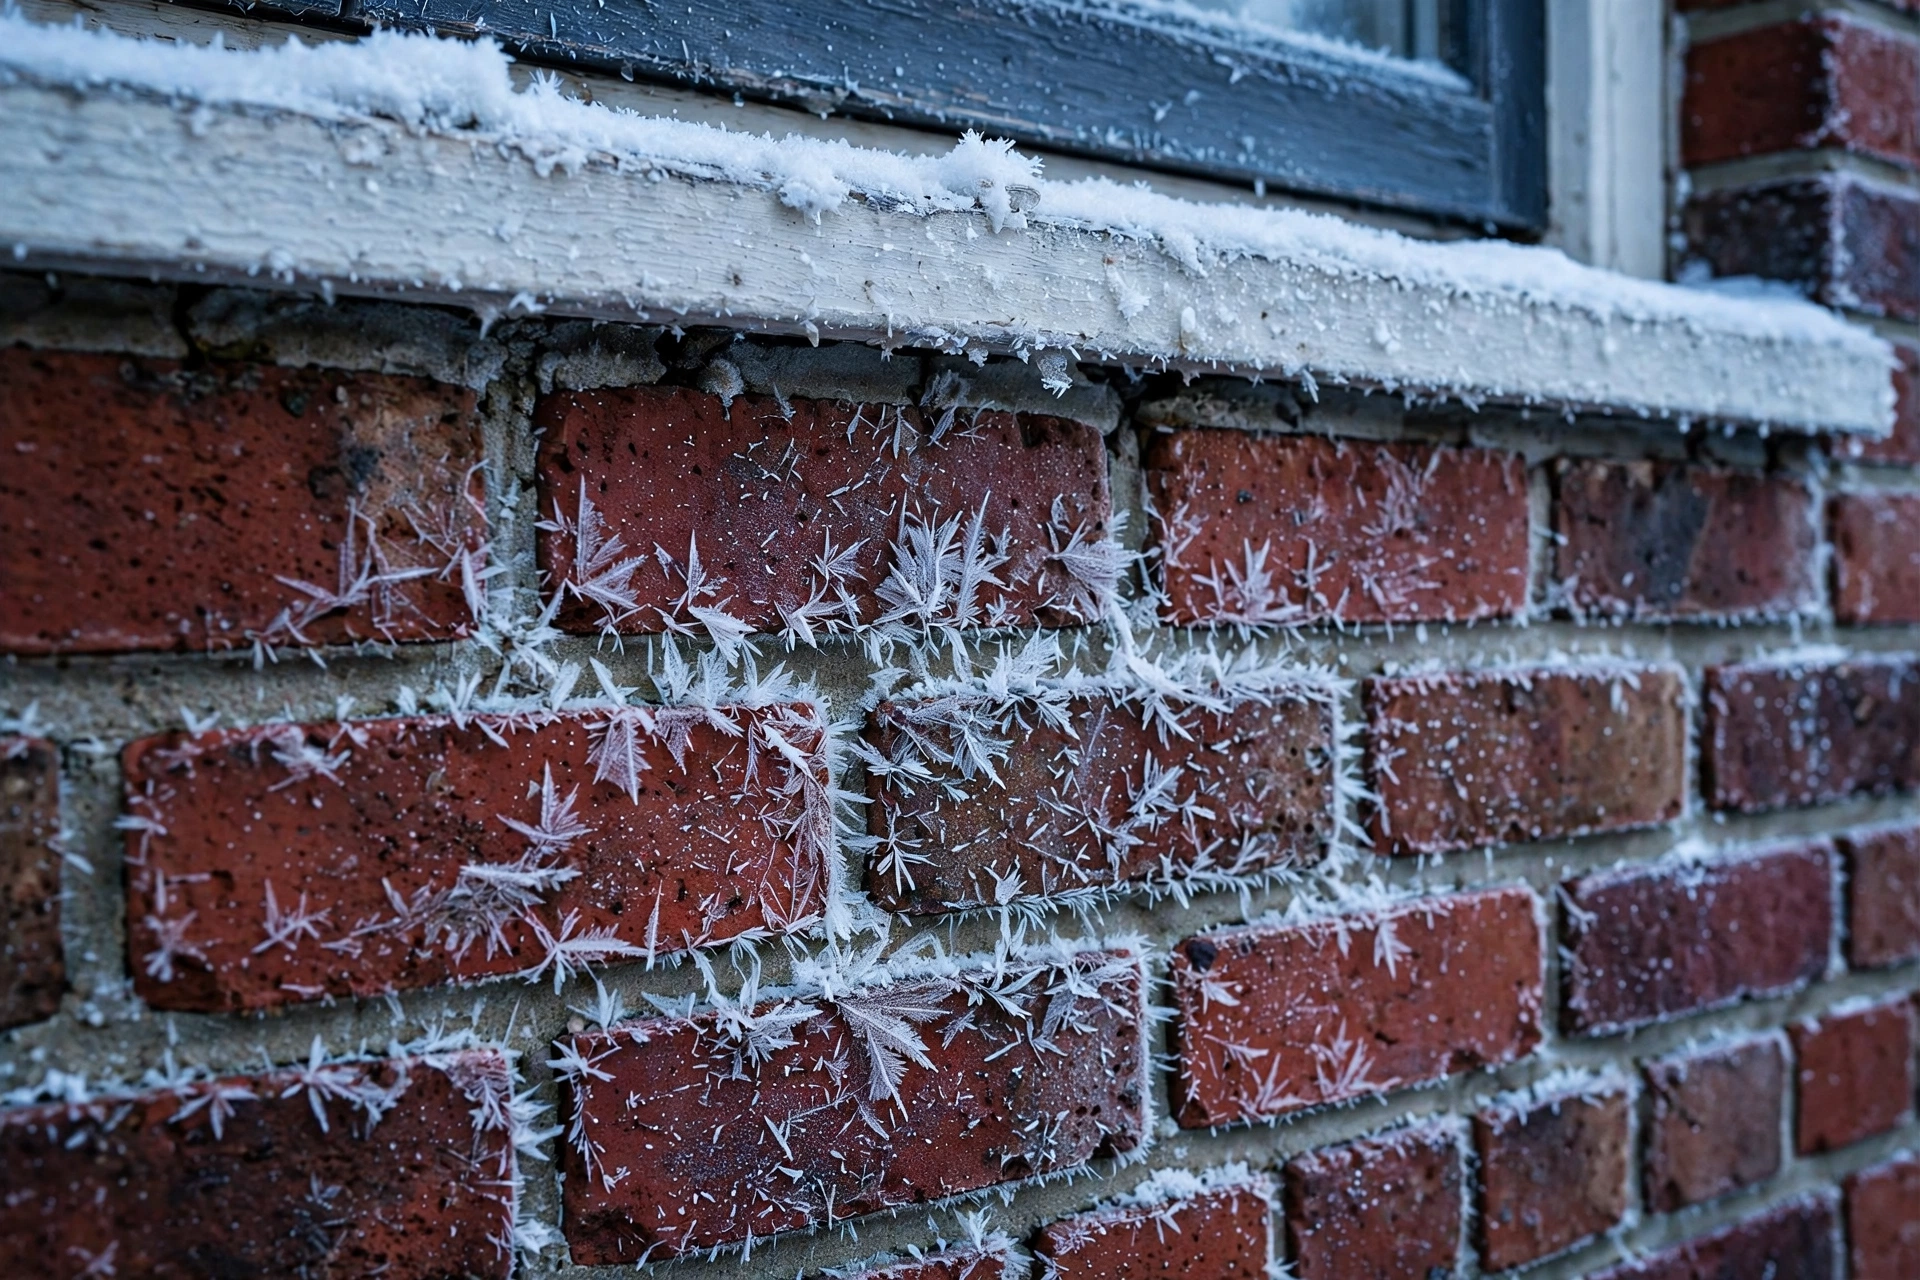
Cold winters destroy masonry from the inside out, and freeze thaw damage prevention comes down to one principle: keep water out of saturated masonry before it freezes. Water trapped inside brick, mortar, stone, or concrete expands by about nine percent as it turns to ice, generating enough internal pressure to crack the material. Repeating this cycle dozens of times each winter gradually breaks apart the surface in a process called spalling. The most effective freeze thaw damage prevention strategy is water management: sound gutters and downspouts, grading that slopes away from walls, flashing and chimney caps that shed water, solid mortar joints, and breathable water-repellent treatments that reduce absorption without trapping moisture. This guide explains how freeze-thaw works, which materials are most vulnerable, and the specific steps that protect exterior masonry in cold climates.
How Freeze-Thaw Damage Actually Happens
Masonry is porous. Bricks, mortar, natural stone, and concrete all absorb water through tiny pores, much like a dense sponge. The danger begins when saturated masonry meets temperatures below 32F (0C): trapped water freezes and expands by roughly nine percent, pushing outward against the material from the inside.
A single freeze rarely causes visible harm, because the pore structure absorbs some expansion. The damage comes from repetition. Many cold-climate regions cycle between freezing nights and above-freezing afternoons for weeks, subjecting a saturated wall to dozens of freeze-thaw cycles in one winter. Each cycle works microscopic cracks wider, and each thaw lets more water in before the next freeze. Eventually the surface gives way: the brick face flakes off, mortar crumbles, or concrete scales.
Walls that cycle repeatedly suffer more than walls that stay frozen for long stretches, which is why climates with swinging winter temperatures often show worse masonry damage than regions with sustained deep cold. Water also carries dissolved salts into the masonry, and as the water evaporates, salt crystals grow beneath the surface and exert their own pressure, causing flaking even before freezing begins.
Which Masonry Materials Are Most Vulnerable
Porosity and exposure determine how much water a material absorbs and how much stress it endures.
Chimneys deserve special attention. A chimney stands fully exposed above the roofline, catching rain, snow, and wind-driven moisture on every face. Freeze-thaw damage on chimneys is so common that masonry professionals treat chimney inspection as the centerpiece of winter preparation.
Warning Signs of Freeze-Thaw Damage
Catch damage early, while it is still cheap to fix. Inspect exterior masonry each fall and look for:
- Spalling: brick faces flaking, peeling, or popping off, leaving a rougher, paler interior exposed.
- Brick chips or flakes scattered on the ground at the base of walls or chimneys.
- Mortar joints that are crumbling, powdery, deeply recessed, or missing in spots.
- Efflorescence: a white, salty powder on the surface, which confirms water is moving through the masonry.
- Cracked chimney crowns or loose chimney bricks.
- Moss or vegetation growing from mortar joints, a sign of trapped moisture.
- Damp patches, staining, or peeling paint on interior walls behind exterior masonry.
Choose Mortar Softer Than the Masonry
The most misunderstood part of masonry repair is mortar selection. Mortar is supposed to be the sacrificial layer: it weathers slowly and is repointed periodically, protecting the bricks or stones around it. That only works when the mortar is softer and more permeable than the masonry units it joins.
Why Hard Cement Destroys Old Brick
Historic masonry was laid with soft lime-based mortar, typically 1 to 3 MPa in compressive strength. Standard Portland cement mortar reaches 20 to 40 MPa, harder than many historic bricks. Repointing soft brick with hard cement creates a trap: the dense cement blocks moisture from escaping through the joints, so water exits through the brick faces instead, and freezing ice blows the face off. The damage often stays invisible for five to ten years, then becomes irreversible, because a spalled brick must be replaced, not repaired.
Picking the Right Mortar for Your Home
A practical rule of thumb: houses built before roughly 1919, with solid walls and soft brick, generally need lime mortar rather than cement. Natural hydraulic lime (NHL 3.5) mixed about one part lime to two-and-a-half or three parts sharp sand is the usual choice for exposed exterior work. Later cavity-walled houses with harder brick can use a cement-lime-sand mix such as 1:1:6. If the wall’s age is unknown, or the property is listed, get professional advice before mixing anything. New mortar needs a frost-free cure and must never be laid in freezing weather.
Keep Water Away from the Masonry
Even the best sealer cannot protect brick that is constantly soaked. Drainage and water shedding do more for freeze thaw damage prevention than any coating.
Gutters, Downspouts, and Grading
Overflowing gutters pour concentrated streams of water onto masonry, saturating it faster than ordinary rain. Clean gutters and flush downspouts before winter, and extend downspouts several feet away from the foundation walls so discharge water does not soak the base of the wall. Grade the soil so it slopes away from the house. Spalling near the base of walls is frequently driven by ground moisture and poor drainage, especially in heavy clay soils.
Flashing, Chimney Caps, and Crowns
Where the roof meets a masonry wall, flashing directs water away from the joint; failed or missing flashing lets water run behind the brickwork and freeze inside the wall. At the chimney, a quality rain cap with mesh screening keeps rain and snow out of the flue, and a properly built concrete crown, sloped away from the flue with an overhanging drip edge, sheds water off the top of the stack. Cracked crowns are one of the most common chimney defects in cold climates and should be repaired before any waterproofing treatment.
Snow, Splashback, and De-Icing Salts
Do not pile shoveled snow against masonry walls, where it melts, soaks the brick, and refreezes. Keep de-icing salts away from brick steps, walls, and pavers where possible, because chlorides penetrate the surface and cause scaling and salt-crystal damage on top of freeze-thaw stress. Where salts cannot be avoided, penetrating water repellents rated for chloride resistance add a useful layer of defense.
Breathable Water Repellents Versus Film-Forming Sealants
Reducing water absorption is the last layer of defense, but the product choice is critical. Penetrating water repellents based on silane and siloxane soak into the pores and line them with a water-repellent barrier without forming a surface film. They penetrate roughly 1/16 to 3/8 inch depending on the substrate, do not change the wall’s appearance, and remain vapor-permeable, so moisture already inside the wall can still evaporate. Film-forming sealants such as acrylics or silicone coatings create a plastic-like skin over the surface. They block inward water but also block outward vapor, trapping moisture inside the brick where the next freeze turns it into internal ice pressure. On freeze-thaw masonry, a non-breathable sealer can accelerate the very damage it was meant to prevent.
How to Apply a Water Repellent Correctly
Preparation decides the result. First repair cracks and repoint deteriorated joints, because a sealer cannot bridge open gaps. Clean the surface, remove efflorescence and organic growth, then let the wall dry completely. Apply in dry weather above about 50F, and keep rain off the wall for 24 hours before and after. On brick, coverage is typically around 100 to 175 square feet per gallon depending on porosity, so test a small area first. Never apply repellents over active moisture problems without finding and fixing the water source first.
Repairing Existing Freeze-Thaw Damage
Once damage has occurred, replacing the failed material is usually the only lasting fix. Every repair must also address the water source, or new damage will follow the same path.
Repointing Failing Joints
Rake out deteriorated mortar to sound material, using hand tools on historic or soft brick to avoid damaging the units, then repoint with a mortar matched to the building’s age and the brick’s hardness. Well-tooled, compacted joints shed water instead of channeling it inward. Repointing is one of the highest-value winter-preparation jobs a homeowner can commission.
Replacing Spalled Bricks and Repairing Crowns
A spalled brick cannot be un-spalled: once the fired face is gone, the unit should be cut out and replaced with a matching brick in compatible mortar. Small areas of spalling are a manageable repair; widespread spalling across a chimney or wall face usually means the water problem has been running for years. Cracked chimney crowns can be patched when damage is minor, but badly deteriorated crowns need rebuilding with the correct slope and overhang. Fix the drainage and flashing issues that caused the failure at the same time, or the repair will face the same freeze-thaw assault.
Freeze Thaw Prevention and Repair Cost Estimates
All figures below are estimates drawn from published contractor and industry pricing; actual costs vary by region, access, chimney height, and the extent of damage.
An annual inspection and a few hundred dollars of preventive maintenance routinely costs far less than rebuilding work that was allowed to deteriorate for several winters.
Common Mistakes That Worsen Freeze-Thaw Damage
- Applying a non-breathable, film-forming sealer that traps moisture inside the wall.
- Repointing historic or soft brick with hard Portland cement mortar.
- Power washing brickwork at high pressure, which strips the protective fired face.
- Sealing over efflorescence or damp without identifying the water source.
- Letting gutters clog and downspouts discharge against the walls all winter.
- Piling snow or de-icing salt against masonry walls and steps.
- Laying new mortar or pointing in freezing weather, which weakens the cure.
Safety and When to Call a Professional
Chimney and upper-wall work means working at height, where falls are one of the leading causes of serious injury around the home. Loose or spalling bricks can also fall without warning, endangering people below. Historic and listed buildings require mortar analysis and often conservation approval, which is specialist work. Call a qualified mason or chimney professional when damage is widespread, when structural movement is suspected, when the chimney crown or flue is involved, or whenever safe access requires scaffolding or roof work. A professional inspection before winter is inexpensive insurance against far costlier repairs.
Final Thoughts
Freeze thaw damage prevention is water management, not a single product. Keep gutters clear, water directed away from walls, flashing and caps sound, mortar softer than the brick, and breathable repellents on the most exposed surfaces. Inspect every fall, repair small failures before winter, and the masonry will outlast many winters without drama. The natural next step is a walk-around inspection before the first hard freeze arrives.
Frequently Asked Questions
What does freeze-thaw damage look like on brick?
The classic sign is spalling: the face of the brick flakes, peels, or pops off, exposing a rougher, paler interior. You may also see brick chips on the ground at the wall’s base, crumbling mortar joints, white salt deposits (efflorescence), and cracks in the chimney crown.
Can spalled brick be repaired, or does it have to be replaced?
A spalled brick cannot be restored; the damaged unit must be cut out and replaced with a matching brick in compatible mortar. If only a few bricks are affected and the water source is fixed, this is a modest repair. Widespread spalling usually signals years of water intrusion and calls for a professional assessment of the whole wall or chimney.
Should I seal my brick to prevent freeze-thaw damage?
A breathable, penetrating water repellent based on silane or siloxane is appropriate for exposed masonry and reduces water absorption while letting trapped vapor escape. Avoid film-forming sealers, acrylics, or paints on exterior brick, because they trap moisture inside the wall and can make freeze-thaw damage worse. Repair cracks and repoint failing joints before sealing.
Will repointing stop freeze-thaw damage?
Repointing with the correct mortar closes the joints through which water enters, which is one of the most effective defenses. But repointing alone will not stop damage if gutters still pour water onto the wall, flashing has failed, or a film-forming sealer is trapping moisture. Treat repointing as part of a water-management plan, not a standalone cure.
Can I apply masonry water repellent in winter?
No. Penetrating repellents need dry surfaces and air temperatures above about 50F, with 24 hours of dry weather before and after application. Applied in cold or damp conditions, the product cannot penetrate properly and the protection will be uneven or short-lived. Late summer and early fall are the ideal window, before freezing weather arrives.
Does painting brick protect it from freeze-thaw?
Painting exterior brick is generally not recommended as a freeze-thaw strategy. Most paints form a film that blocks vapor escape, trapping moisture inside the brick where it freezes. On historic or soft brick, paint can accelerate spalling. If a wall is already painted, watch for peeling or blistering, which often signals trapped moisture.
How often should I inspect masonry in a cold climate?
Inspect exterior masonry at least once a year, ideally in early fall before freezing weather. Check mortar joints, look for spalling and efflorescence, clear gutters, and confirm that downspouts, flashing, caps, and crowns are sound. Catching a small crack or failed joint in the fall can prevent a partial rebuild in the spring.