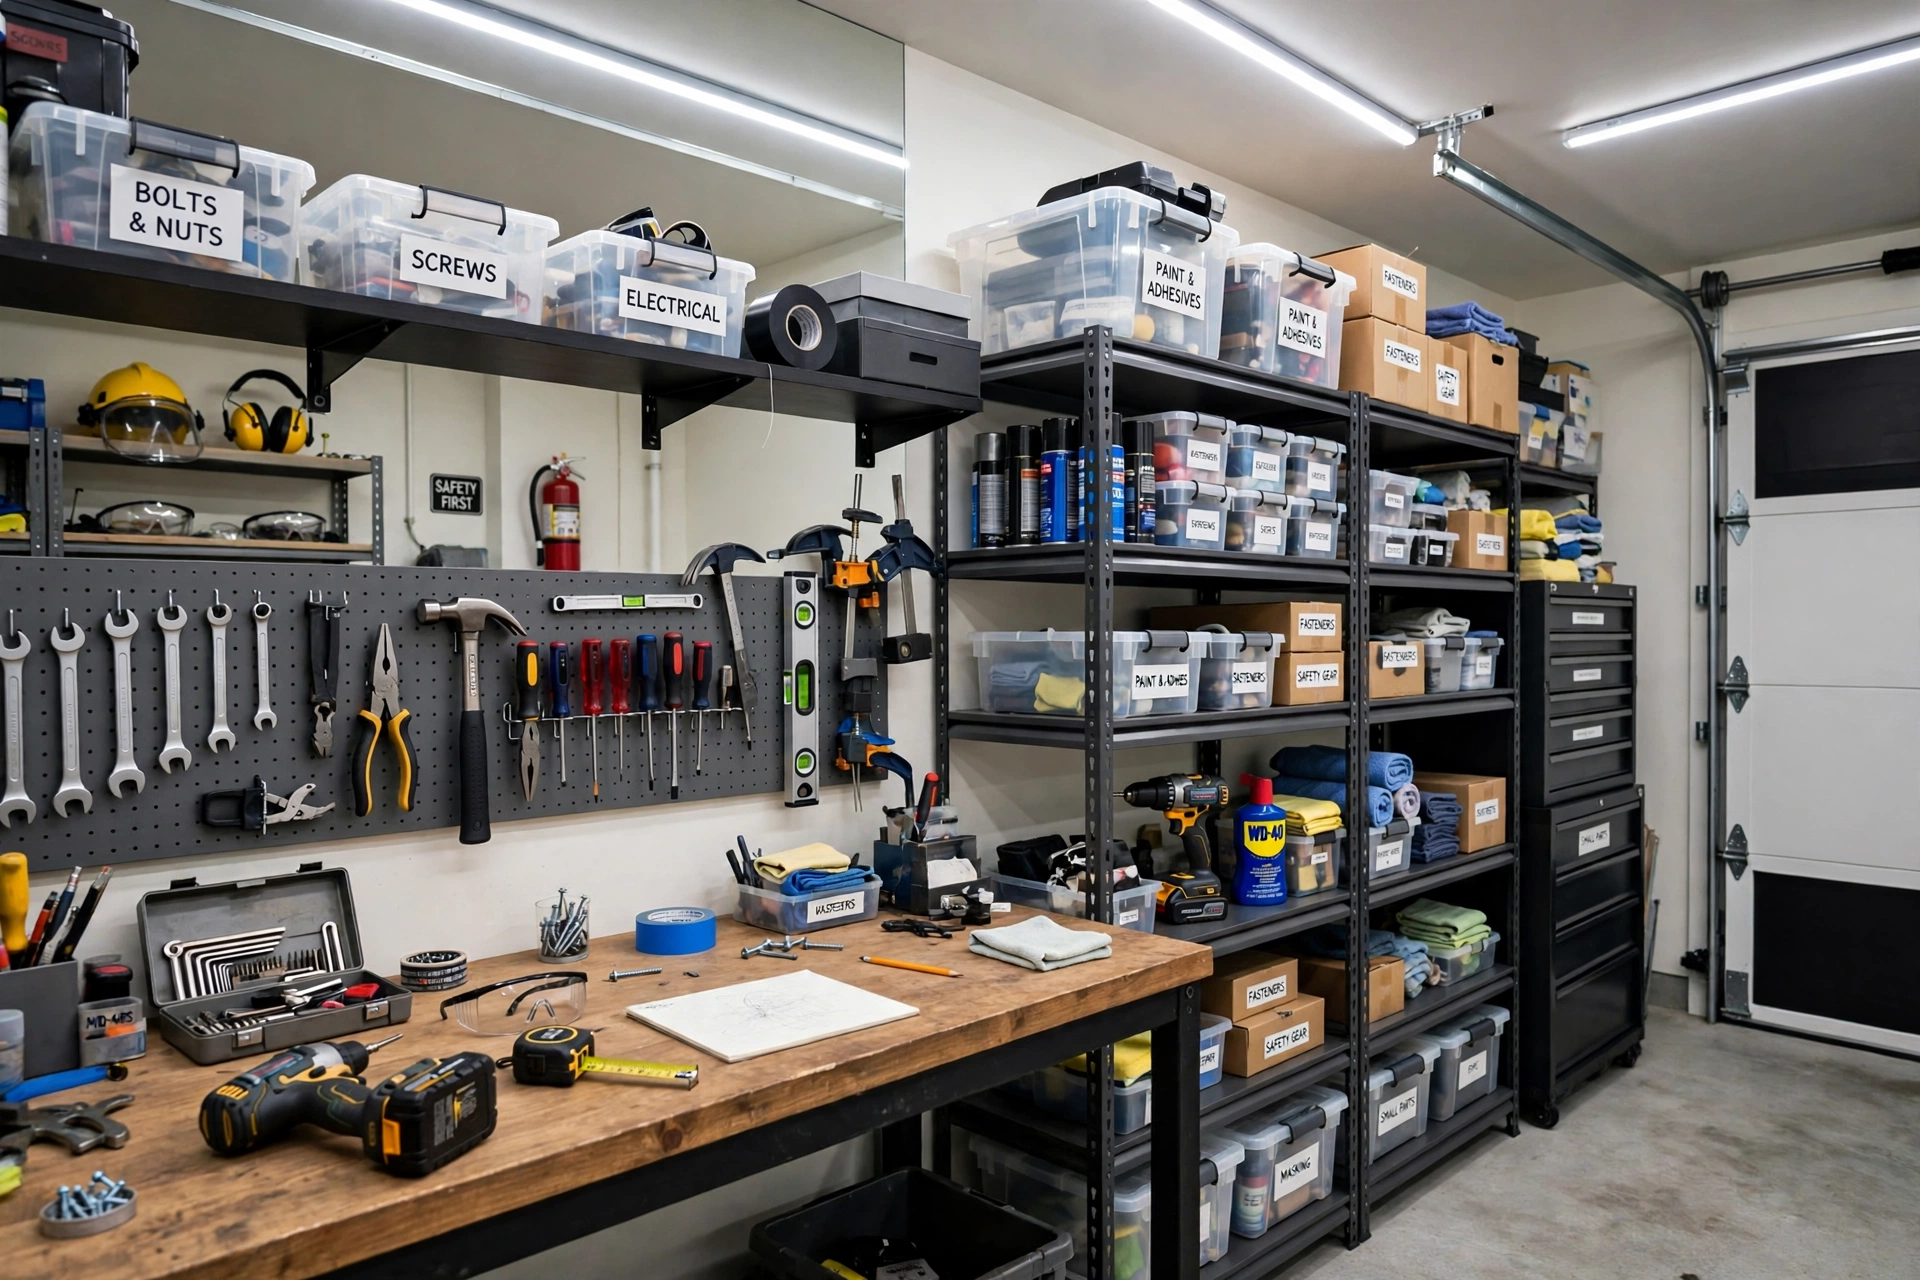
A garage with one dim bulb in the ceiling is not really lit; it is just less dark. Tools vanish into shadows on the workbench, labels on storage boxes blur, and stepping around a parked car at night becomes guesswork. A garage lighting upgrade is one of the cheapest, fastest home improvements available.
The Short Answer: Swap to LEDs, Spread Them Out, and Let Controls Switch Them Off
The most effective energy-efficient garage lighting upgrade is replacing old fluorescent tubes or incandescent bulbs with LED shop lights or LED battens, sized at roughly 50 lumens per square foot for general garage use and 100 lumens per square foot or more over a workbench. Spread several fixtures across the ceiling instead of relying on one central light, add a dedicated task light over the bench and strip lights inside dark storage zones, and put the system on motion sensors or a timer so lights never burn in an empty garage.
LEDs convert far more of their electricity into light than older technologies, so a 40-watt LED fixture can outshine a 100-watt incandescent bulb while using less than half the power. They switch on instantly at full brightness in cold weather, where fluorescent tubes flicker and dim, and quality fixtures are typically rated for 35,000 to 50,000 hours.
How Bright Is Bright Enough? Sizing Lumens for a Workspace Bay Versus a Storage Wall
Garage lighting advice goes wrong most often at the measuring stage, because one brightness number cannot serve a whole garage. A parking bay needs far less light than a workbench where you read small print. Size each zone separately: guides commonly recommend around 50 lumens per square foot for general use, so a standard two-car garage of 400 to 480 square feet needs roughly 20,000 to 24,000 lumens, while detailed work areas need 100 to 150 lumens per square foot and storage-only areas can sit at 30 to 50.
To turn those targets into a shopping list, multiply each zone’s floor area by its lumens-per-square-foot target, add the zones together, then divide by the lumen output of the fixture you plan to buy. A 400-square-foot garage at 50 lumens per square foot needs 20,000 lumens, so four fixtures rated at 5,000 lumens each would cover it. Compare lumen figures on the box, not wattage.
Fluorescent Tubes, Screw-In Bulbs, and LED Battens: What Each Garage Fitting Really Costs to Run
Most dark garages still run on a single incandescent or CFL bulb in a porcelain socket, a fluorescent tube fixture, or a couple of bare bulbs. The simplest upgrade is a screw-in LED bulb, which fits the existing socket and needs no wiring. The biggest improvement comes from replacing a fluorescent fixture with an integrated LED batten or shop light, which spreads light along a four-foot bar. Plug-in LED shop lights that link together in a chain are a useful middle ground: they hang from the ceiling, plug into an existing outlet, and need no hardwiring.
Check packaging for exact figures. The pattern is what matters: LEDs deliver equal or greater brightness for a fraction of the running cost, and the gap widens the more hours the garage lights are on.
4000K or 5000K? Picking a Garage Light Colour That Flatters Paint and Keeps Eyes Fresh
Colour temperature, measured in kelvins (K), describes whether light looks warm and yellowish or cool and bluish, and it changes both how a garage feels and how accurately you see colours. For most garages the useful range is 4000K to 5000K: neutral white suits long general workshop sessions, while daylight white looks crisper and is the usual recommendation for precision work such as paint matching or detailing. Above 5000K, light can feel harsh over several hours, so it suits short inspection tasks better than an all-day workshop.
Colour rendering matters too. The colour rendering index (CRI) scores how faithfully colours appear compared with daylight, out of 100. A CRI of 80 or above is fine for general garage work, while paint matching, wood finishing, and bodywork benefit from CRI 90 or above. If undecided, choose a fixture with a selectable colour temperature switch, and keep each zone consistent.
Where Shadows Hide: Laying Out Garage Fixtures So Benches, Shelves, and Car Bays All Get Light
A garage can have plenty of total lumens and still feel dark, because a single bright fixture throws the shadow of a car, a shelf unit, or your own body across exactly the spot you are trying to see. The fix is to spread light in a grid and put fixtures where the work happens, not just where the ceiling junction box happens to be.
- Space ceiling fixtures evenly along the garage’s length, parallel to the longer wall, rather than clustering them in the middle.
- Mount fixtures close to the ceiling, roughly 6 to 12 inches below it on a standard 8-foot ceiling, so light spreads widely.
- Place a dedicated fixture directly above or slightly in front of the workbench, so your body does not block the light when you lean in.
- Add low side lighting or a portable task light for under-car work, since ceiling light cannot reach beneath a vehicle’s body.
Storage Zones Deserve Their Own Light: Under-Shelf Strips, Shelf-Edge Bars, and Door-Triggered Runs
Storage areas are where garage lighting most often fails, because overhead fixtures light the tops of shelves while the contents sit in shadow. Adhesive or screw-mounted LED strip lights under each shelf level transform a rack from a dark tunnel into a readable wall of labels, and a strip along the front edge of a shelf lights the faces of boxes without glare. For a frequently used storage area, a door-triggered or motion-activated strip that switches on when the cabinet opens is both convenient and efficient, since the light only runs while it is needed.
Keep storage lighting modest: the goal is reading labels, and warm-neutral strips around 4000K feel comfortable here. Route cables neatly along shelf frames, away from sliding or stacked items and off walkways.
Motion Sensors, Dimmers, and Daylight: Controls That Stop Garage Lights Burning All Day
The cheapest lumen is the one you never use, and garages are notorious for lights left burning in empty rooms. Motion sensors suit garages well, because visits are usually short and hands are often full. A sensor that switches lights on when you enter and off after a few minutes of stillness removes the forgotten-light problem, and published estimates suggest occupancy controls can cut lighting energy use in sporadically used spaces by roughly a third to a half. Set a timeout of ten to fifteen minutes so lights do not switch off while you work quietly at the bench.
Dimmers add a second layer of saving, since a quick trip to fetch a tool rarely needs full brightness, but check that both fixture and dimmer are rated for LED use, or you will get buzzing and flickering. Smart switches add scheduling, so lights can switch on before an evening work session and off at a fixed bedtime.
A Weekend Garage Lighting Upgrade, Step by Step, Without Rewiring the House
Move vehicles out and clear ladder access along the ceiling.
Switch off power at the breaker for any hardwired work, and confirm the circuit is dead with a non-contact voltage tester.
Remove old fixtures; dispose of fluorescent tubes via hazardous-waste recycling, since they contain mercury.
Mount the new LED shop lights in the planned grid, clear of garage door tracks.
Link plug-in fixtures where the design allows, route cords along joists with clips, and keep them away from sharp edges.
Fit bench and storage lighting, test each zone, then set sensor timeouts.
Walk the garage at night to check for dark corners and glare.
Plug-in fixtures and like-for-like replacements are comfortable DIY work. New circuits, moved switches, or wiring inside walls belong to a licensed electrician, and local rules may require a permit.
Garage Lighting Upgrade Slip-Ups That Waste Money and Leave Corners Dark
The most expensive mistake is buying one very bright fixture instead of several moderate ones: a single high-output unit creates a harsh pool of light with deep shadows around it, while four smaller fixtures spread evenly give a far more usable result for a similar total lumen count. A close second is mixing colour temperatures, which makes the garage look inconsistent and colour judgement unreliable. Other slip-ups include mounting fixtures above where a car parks, so the brightest light lands on the roof, and skipping the night-time walk-through that reveals glare.
What a Garage Lighting Upgrade Costs, and How the Savings Add Up Over Time
Costs vary by region and by how much work you do yourself, so treat these figures as planning estimates rather than quotes. A single LED shop light or batten typically costs an estimated 25 to 60 dollars, an LED strip kit for a storage wall an estimated 15 to 40 dollars, and a motion sensor switch an estimated 20 to 50 dollars. A full two-car garage upgrade, with four to six ceiling fixtures plus bench and storage lighting, often lands in an estimated 200 to 500 dollars in materials with no new wiring, plus an estimated 150 to 400 dollars if an electrician must add a circuit.
Against that, replacing a 100-watt incandescent with a 15-watt LED of similar brightness cuts that light’s energy use by about 85 percent, and LEDs last many times longer, so replacement costs fall too. For a garage used a few hours a day, the material cost of a plug-in LED upgrade is often recovered through lower electricity bills within one to three years.
Electrical Safety in a Concrete-Floored Garage: Breakers, GFCI, and Jobs for a Licensed Electrician
Garages deserve more electrical caution than most rooms, because concrete floors, damp air, and metal tools combine into an environment where a fault is less forgiving. Garage receptacles generally require ground-fault circuit interrupter (GFCI) protection under modern electrical codes; check new wiring against the local code in force. Test GFCI devices monthly with their test button, and replace any unit that does not trip and reset cleanly.
Choose fixtures rated for their conditions: damp-rated or vapour-tight housings for unheated, dusty, or moisture-prone garages, and recognised safety listings such as UL or ETL on every fixture. If you smell burning plastic, see scorch marks, or notice a breaker tripping repeatedly, switch the circuit off and call a licensed electrician rather than investigating live wiring yourself.
Garage Lighting Upgrade Questions Homeowners Ask Before Buying Fixtures
How many lumens do I need for a two-car garage?
Plan for roughly 20,000 to 24,000 lumens for a 400- to 480-square-foot two-car garage, based on about 50 lumens per square foot, plus a task fixture over any workbench.
Is 4000K or 5000K better for a garage workshop?
Both work well: 4000K for comfortable all-day workshop light, 5000K for sharper contrast in precision tasks such as paint matching. Keep each zone consistent.
Can I replace fluorescent tubes with LEDs without rewiring?
Usually yes. Plug-in LED shop lights need only an outlet, and many LED retrofit tubes fit existing fixtures, although some require the old ballast to be bypassed with power off at the breaker. Integrated LED battens are the cleaner long-term replacement.
Do LED garage lights work in cold, unheated garages?
Yes. LEDs start instantly at full brightness in cold weather, while fluorescent tubes can flicker and dim. Check the fixture’s minimum operating temperature if your garage drops well below freezing.
Will motion sensors switch the lights off while I am working?
They can, if the timeout is too short or the sensor cannot see you behind a car or shelving. Set ten to fifteen minutes for workshop zones, position the sensor with a clear view of the bench, and add a manual override for long, still tasks.
Do I need an electrician for a garage lighting upgrade?
Not for plug-in fixtures or like-for-like replacements. Hire a licensed electrician for new circuits, switch positions, panel work, or wiring inside walls.
A Brighter Garage on a Smaller Bill: Your First Fixture to Swap This Weekend
Start with the most visible change: replace the garage’s central old fixture with two LED shop lights spread across the ceiling, add a bench task light, and put the storage wall on a motion-activated strip. Measure your zones, match lumens not watts, and let controls switch lights off when you leave.