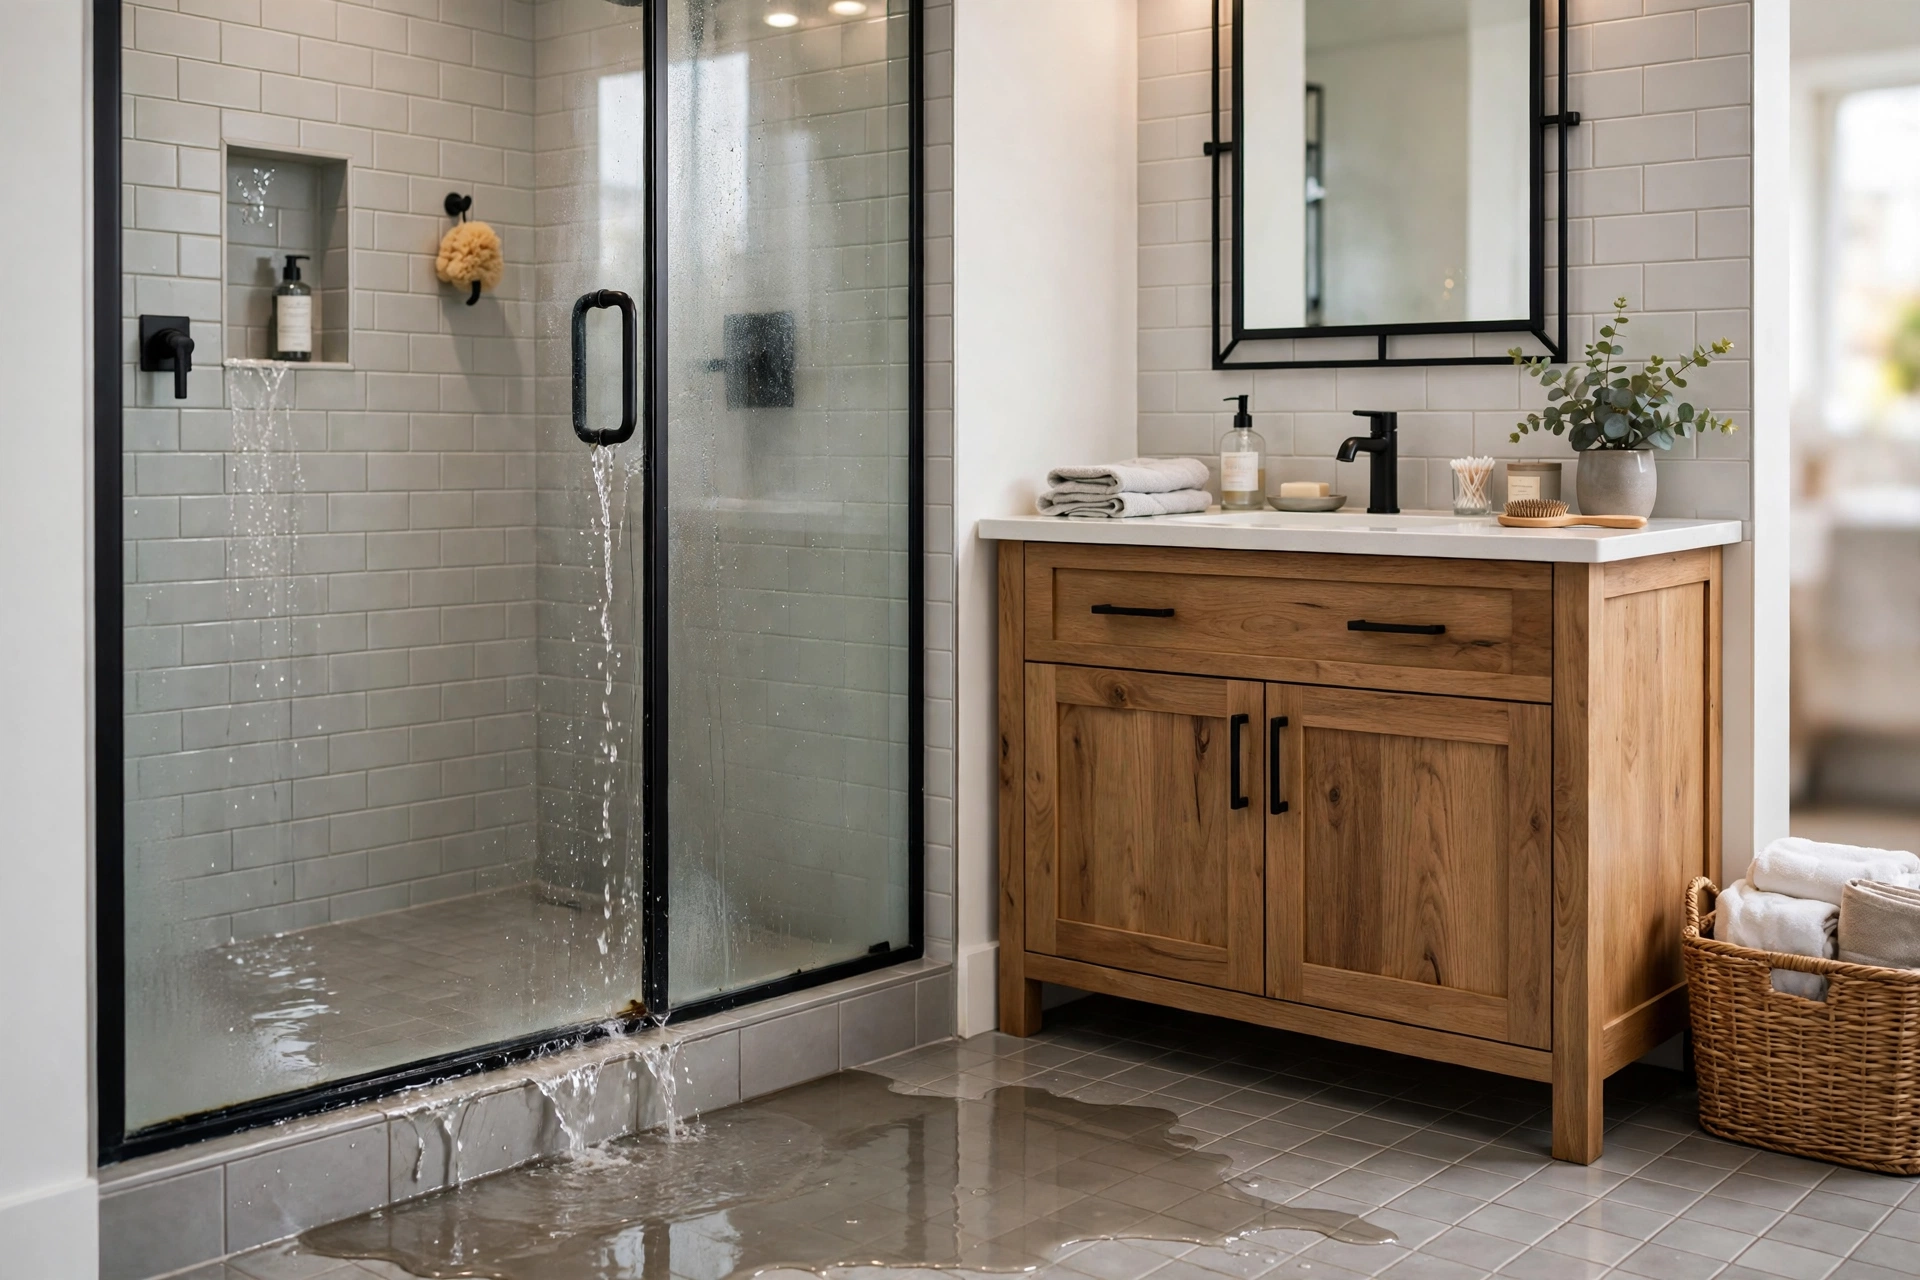
A shower door leak rarely announces itself with a flood. More often it is a thin line of water escaping under the door, through a worn seal, or past a cracked bead of caulk, which then disappears into grout, the subfloor, or the base of the vanity next door. Because the puddle dries between showers, the problem can run for months before anyone connects a soft floor or a swollen cabinet panel to a door that seemed fine. That slow timeline is what makes it expensive.
The Short Answer: A Leaking Shower Door Is a Slow Water Problem, Not a Puddle Problem
- Direct answer: Yes, a leaking shower door can gradually damage bathroom flooring and nearby cabinets, even when the visible puddle looks small.
Escaped water does not simply evaporate. It seeps into grout, wicks under tiles, soaks plywood or chipboard subfloors, and creeps to the toe-kick of a vanity. Over months, that wetting loosens tiles, crumbles grout, and swells wood. The fix is usually simple — a new sweep, a replaced side seal, fresh caulk, or a hinge adjustment — but it only works if you find the exact gap before the hidden damage spreads.
Where Escaped Shower Water Travels First: Grout Lines, Subfloor Seams, and Cabinet Bases
Water follows gravity and the most absorbent material it can find, which is rarely the glazed tile. Grout is porous, and even sealed grout absorbs moisture when it stays wet after every shower. From there, water reaches the subfloor, where plywood and oriented strand board swell and lose their grip on tiles. That is why floors near leaking doors often feel springy or sound hollow.
Cabinets are the second victim. Most vanities use medium-density fibreboard or particleboard with only a thin laminate finish for protection. Water at a cabinet base wicks upward through the unsealed bottom edge, swelling the panel and loosening hinges, often unnoticed until a plinth is removed. Water at the hinge side can also run into the wall cavity and feed mould behind plasterboard.
Five Ways a Shower Door Starts Letting Water Out
Most leaks come from one of five failure points — identifying yours matters, since a new sweep will not fix a sagging hinge.
- Worn bottom sweep. This vinyl strip clips onto the bottom glass edge and uses a drip fin to push water back into the tray. Hot water, soap scum, and cleaning chemicals make it brittle, and once stiffened it leaks.
- Failed side or magnetic seals. Frameless doors rely on vertical acrylic or magnetic strips where the door meets a fixed panel or wall jamb. When these deform or lose magnetic strength, water jets through the gap.
- Degraded caulk. The sealant where the metal track meets the wall or curb is the last line of defence. Cracked or peeled caulk lets water slip underneath the frame into the floor structure, often with no visible puddle.
- Misalignment and sagging. A hinged door that drops even a few millimetres no longer presses its sweep evenly on the threshold, and a sliding door with worn rollers can tilt away from its seals.
- Poor drainage or slope. If the tray is not level, or a slow drain lets water pond against the door, even a healthy sweep can be overwhelmed. Check a slow drain before blaming the door.
Matching Each Leak to Its Telltale Sign
Before buying parts, match what you see to the likely source.
Reading the Early Warning Signs on Your Floor and Vanity Before the Damage Shows
- Check weekly after a shower — it takes less than a minute.
- A grout line running away from the door that stays darker than surrounding grout after the floor dries.
- Tiles near the threshold that sound hollow when tapped, or grout that crumbles under a fingernail.
- A musty smell near the shower or vanity that returns even after cleaning, often pointing to hidden mould.
- Swelling, peeling laminate, or bubbling paint at the bottom of a vanity near the shower.
- Soft or discoloured patches on the ceiling below an upstairs bathroom, suggesting water has reached the subfloor.
How to Trace the Leak to Its Exact Gap in One Dry-Floor Test
Guessing wastes money on parts you do not need. This test pinpoints the gap using only dry towels, paper towels, and a handheld showerhead or jug.
Dry the area outside the shower thoroughly, including the threshold and cabinet bases. Lay dry paper towel strips along the door bottom, the vertical edges, and the frame joints outside.
Run the shower and direct spray at one section at a time — bottom edge, hinge side, strike side, then fixed panels — for a couple of minutes each.
Check the paper towels after each section. Wet paper under the door points to the sweep; at a vertical edge, to a side seal; water with no direct spray on the door points to failed caulk or drainage.
If nothing gets wet during the spray test but the floor is damp after normal showers, suspect threshold caulk or a slow drain ponding water against the door.
Fixing the Bottom Sweep and Side Seals Without Removing the Door
Sweep and seal replacement is the most common shower door repair, and it suits a careful homeowner. The critical detail is buying the correct profile: sweeps and seals are sold for specific glass thicknesses, commonly 6 mm, 8 mm, or 10 mm, so measure your glass before ordering.
To replace a bottom sweep, slide the old strip off the glass, clean the edge, and trim the new sweep to the exact door width with a sharp utility knife or hacksaw. The drip fin must face into the shower so it deflects water toward the drain. For vertical seals, pull the old strip off, clean the edge, and cut the new seal to length around hinges; on magnetic seals, check the two strips meet evenly when the door closes.
Resealing the Frame and Threshold So Water Stops Creeping Underneath
Caulk failure is the leak most often missed, because water travels underneath the frame rather than across the visible floor. Remove every trace of old sealant with a razor scraper — new silicone will not bond reliably to degraded caulk. Wipe the joint with rubbing alcohol and let it dry completely.
Apply a continuous bead of 100 percent silicone sealant rated for kitchens and bathrooms where the frame meets the wall and curb. Tool it smooth with a wet gloved finger so it forms a slightly concave surface that sheds water, then leave the shower unused for at least 24 hours while it cures; using the shower too soon is a common reason a fresh reseal fails within weeks.
What a Long Leak Does to Tile, Grout, Subfloor, and Vanity Wood
A leak running a few weeks usually means a new sweep and a reseal. A leak running a year can mean rebuilding part of the bathroom. Tile and grout go first: repeated wetting softens grout, which cracks and admits more water, until tiles loosen as the adhesive beneath weakens. At this stage the repair is still mostly cosmetic — regrouting and re-fixing a few tiles.
The subfloor goes next. Plywood and oriented strand board absorb water and lose stiffness; a spongy feeling underfoot usually means the subfloor is compromised, and replacing a section means lifting the tiles above it. Vanity damage is often worse, because swollen particleboard does not recover — the lasting fix is replacing panels or the whole unit. Wide mould coverage, or respiratory problems in the household, means professional remediation, not a cleaning task.
Repair Costs You Can Estimate Before You Call Anyone
Most shower door leak repairs are inexpensive compared with the floor and cabinet damage they prevent. Figures below are broad estimates only, varying with location, door type, and DIY versus professional work; get a local quote before committing to a larger repair.
A Seasonal Shower-Door Check That Keeps Small Gaps From Becoming Floor Repairs
Seals are wear items, not lifetime parts — check every few months.
- Run a finger along the bottom sweep and side seals. If the vinyl feels stiff, cracked, or flattened, order a replacement before it leaks.
- Open and close the door slowly and watch the sweep meet the threshold. Even contact along the full width means the door is still square; a gap at one end means a hinge or roller needs attention.
- Inspect the silicone around the frame and threshold for cracks or peeling, especially at wall corners where water collects.
- Check drain flow. If water ponds around your feet during a shower, clear the drain before assuming the door is at fault.
When a Sagging Hinge or Soft Floor Means a Specialist Should Take Over
Most seal and caulk work is safe DIY territory, but some findings should stop you. A door whose hinges have pulled out of the wall, or whose screws no longer grip, may need the wall fixing reinforced or the glass rehung, and tempered glass is heavy and dangerous to handle without the right equipment and a second pair of hands.
A soft or springy floor near the shower is another stop signal: it suggests the subfloor has already weakened, and lifting tiles without assessing the structure can make things worse. The same applies to wide mould coverage, a ceiling stain below the bathroom, or any sign water has reached electrical fittings. A specialist can trace the full damage and check the membrane beneath the tiles.
Shower Door Leakage Questions Bathroom Owners Ask Before Repairing the Damage
Can a tiny shower door drip really ruin a bathroom floor?
Yes. A drip delivers water to the same grout lines and subfloor every day, and absorbent materials never fully dry between showers. Over months, that cycle softens grout, loosens tiles, and swells wood.
How do I know whether the leak is the door or the shower tray?
Use the dry-floor spray test: dry everything, lay paper towels outside the door, and spray one section at a time. Water escaping only when spray hits the door or its seals means the door is the source. Water appearing without spray on the door points to the tray seal, the drain, or the membrane.
How often should shower door seals be replaced?
There is no fixed schedule, because lifespan depends on water hardness, cleaning products, and shower frequency. Inspect seals every few months and replace them when they feel stiff, cracked, or flattened. Many households replace a bottom sweep every few years as routine maintenance.
Will resealing the shower door stop water reaching my vanity?
It will, provided the door was actually the source and the reseal is complete. Water reaching a vanity can also come from a failed tray seal or a plumbing leak, so confirm the source with the spray test first. After the repair, check the vanity base after showers for a week.
Is a leaking shower door covered by home insurance?
It depends on your policy and how long the leak has run. Sudden, accidental water damage is often covered, while damage from a leak that continued over a long period may be treated as gradual deterioration and excluded. Check your policy wording and document damage with dated photos.
Should I replace the whole shower door or just the seals?
Replace the seals first in most cases. A door with sound glass, solid hinges, and a square frame usually only needs new sweeps, side seals, and caulk. Consider full replacement only when glass, frame, or hinges have failed beyond repair.
Your Next Shower Should Leave the Bathroom Floor Dry
A shower door leak is one of the few bathroom problems where the cheap repair and the expensive damage are separated only by time. Start with the dry-floor test this weekend, fix the exact gap it reveals, and give new sealant a full day to cure.