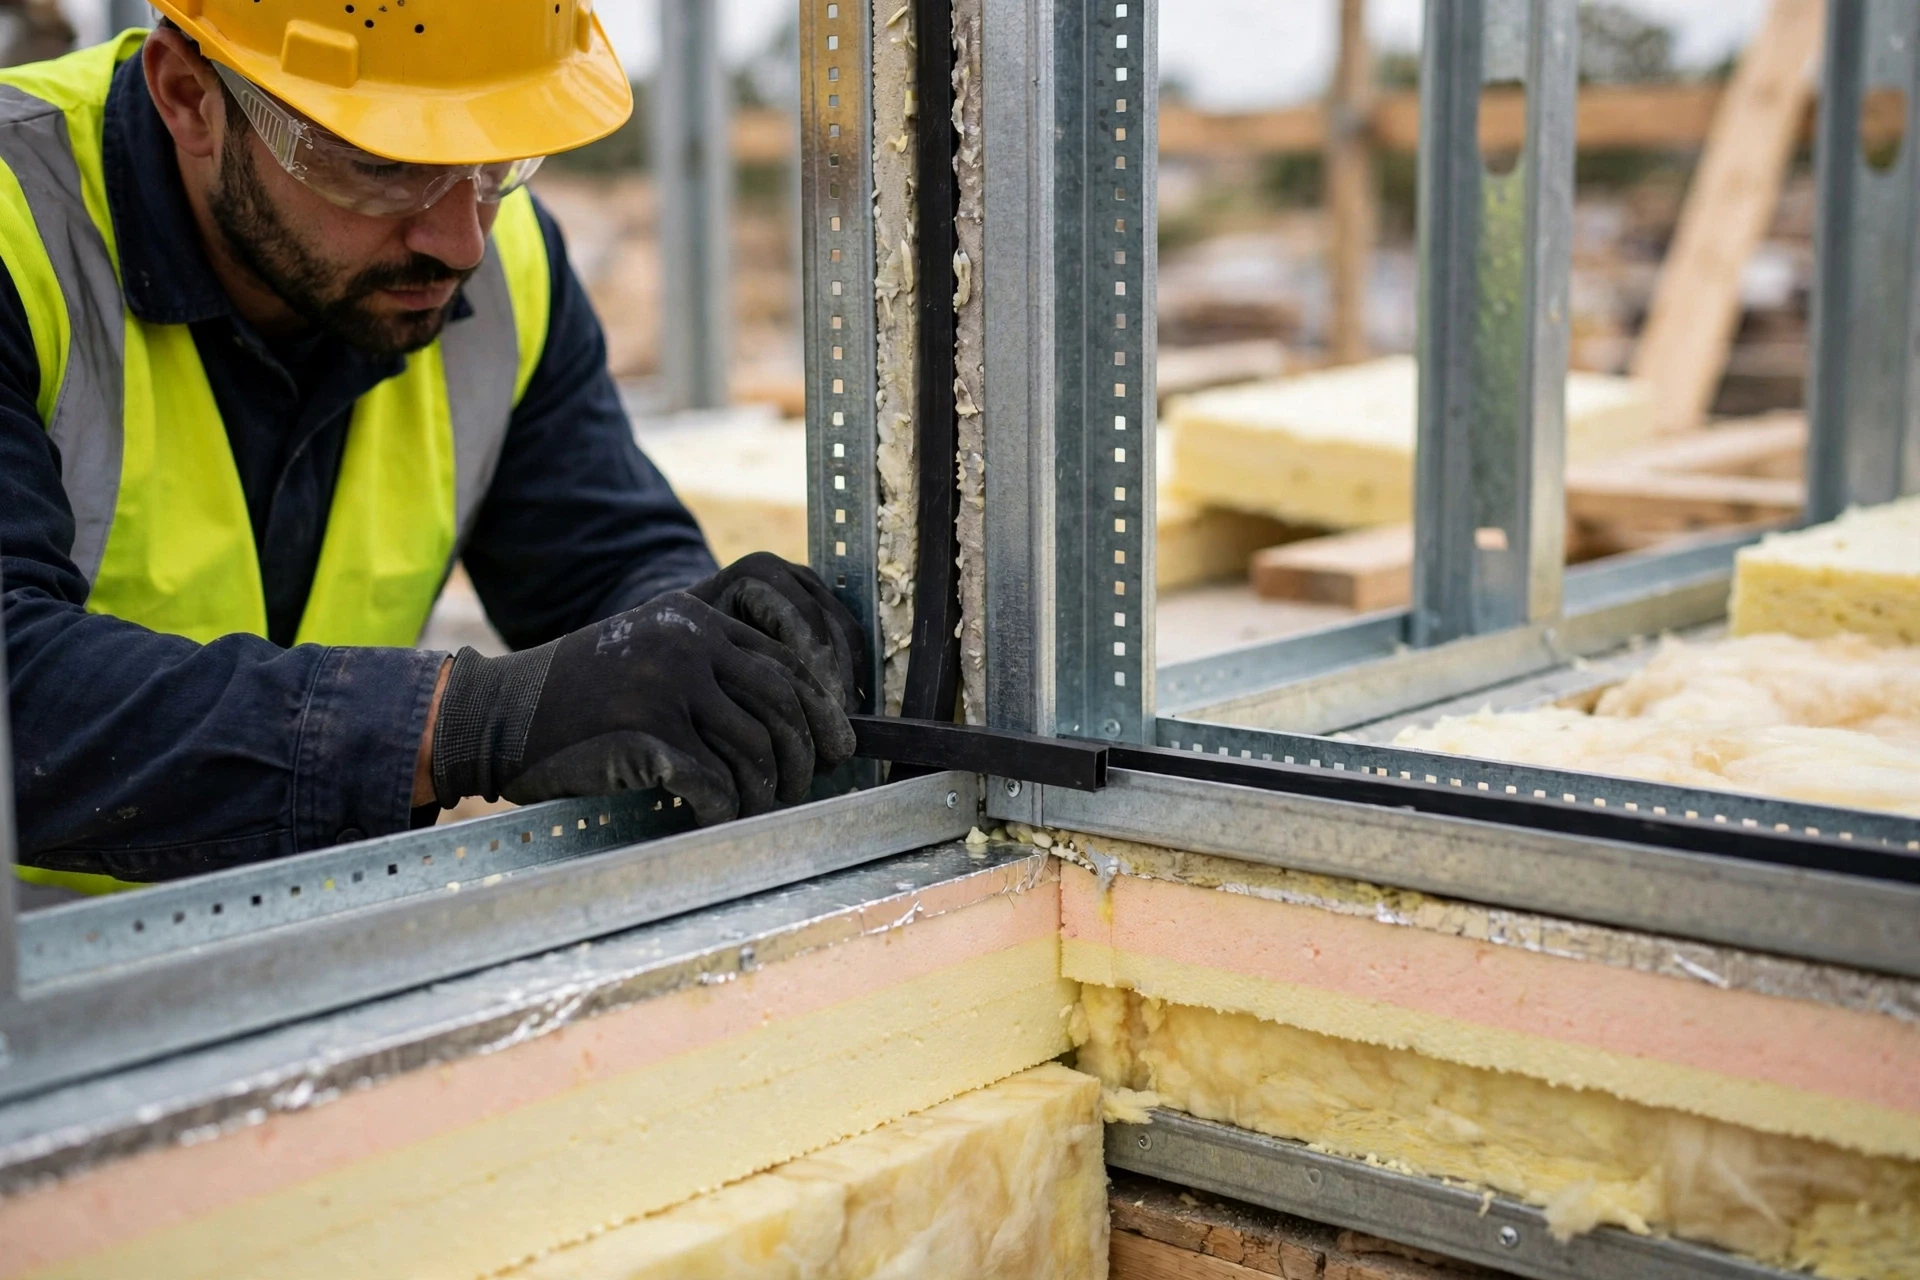
A thermal break is a layer of low-conductivity material placed where a structural element would otherwise carry heat straight through your insulation. Without it, a steel beam, a concrete slab, or even a line of wooden studs becomes a hidden path for heat to leave in winter and enter in summer. The most effective residential methods interrupt that path at the connection itself, cover framing with continuous insulation, insulate slab edges, and separate exterior concrete and steel from the interior structure.
Why Hidden Heat Keeps Escaping Through Your Home’s Structural Connections
Insulation is often judged by the label on the batt or board, yet the finished wall rarely performs at that labelled value. Every stud, header, sill plate, rim joist, and fastener interrupts the insulation layer. A conductive material spanning that layer creates what builders call a thermal bridge, a heat highway that bypasses the insulation altogether. Heat follows the easiest route, so it travels through the solid framing instead of through the insulated cavity beside it.
The result is more than a slightly higher heating bill. The heating and cooling system must work harder to replace the heat that escapes, rooms can feel uneven, and the cold inner surface at a bridge becomes a place where moisture in indoor air can condense. Over time, repeated condensation at a cold spot can invite mould growth and damage finishes, plaster, and timber.
- Look for cold stripes on walls, condensation near corners, and draughts around slab edges in cold weather.
- Compare rooms that share the same heating system but feel noticeably different in temperature.
- Check balcony and canopy connections, where an exterior slab meets the warm interior floor.
What a Thermal Break Actually Does Inside a Wall, Floor, or Balcony
A thermal break does not add heat, and it does not replace insulation. It inserts a material with very low thermal conductivity into a connection that would otherwise conduct heat freely. In a wall, that may mean a layer of rigid insulation over the studs. In a balcony, it means a pre-engineered module between the interior and exterior concrete. In a steel connection, it means a pad between two plates that would otherwise touch metal to metal.
Wood studs illustrate why the path matters. Wood has an R-value of roughly 1.2 per inch, so a stud is far less insulating than the cavity insulation beside it. In typical wood-framed walls, studs, headers, and sill plates can account for up to 25 to 30 percent of total wall heat loss, and the framing factor, the share of wall area taken up by wood, can reach about 25 percent. Steel is more extreme still, conducting heat hundreds of times better than insulation, while stainless steel is roughly one-third as conductive as standard structural steel.
Continuous Insulation That Covers Studs, Headers, and Rim Joists Without Gaps
Continuous insulation, often shortened to CI, is a layer placed across all structural members without thermal breaks other than fasteners and openings. In most homes it is exterior rigid foam, usually expanded polystyrene, extruded polystyrene, or polyisocyanurate, fixed over the sheathing and beneath the cladding. Because the layer runs over studs and headers instead of stopping between them, it raises the effective R-value of the whole wall rather than only the cavity between studs.
Installation quality decides whether that benefit survives. Boards should be tightly butted, with joints staggered so no long vertical seam lines up with a stud. Gaps, crushed corners, and missing pieces at window and door openings become small bridges of their own. Taping or sealing joints according to the board manufacturer’s guidance helps keep air from moving behind the layer, and careful detailing around penetrations keeps it continuous where pipes, vents, and cables pass through.
| Connection point | Hidden heat path | Thermal break method |
|---|---|---|
| Wood stud wall | Studs and headers bypass cavity insulation | Exterior rigid foam over all framing |
| Rim joist | Joist end exposes floor edge to outside air | Rigid insulation and air sealing at rim |
| Slab edge | Concrete edge links interior floor to outside | Perimeter rigid foam to footing level |
| Balcony slab | Exterior slab continues into interior floor | Structural module between rebar cages |
Sealing Slab Edges and the Foundation-to-First-Floor Interface
A concrete slab edge is a continuous thermal short circuit. Concrete conducts heat readily, and the exposed edge of a slab connects the warm interior floor directly to cold outside air and soil. Perimeter edge insulation, usually rigid foam, is fastened to the foundation wall or formwork, running down to the footing and up to finished slab level, so the edge is no longer an open route for heat.
The foundation-to-first-floor interface is another worst-case junction, alongside wall-to-roof junctions and building corners. Heat loss concentrates where geometry changes direction, and energy modelling uses psi-values, or linear thermal transmittance, to describe how much extra heat escapes along each linear metre of such a junction. Protect the foam above ground from sunlight, impact, and pests, keep it tight against the concrete with no air gap behind it, and coordinate its top edge with the wall insulation so the two layers meet without a gap.
Breaking the Balcony and Canopy Slab Connection Before Heat Finds a Path
Cantilevered balconies, patios, and canopy slabs that continue from the interior slab are notorious conductors. The same concrete that forms a comfortable indoor floor extends outside, uncovered, into rain, wind, and cold air. Heat travels along that slab as easily as water travels along a pipe, and the underside of the balcony can stay cold enough to chill the floor inside, even when the walls are well insulated.
Pre-engineered structural thermal break modules are designed for exactly this junction. A module sits in the gap between the interior and exterior rebar cages, with the interior rebar tied into non-conductive bars inside the module. The module carries the structural load across the gap while the insulating material inside it slows heat transfer. These are engineered products, not site improvisations: the model, spacing, reinforcement, and concrete cover must match the structural design for the span, load, and exposure.
Thermal Break Pads for Steel Penetrations, Beams, and Brackets
Steel penetrations need a different solution because steel cannot simply be wrapped in foam where it carries load. Structural thermal break pads are made from structural thermoplastics or fibre-reinforced composites, supplied as sheets or blocks with published load data. The pad sits between the steel plates, and the bolts pass through it, so the two steel faces never touch directly. Heat must then cross the pad, which conducts far less readily than steel.
Pads compress more than steel and can creep under point loads, so the bolt group, plate thickness, and pretension must follow the manufacturer’s data for the specific pad, load, and temperature range. Using a generic bolt torque or a thicker pad than specified can change how the connection behaves. The galvanizing sequence also matters: galvanize first, then assemble the pad afterwards, because hot-dip galvanizing after assembly would damage the pad.
| Steel detail | Risk without a break | What to check on site |
|---|---|---|
| Beam through wall | Steel carries heat past wall insulation | Pad type, thickness, and load rating |
| Bracket or canopy support | Point load concentrates heat and stress | Bolt group and pretension per data sheet |
| Balcony steel frame | Frame links exterior air to interior floor | Pad continuity and weather sealing |
Corners, Roof Junctions, and Other Geometric Bridges Energy Models Flag First
Some bridges are caused not by a single material but by shape. At a building corner, the outside surface is larger than the inside surface, so more heat can leave through the same inner area. At a wall-to-roof junction, the wall insulation and roof insulation meet at an angle and often leave a wedge that is hard to fill. At the foundation-to-first-floor interface, the floor, wall, and foundation meet in one line.
Choosing Materials and Details That Hold Up Over Decades
A thermal break is a long-term part of the structure, so durability matters as much as initial performance. Rigid foam must suit its location: boards below ground need to resist moisture and soil pressure, boards on a wall need to suit the cladding fixings, and boards near a slab edge need protection from damage. Structural pads and balcony modules must suit their loads, temperatures, and exposure, and their published data should be checked against the actual design, not assumed from a similar project.
Moisture control runs alongside thermal control. A break that traps water, or a foam layer installed with a gap that lets humid air reach a cold surface, can create the condensation problem it was meant to solve. Keep drainage paths clear, seal air leaks at junctions, and protect insulation from prolonged wetting during construction. Costs vary widely with house size, the number of junctions, and whether work is done during construction or as a retrofit, so obtain a detailed, site-specific price before committing.
- Match the product to its location, load, moisture exposure, and temperature range.
- Keep insulation dry, flat, and undamaged until it is fixed and protected.
- Check that fixings, brackets, and cladding do not punch unnecessary holes through the break.
When a Structural Engineer and a Licensed Installer Should Lead the Work
Some thermal break work is straightforward, such as adding exterior rigid foam during a re-cladding project, but any change to a structural connection needs professional input. A structural engineer should design or approve balcony modules, steel pads, and any detail where load, deflection, or fire performance could change. A licensed installer should carry out the work where cutting, drilling, or altering reinforcement is involved, and where a mistake could weaken the structure or void a warranty.
Thermal Break Questions Homeowners Ask Before Cutting Into a Structural Connection
The questions below cover the decisions most homeowners face when a thermal bridge is found. They are general guidance only, and a structural engineer should confirm any detail that affects load-bearing elements.
Can a thermal break be added to an existing home, or only during new construction?
It can be added to an existing home, but the method depends on access. Exterior rigid foam can often be added during re-cladding, slab edges can be insulated where they are exposed, and some steel connections can be fitted with pads during repair. A balcony slab that is already cast is harder to break without major structural work, so an engineer should assess the options.
Will continuous insulation alone fix a steel beam that passes through a wall?
No. Continuous insulation helps the wall around the beam, but the steel itself still conducts heat through the layer. A steel penetration needs a pad or another engineered break at the connection, together with careful sealing around it, so the beam does not bypass the insulation you have just added.
How do I know whether my home has a serious thermal bridge?
Cold patches on walls or floors, condensation in corners, mould near slab edges, and rooms that never feel as warm as the rest of the house are common signs. A thermal imaging survey in cold weather can show the pattern clearly, and an energy assessor can compare the junctions with the psi-values used in modelling to identify the worst locations.
Do thermal break pads weaken a steel connection?
A correctly specified pad does not weaken a connection when the bolt group, plate thickness, and pretension follow the manufacturer’s published load data. Problems arise when a pad is substituted, thickened, or installed without checking those values, or when it creeps under a point load it was not rated for.
What should I check after a balcony thermal break module is installed?
Check that the module is level, undamaged, and in the position shown on the structural drawings, that reinforcement is tied as specified, and that no services have been cut through it. Photograph the module before concrete is poured, because it will be hidden afterwards, and keep the records with the house documents.
Does a thermal break stop condensation and mould by itself?
It reduces the cold spots where condensation forms, which lowers the risk, but it does not control indoor humidity or replace ventilation. Keep indoor humidity at a sensible level, ventilate kitchens and bathrooms, and air-seal the junctions so humid air cannot reach a cold surface behind finishes.
Final Thoughts: Is a Thermal Break Upgrade Worth It for Your Home’s Structural Connections?
A thermal break upgrade is worth considering when a home has clear bridges, cold spots, condensation, or a balcony or steel connection that bypasses otherwise good insulation. The work is most cost-effective during construction or a major renovation, when junctions are open and details can be drawn and checked before they are covered. In a retrofit, start with the worst junctions, usually slab edges, rim joists, and exposed steel, and have the structural details approved before work begins.