Most older homes have exterior walls that leak in two ways at once. Rain that gets past the siding finds its way to the framing, and air leaks through every gap in the sheathing, carrying heat out in winter, moisture in summer, and dust and draughts all year round. The siding looks fine from the street, but behind it the wall is slowly rotting, the insulation is underperforming, and the heating bill is higher than it should be.
The fix is to upgrade the two layers that protect the wall: the water-resistive barrier, which stops liquid water reaching the framing, and the air barrier, which stops air leaking in and out. In many modern systems the same product does both jobs. The best time to upgrade is during a re-side, when the cladding is off and the sheathing is exposed, because the barrier is buried the moment the new cladding goes on. This guide explains how air and water barriers work, which system suits your home and climate, and how to install one so it actually performs.
What Your Exterior Walls Are Missing When Air and Water Leak Through
Air leakage is the quieter problem, and it is just as damaging. Air carries moisture, so a leaky wall is also a wet wall: warm, humid indoor air leaking outward in winter condenses inside the cold wall cavity, while hot, humid outdoor air leaking inward in summer brings moisture into the insulation. Air leakage also wastes energy directly, because heated or cooled air escapes and unconditioned air takes its place. The insulation behind a leaky wall performs well below its rated value, because air moving through it strips away its insulating effect. A wall that is airtight as well as water-resistant is warmer, drier, quieter, and cheaper to heat and cool, which is why the upgrade is worth doing properly rather than as a quick layer of house wrap stapled over damaged sheathing.
How Do Air Barriers and Water-Resistive Barriers Work Together?
An air barrier and a water-resistive barrier are two different jobs, and understanding the difference is the key to choosing the right product. The water-resistive barrier, or WRB, is the layer that keeps bulk water, wind-driven rain, snowmelt running down the sheathing, and condensation, from reaching the framing and insulation. The air barrier stops air from leaking in and out of the wall. Because air carries water vapour, a good air barrier also stops a large share of the moisture that would otherwise enter the wall as vapour and condense inside it.
House Wrap, Integrated Sheathing, and Fluid-Applied Barriers Compared
Almost every residential wall upgrade in recent years uses one of four systems, and the right choice depends on the building type, the climate, the budget, and how forgiving the installation needs to be. The comparison below sets out the practical differences, using published product data and typical installed costs as broad guides rather than fixed prices.
Perm rating, the measure of how readily water vapour passes through a material, is the number that decides whether a wall can dry. A WRB needs to be open enough to let moisture escape from inside the wall, or trapped vapour will condense and rot the framing. Tyvek HomeWrap, at around 56 perms, is very open, which is why walls wrapped in it dry well. Integrated sheathing systems are less open, at 12 to 16 perms, but still vapour-permeable. The common mistake is confusing a WRB with a vapour barrier: a WRB blocks liquid water and stays open to vapour, while a vapour retarder such as sheet polyethylene slows vapour movement almost entirely. Putting a vapour barrier on the wrong side of a wall in the wrong climate traps moisture instead of managing it, so the choice should follow the climate and the wall assembly, not a generic rule.
Upgrading the Barrier During a Re-Side: The Sequence That Works
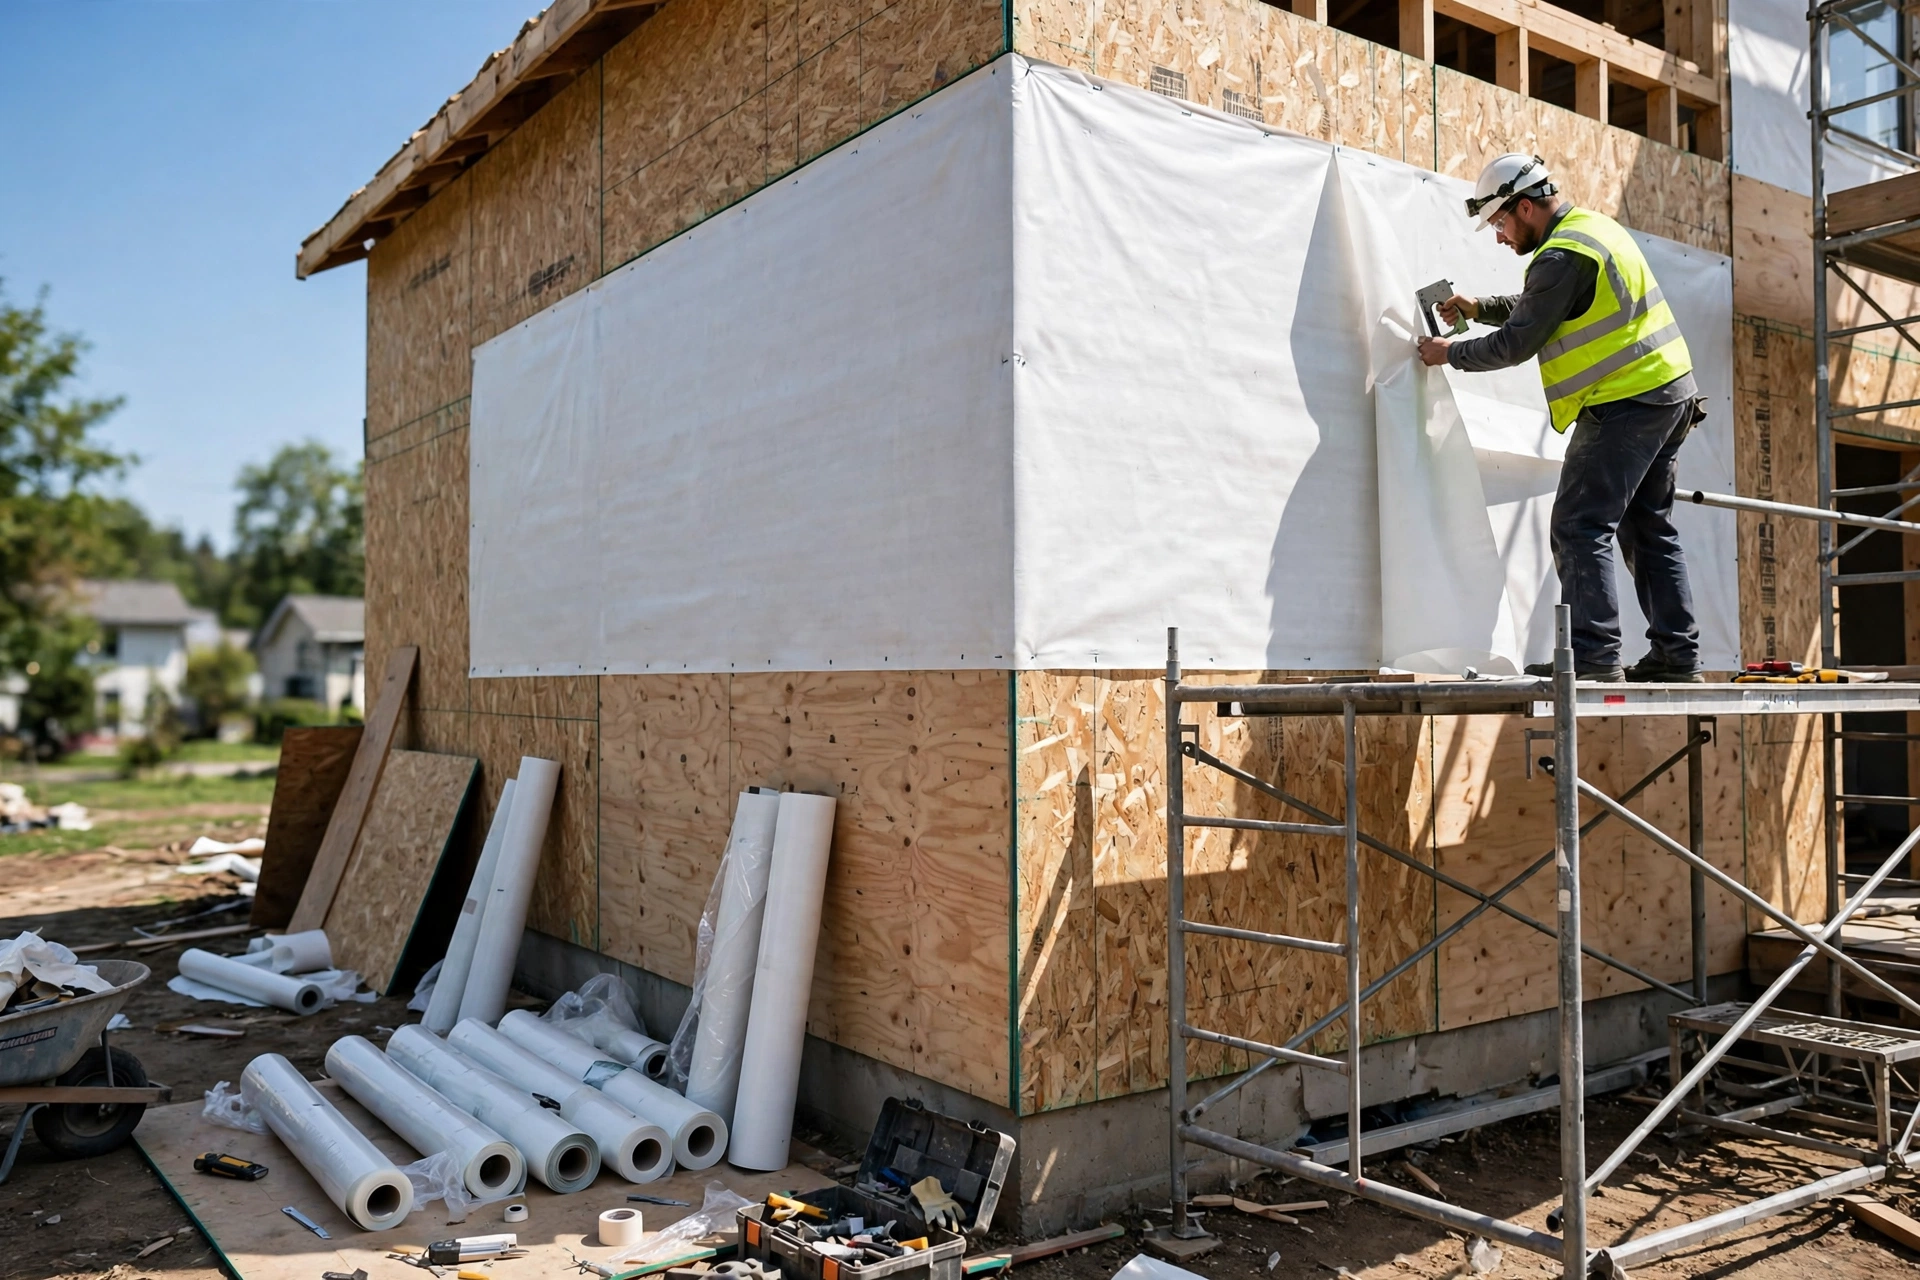
A re-side is the best opportunity to upgrade a wall’s air and water barriers, because the cladding is already coming off and the sheathing is exposed. The work follows a strict sequence, and skipping a step or doing them out of order is how most upgrades fail. The barrier is buried the moment the cladding goes on, so every detail has to be right before the first piece of siding is fixed.
Strip the cladding and inspect. Remove the old siding, check the sheathing for rot and damage, and replace any soft or broken panels before the barrier goes on.
Repair the substrate. Fill gaps, re-fasten loose sheathing, and make the surface flat and clean so the barrier bonds or lies smoothly.
Seal the wall to the foundation. Flash and tape the joint between the sheathing and the foundation so water cannot enter at the bottom of the wall.
Install the barrier from the bottom up. Start at the base and work upward, overlapping each layer to the outside so water is continually directed away from the house.
Seal every seam and edge. Tape horizontal and vertical seams, seal the top and bottom edges, and overlap corners by at least six inches.
Flash every penetration. Cut the barrier at windows and doors, fold it in, and seal it to the flashing so each opening is airtight and watertight.
Cover promptly. Cladding should follow within the manufacturer’s UV exposure limit, typically 120 to 180 days depending on the product, and sooner is better.
Seams, Corners, and Penetrations: Where Upgraded Wall Barriers Usually Fail
A barrier is only as good as its weakest detail, and the weakest details are almost always the same ones: unsealed seams, unflashed penetrations, and gaps where the wall meets something else. A house wrap stapled over sheathing with open seams is a water barrier in name only, because air and water leak through the gaps between the sheets. Upgrading a WRB into a true air barrier means sealing the top and bottom edges as well as the vertical and horizontal seams, so the whole wall acts as one continuous layer.
Seal every seam with the manufacturer’s approved tape, and roll the tape firmly so it bonds fully to the barrier.
Tape the sheathing joints first when using a fluid-applied membrane, so the liquid coating has a smooth, continuous surface to bridge.
Flash windows and doors to the standard for the region, sealing the barrier to the flashing and the flashing to the frame, with sill pans that drain outward.
Seal around every pipe, vent, and cable penetration with a compatible sealant or a preformed flashing boot.
Protect the barrier from damage during cladding installation, and repair any tears or punctures immediately with tape or a patch of the same material.
Check the UV exposure limit for the product and do not leave the barrier exposed beyond it, because degraded material loses its performance.
Perm Ratings, Drying, and Picking a Barrier for Your Climate
Choosing a barrier is not only about stopping water; it is about letting the wall dry when it does get wet. Every wall gets wet sometimes, through a failed seal, a wind-driven storm, or condensation, and a wall that cannot dry will rot. The perm rating tells you how easily water vapour can escape, and the right rating depends on the climate and on which side of the wall the vapour drive comes from. In a cold climate, the main vapour drive is from warm, humid indoor air toward the cold outside, so the wall needs to dry outward. In a hot, humid climate, the drive reverses, and the wall needs to dry inward.
Final Thoughts: Upgrading Exterior Walls With Air and Water Barriers That Last
An exterior wall upgrade succeeds or fails in the details. The product matters less than the continuity: a barrier that runs from the foundation to the roof, with sealed seams, flashed penetrations, and overlaps that always shed water outward, will protect a wall for decades, whatever the brand on the roll. A barrier with gaps, reversed laps, and unflashed windows will leak from the first storm, however expensive it was. Do the upgrade during a re-side, when the wall is open and the work is cheap; repair the sheathing first, seal the foundation joint, work from the bottom up, and flash every opening as if it were the only one. Choose the perm rating for the climate so the wall can dry, and add a drainage gap in wet regions. Done that way, the walls stay dry, the insulation performs as rated, and the house is warmer, quieter, and cheaper to run.
Exterior Wall Air Barrier and WRB Questions Answered
What is the difference between an air barrier and a water-resistive barrier?
A water-resistive barrier stops liquid water, such as wind-driven rain, from reaching the framing, while an air barrier stops air leaking in and out of the wall. Because air carries moisture, a good air barrier also stops a large share of the vapour that would otherwise condense inside the wall. Many modern products do both jobs when their seams are sealed.
Is Tyvek house wrap waterproof?
Tyvek HomeWrap is a water-resistive barrier, not a waterproof membrane in the strict sense. It stops liquid water that gets past the siding, with a published water penetration resistance of 250 centimetres of hydrostatic head, while letting water vapour escape at around 56 perms. That combination is exactly what a wall needs: bulk water out, vapour free to dry.
Can I upgrade the air barrier without removing the siding?
Only partially. Some air sealing can be done from inside, such as sealing penetrations, rim joists, and the top and bottom of walls, and that helps. But the water-resistive barrier and the full air barrier layer sit behind the cladding, so a complete upgrade needs the siding off. A re-side is the right moment to do it properly.
How long can a WRB stay exposed before cladding goes on?
It depends on the product. Tyvek HomeWrap is generally rated for up to 120 days of UV exposure, integrated sheathing systems such as ZIP are rated for up to 180 days, and some fluid-applied membranes allow up to 12 months. Check the manufacturer’s limit for the product used, and aim to clad well within it, because UV-degraded material loses performance.
Do I need a vapour barrier as well as a WRB?
Usually not, and in the wrong place a vapour barrier can cause harm. A WRB blocks liquid water and stays open to vapour, while a vapour barrier such as sheet polyethylene slows vapour almost entirely. Whether an interior vapour retarder is needed depends on the climate and the wall assembly; in many mixed and hot climates it is better to leave the wall able to dry in both directions.