Introduction
Mechanical keyboard kits have gained strong popularity among gamers, programmers, writers, and keyboard enthusiasts who want full control over how their keyboard feels, sounds, and performs. Unlike prebuilt keyboards, a kit allows users to select and assemble each component individually, creating a fully personalized typing experience.
Community discussions and enthusiast resources such as Kinetic Labs and mechanical keyboard forums consistently highlight one key insight: switch choice alone can dramatically change typing feel. This is one of the main reasons more users are shifting toward DIY keyboard building.
In this guide, you’ll learn what a mechanical keyboard kit is, how it works, what it includes, and how to choose and build one step by step.
What Is a Mechanical Keyboard Kit and How Does It Work?
A mechanical keyboard kit is a modular set of components designed for users to build their own keyboard instead of purchasing a finished product.
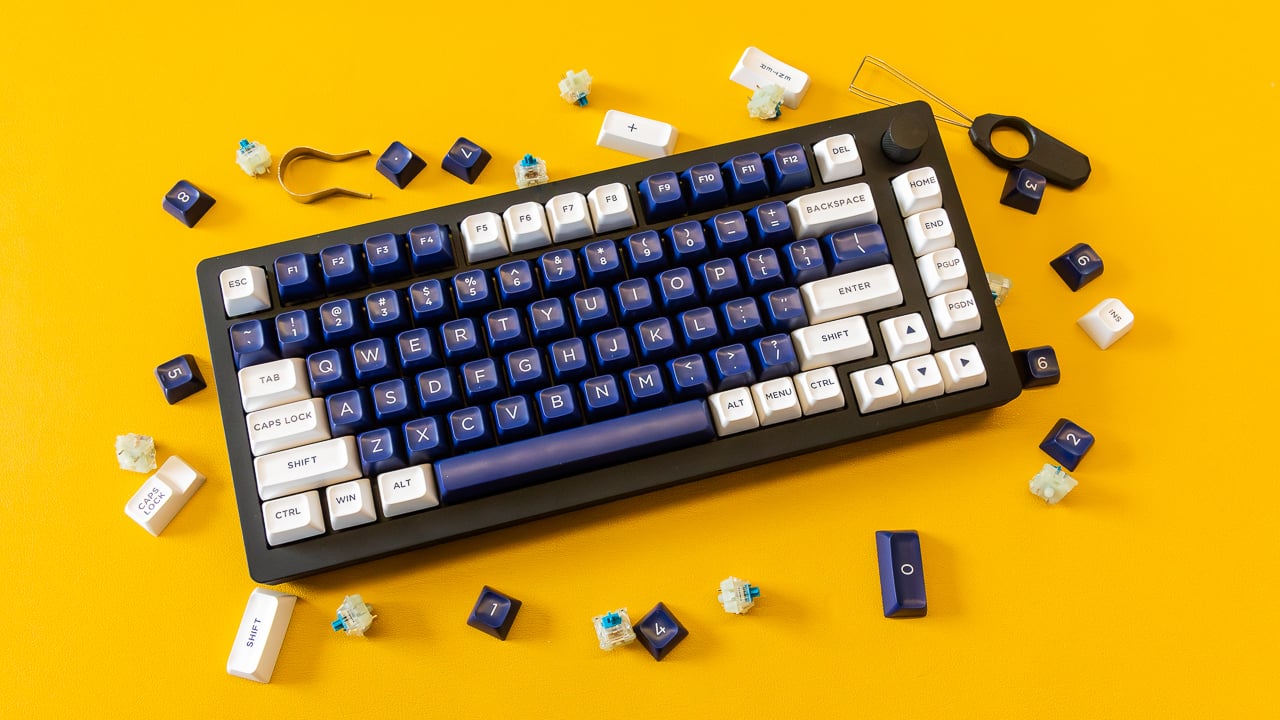
Most kits include essential parts such as a PCB (printed circuit board), case, stabilizers, and plate. Some packages also include switches or keycaps, depending on the version.
The PCB acts as the central processing unit of the keyboard, registering each keystroke and sending signals to the computer. Many modern kits also support hot-swappable sockets, allowing users to install or replace switches without soldering.
What makes these kits popular is the ability to fully customize:
Typing feel (switch type)
Sound profile (acoustic tuning)
Layout and ergonomics
Overall design and materials
For example, linear switches provide smooth keypresses, tactile switches add feedback bumps, and clicky switches deliver audible confirmation.
Why Choose a Mechanical Keyboard Kit Instead of a Prebuilt Keyboard?
The biggest difference between a mechanical keyboard kit and a prebuilt keyboard is control.
Prebuilt keyboards are convenient and ready to use, but they come with fixed configurations. A kit, on the other hand, allows full customization and modification.
| Feature | Mechanical Keyboard Kit | Prebuilt Keyboard |
| Customization | Full control | Limited options |
| Repairability | Easy component replacement | Often restricted |
| Learning Curve | Moderate | Very low |
| Performance Tuning | Highly flexible | Fixed factory setup |
Another major advantage is repair flexibility. If a switch fails or feels inconsistent, it can usually be replaced individually in a kit-based build.
Many users also enjoy the learning experience, as building a keyboard helps them understand how input devices function and how ergonomics affect typing comfort.
For users who want a balance between convenience and customization, curated options like mechanical keyboard kit collections can provide a good starting point.
What Components Are Included in a Mechanical Keyboard Kit?
A typical mechanical keyboard kit consists of several core parts, each contributing to performance and feel.
PCB (Printed Circuit Board): Controls key input detection and layout support
Case: External structure that influences durability and sound
Plate: Holds switches in place and affects typing firmness
Stabilizers: Improve stability for larger keys like spacebar and shift
Switches (optional): Define tactile, linear, or clicky response
Keycaps (optional): Visible typing surface and primary touchpoin
Some advanced kits also include foam layers or dampening materials that reduce vibration and improve acoustics.
Because of this modular design, users can tailor every part of the keyboard. For example, gamers may prioritize fast linear switches, while writers may prefer tactile feedback for accuracy.
How to Build a Mechanical Keyboard Kit Step by Step
Building a keyboard kit follows a relatively structured process that even beginners can learn.
Step 1: Install Stabilizers
Stabilizers are placed on larger keys to prevent wobble. Proper lubrication at this stage improves smoothness and reduces noise.
Step 2: Insert Switches
Switches are mounted into the PCB or plate. Hot-swap designs make this step easy since no soldering is required.
Step 3: Assemble PCB and Plate into Case
The PCB and plate assembly is installed into the keyboard case. Proper alignment ensures consistent key feel and stability.
Step 4: Install Keycaps
Keycaps are pressed onto switches to complete the keyboard interface.
Step 5: Test and Fine-Tune
Users test all keys and may adjust stabilizers, switch lubrication, or firmware settings to optimize performance.
Most beginners complete their first build in a few hours, while experienced users often refine their builds over time.
How to Choose the Best Mechanical Keyboard Kit
Selecting the right kit depends on your usage, preferences, and experience level.
For Gaming
Linear switches for fast response
Compact layouts like 65% or 75% for better mouse space
Low latency and stable PCB support
For Work and Productivity
Tactile switches for typing accuracy
TKL or full-size layouts for comfort
Quiet or balanced sound profiles
For Enthusiasts
Hot-swap support for easy experimentation
Gasket-mounted designs for better acoustics
Firmware customization options
Key Factors to Consider
Before purchasing, evaluate:
Switch compatibility (3-pin or 5-pin)
Hot-swap support
Case material (plastic, aluminum, or hybrid)
Layout size (60%, 75%, TKL, full-size)
Sound preference (deep, soft, or sharp profile)
Industry trends show that more users now prioritize ergonomics and personalization over standard factory configurations.
Conclusion
A mechanical keyboard kit offers a highly customizable and hands-on way to build a keyboard tailored to your exact needs. While it requires more effort than buying a prebuilt keyboard, it provides significantly more flexibility in performance, sound, and design.
From layout selection to switch tuning, every detail can be adjusted to match personal preference. For gamers, professionals, and enthusiasts alike, building a keyboard kit can be both a practical upgrade and an enjoyable learning experience.
FAQs
What is included in a mechanical keyboard kit?
Most kits include a PCB, case, plate, and stabilizers. Some versions may also include switches, keycaps, or foam depending on the package.
Is it hard to build a mechanical keyboard kit for beginners?
Not necessarily. Hot-swappable kits make the process much easier since no soldering is required, making them beginner-friendly.
Are mechanical keyboard kits better than prebuilt keyboards?
They are not always “better,” but they offer far more customization, repair flexibility, and long-term upgrade potential compared to prebuilt options.