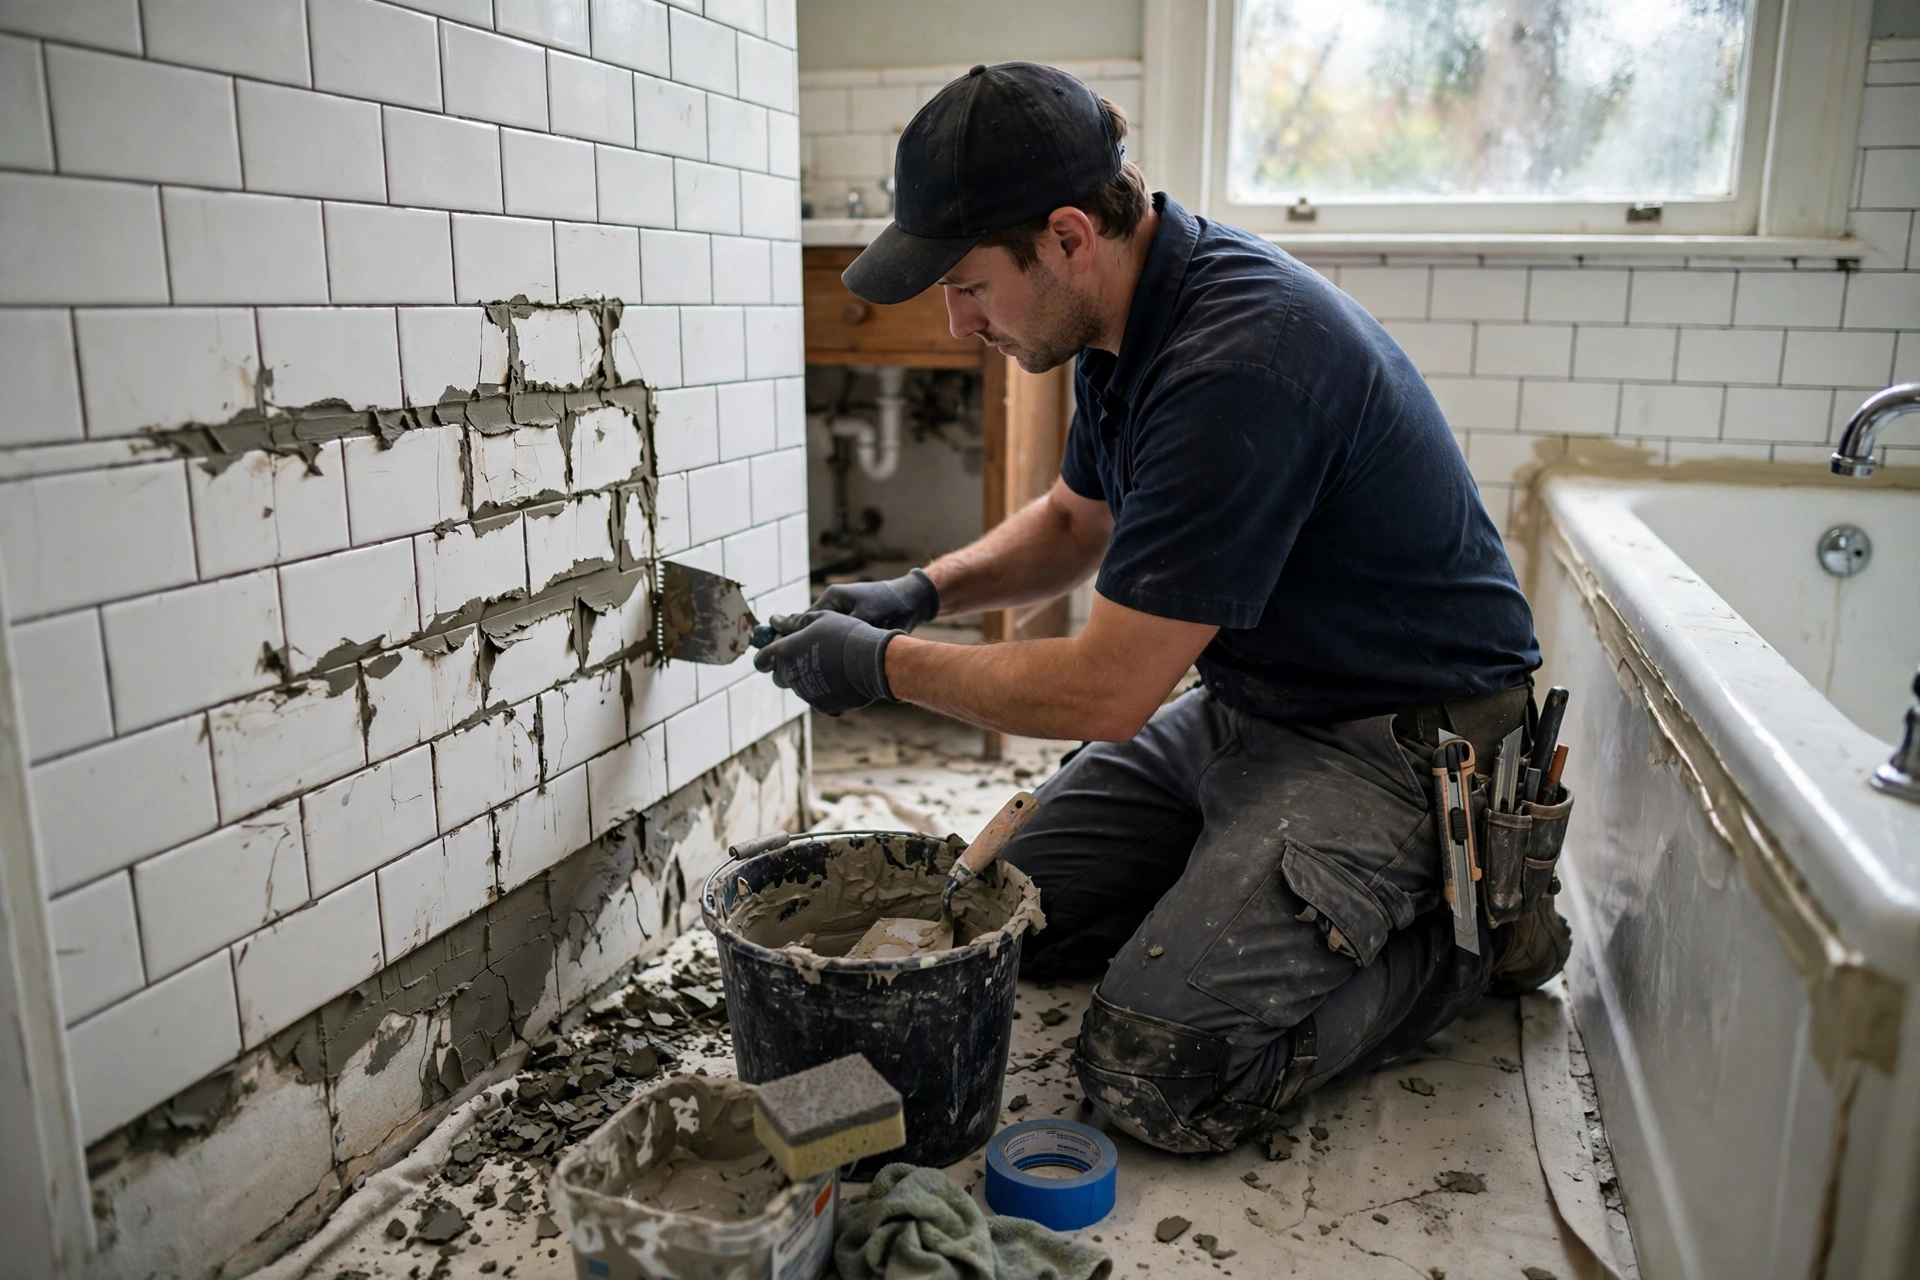
When bathroom grout turns dark, cracked or crumbly, the first instinct is often to assume the whole floor has to come up. In most cases, it does not. The tiles themselves are usually still firmly bonded, and the grout is only the thin layer sitting between them. Replacing that grout — a process called regrouting — can make an old bathroom floor look almost new without removing a single tile, and it costs a fraction of a full retile.
The short answer is: remove the old grout to a consistent depth, clean the joints thoroughly, and press new grout in with a float, working in small sections. Do not simply grout over the top of failed grout, because the new layer will not bond properly and will crack or flake off. The exception is when tiles are loose, cracked through, or hollow when tapped, or when the floor underneath feels soft — those signs point to a deeper problem, and regrouting alone will not fix it.
Why Bathroom Grout Fails While the Tiles Stay Sound
Grout is a porous, cement-based material, and a bathroom floor gives it a hard life. Daily water, steam, cleaning products, foot traffic and slight movement in the floor all wear it down over time. In showers and around baths, grout can also harbour mould and mildew in its pores, which is why it darkens even when the tiles still look clean. Sealer slows this process, but no sealer lasts forever, and unsealed or worn grout absorbs moisture far more readily.
It helps to understand what grout does and does not do. Grout fills the joints, keeps dirt out, and finishes the look of the floor, but it is not the main waterproof layer. That job belongs to the membrane and adhesive underneath the tiles. So when grout fails, the failure is usually cosmetic and hygienic, not structural — provided the tiles are still bonded and the subfloor is dry and firm. That distinction is what makes regrouting a sensible repair rather than a cosmetic cover-up.
Checking Whether Your Bathroom Floor Is Safe to Regrout
Before you buy anything, test the floor. Press firmly on tiles in several places, especially near the bath, shower and door, and listen for movement or a hollow, drummy sound when you tap them. A tile that moves, rocks, or sounds hollow has lost its bond, and regrouting around it will not hold it in place. A few loose tiles can sometimes be re-fixed individually, but a floor with many loose or cracked tiles is usually a candidate for a fuller repair, not just new grout.
Look for signs of water damage beyond the grout itself: soft or swollen skirting, a musty smell that does not go away after cleaning, staining on the ceiling below, or grout that stays damp long after the floor has dried. These can suggest a leak or a failed membrane, and in that case you should find and fix the water source before regrouting. Regrouting over an active leak will trap moisture and make the underlying damage worse.
Tools and Grout Types for a Tile-Saving Regrout
For a small bathroom floor, a manual grout saw or carbide scraper is often enough, and it gives you more control near tile edges than a power tool. For a larger floor, an oscillating multi-tool with a grout-removal blade is much faster, but it needs a steady hand and a blade depth set slightly shallower than the tile thickness, so you do not score the membrane or chip the tile edges. You will also need a vacuum, a stiff brush, a hard rubber grout float, a grout sponge with rounded edges, two buckets of clean water, and eye protection and a dust mask.
Grout choice matters. Sanded grout suits wider joints, typically over about 3 millimetres, because the sand helps it hold its shape. Unsanded grout suits narrow joints and polished or delicate tiles, because it is less likely to scratch the surface. Epoxy grout is far more stain- and water-resistant than cement grout, and it is a good choice for a shower floor or a busy family bathroom, but it sets faster, is harder to clean off tiles, and usually costs more. Match the grout type and colour as closely as possible to the existing grout if you are only regrouting part of the floor.
Removing Old Bathroom Grout Without Chipping Tiles
Protect the room first. Cover the bath or shower tray, tape off any grout lines you do not want to touch, and seal the bathroom door as well as you can, because grout dust travels surprisingly far. Work in short sections, and let the tool do the work rather than forcing it. With a manual saw, use firm, even strokes along the joint, and keep the blade in the grout line, not riding up onto the tile edge. With a power tool, use a medium speed and light pressure, and stop regularly to check your depth.
Aim to remove grout to roughly two-thirds of the tile depth, or at least deep enough that the new grout has something solid to key into — a thin skim over old grout will not bond. Internal corners and edges next to the bath or wall are best done by hand, because power tools can chew up silicone joints and tile edges there. When a section is done, vacuum the joints, brush them out, vacuum again, and wipe the floor with a damp cloth. Any dust left in the joint will weaken the bond of the new grout.
Cleaning and Preparing Grout Joints for a Lasting Bond
Once the old grout is out, the joints need to be clean and dry. Vacuum thoroughly, then go over the joints with a stiff nylon brush — not a metal brush, which can damage tile glaze. If there is mould in the joints, a paste of baking soda and hydrogen peroxide, left for a short time and then scrubbed gently, is often effective; avoid bleach on coloured grout, because it can lighten or discolour it unevenly. Rinse carefully and let the floor dry completely before you grout, because new grout, especially epoxy, will not bond well to a wet surface.
This is also the time to decide about colour. If you are regrouting the whole floor, you can choose a new colour that suits the tiles. If you are only doing part of the floor, test a small amount of the new grout in an inconspicuous corner first, because wet grout looks darker than dry grout, and a mismatch will be obvious once it cures. Keep a note of the grout brand, type and colour for future repairs.
Applying New Bathroom Grout in Small, Workable Sections
Mix only as much grout as you can use in the working time stated on the packaging, adding water a little at a time until the mix resembles thick, smooth icing that holds its shape on the float. Work in sections of roughly one to two square metres at a time. Spread the grout diagonally across the joints with the float, pressing firmly so the joints fill completely, then pull the float across the tiles at an angle to remove the excess.
Let the grout firm up slightly, then wipe the tiles with a damp sponge with rounded edges, rinsing the sponge often in clean water. Wring the sponge out well — too much water will wash grout out of the joints and weaken them. Do a second, lighter wipe once the first haze has formed, and be careful not to dig into the joints. For epoxy grout, follow the manufacturer's cleaning instructions closely, because it is much harder to remove once it has started to cure.
Remove old grout to a consistent depth, working in short sections.
Vacuum, brush and vacuum again, then let the joints dry completely.
Mix a small batch of grout and fill one section at a time with a float.
Wipe tiles with a damp sponge, rinsing often, and avoid digging into joints.
Let the grout cure as directed, then seal it once it is fully dry.
Curing, Sealing and Keeping New Bathroom Grout Clean
Curing time varies by grout type, so follow the packaging rather than guessing. Cement grout usually needs at least a day before the floor is used normally, and longer before it is sealed. Keep the floor dry during curing, and avoid mopping or showering over freshly grouted areas until the manufacturer says it is safe. Rushing this stage is a common reason new grout cracks or stains early.
Once the grout is fully cured, apply a grout sealer, especially in a wet bathroom. Sealer does not make grout waterproof forever, but it slows staining and moisture absorption and makes routine cleaning far easier. Reapply sealer periodically, following the product guidance, and clean the floor with a pH-neutral cleaner rather than harsh acids or abrasive pads, which wear sealer and grout down. A quick squeegee or towel-dry after showers in a wet area will also extend the life of the new grout noticeably.
When Regrouting Alone Will Not Save a Bathroom Floor
Regrouting is not the right fix if tiles are loose across a large area, if the subfloor is soft or springy, if there is a persistent leak, or if mould is growing inside gaps and behind tiles rather than just on the surface. In those cases, the problem is underneath the tiles, and new grout will only hide it for a short time. A tiler or plumber should investigate the subfloor, membrane and plumbing before you spend time and money on grout.
Similarly, if the floor has a structural crack running through tiles and grout together, that crack will usually return through new grout unless the movement causing it is addressed. A single hairline crack in one grout joint is different from a crack that crosses several tiles in a line. When in doubt, get a professional opinion before regrouting a large area — a short inspection is cheaper than regrouting twice.
Final Thoughts: New Grout, Same Tiles, a Bathroom That Looks Cared For
Replacing old bathroom grout without removing tiles is one of the highest-impact, lowest-disruption repairs a homeowner can do. It works because it targets the part that actually failed — the grout — while leaving sound tiles, adhesive and membrane in place. Remove the old grout properly, clean the joints, work in small sections, cure and seal the new grout, and the floor will look and feel far newer for a fraction of the cost and mess of a retile. If the tiles themselves are failing, though, be honest about it and fix the underlying problem first; new grout cannot hold up a floor that is already coming apart.
Bathroom Regrouting FAQs Without Removing Tiles
Can I grout over old grout instead of removing it?
No, not if the old grout is cracked, crumbling or stained through. New grout needs a clean, deep joint to bond into. Grouting over failed grout usually cracks or flakes off quickly, and it traps dirt and moisture underneath.
How deep should I remove old grout before regrouting?
Aim for roughly two-thirds of the tile depth, or at least deep enough that the new grout has a solid joint to key into. A thin skim over the surface will not bond properly and will fail early.
Is epoxy grout better than cement grout for a bathroom?
Epoxy grout is more stain- and water-resistant and lasts longer in wet areas, which makes it a good choice for shower floors and busy bathrooms. It is harder to work with, sets faster, and usually costs more, so follow its instructions closely.
How long should new grout cure before I use the bathroom?
Follow the packaging for your grout type. Cement grout usually needs at least a day before normal use, and longer before sealing. Keep the floor dry during curing and do not mop over freshly grouted joints.
Can I change grout colour without retiling?
Yes, if you regrout the whole floor, or if you use a grout colour sealer on sound grout. Test the colour in an inconspicuous corner first, because wet grout looks darker than dry grout.
When should I call a professional instead of regrouting myself?
Call a professional if many tiles are loose or hollow, if the floor feels soft, if there is a persistent leak, or if mould is growing behind tiles. Those signs point to subfloor, membrane or plumbing problems that regrouting alone will not fix.