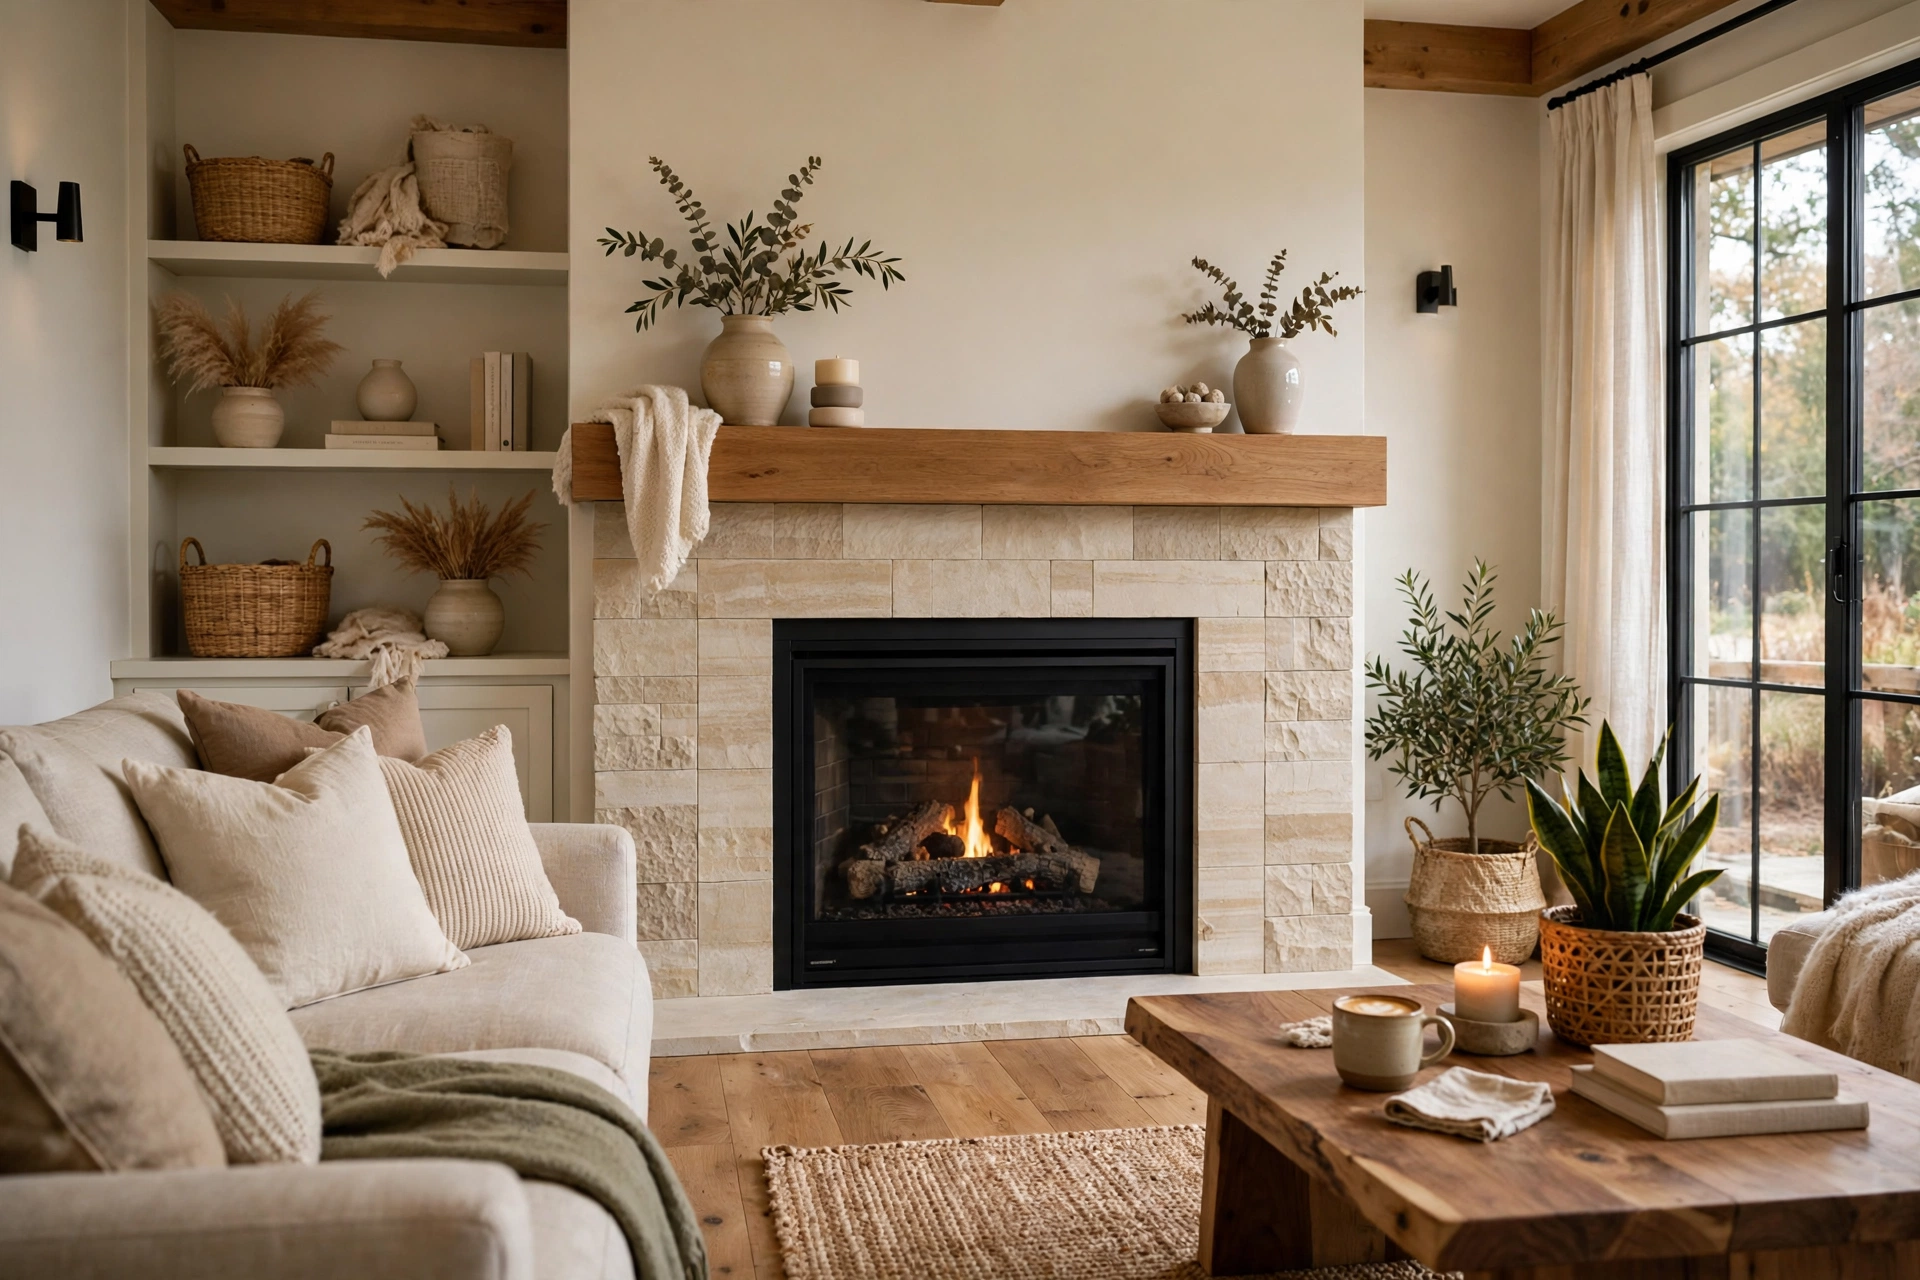
A dated fireplace can dominate a living room, and replacing the surround feels like the only fix. For a first-time DIYer, it usually is not. Paint, whitewash, new trim, a refreshed mantel and better styling can transform the same fireplace in a weekend, at a fraction of the cost and disruption of a replacement. The key is to work with the surround you have, choose a finish that suits its material, and protect the firebox, hearth and clearances that keep the fireplace safe.
The short answer is to start with cleaning and a test patch. Clean the brick, stone or tile thoroughly, protect the walls, floor and firebox, then try your chosen finish on a small, inconspicuous area and live with it for a day. If you like it, work in thin, even coats and build colour gradually. A fireplace update that looks rushed is almost always a finish applied too thick, too fast, without proper preparation.
First, Work Out What Your Fireplace Surround Is Made Of
Brick, stone, tile, concrete and painted wood all behave differently, and the wrong finish on the wrong material is the most common first-time mistake. Brick and unsealed stone are porous, so they absorb wash and paint unevenly, which can actually help a whitewash look natural. Glazed tile and sealed stone are smoother and less absorbent, so they need thorough cleaning and often a primer made for slick surfaces. Painted wood surrounds behave like any painted trim, provided the paint is heat-rated for its location.
Check whether the surround has been sealed, waxed or previously painted, because that changes adhesion. Water beaded on the surface, a shiny finish, or paint that peels in sheets are all clues. If you are unsure, test cleaning and a small patch of primer in a hidden spot first. Also check for soot damage, loose mortar, cracked tiles or damaged grout, and repair those issues before you paint over them, or the new finish will fail at the weakest point.
Identify what must not be painted. The firebox interior, gas logs, burner parts, vents and any surface that gets direct flame or very high heat should not be coated with ordinary wall paint. Use only products rated for their location, follow the fireplace and product makers' instructions, and keep paint away from pilot lights, gas connections and electrical components. When in doubt about a gas or wood-burning fireplace, ask a qualified professional before you start.
Cleaning a Fireplace Surround So a New Finish Actually Sticks
Cleaning is unglamorous and essential. Dust and vacuum the surround, brush loose soot from crevices, and wash brick or stone with warm soapy water and a stiff brush, working from the bottom up to avoid drip stains. For heavier soot, a cleaner made for masonry, used exactly as directed, can help, but test it in a hidden area first and rinse thoroughly. Let the surround dry completely before you paint, because trapped moisture can cause peeling and blotchy colour.
Protect everything around the fireplace before you open a paint tin. Tape walls, trim and the mantel edge, cover the floor with a drop cloth that extends well beyond the hearth, and close or cover the firebox opening so paint, dust and drips cannot reach the interior. A whitewash project in particular is drippy, and a small drip on a light floor or rug is far harder to remove than it is to prevent.
Whitewashing Brick and Stone: The Forgiving First Fireplace Project
Whitewash is diluted paint, brushed on and wiped back so some of the original brick or stone still shows through. That translucency is why it suits first-time DIYers: it softens a dark, dated surround without demanding a perfect, opaque coat, and variations in coverage look intentional rather than like mistakes. Start with a thin mix, roughly equal parts paint and water for a light wash, or more paint for stronger coverage, and mix only a small batch at a time so you can adjust as you learn how your material absorbs it.
Work one brick or stone at a time, brushing the wash on and dabbing excess with a rag before it sets. Step back frequently to check the overall effect, because a single brick viewed up close can look very different from the whole surround viewed from a sofa. Let the first coat dry fully, then add a second coat only where you want more coverage. It is much easier to add whitewash than to remove it, and a second coat on the darkest bricks often gives a more natural result than one heavy coat over everything.
Mortar joints need a decision of their own. Leaving joints darker preserves the brick pattern and depth, while painting them the same colour flattens the look. Many first-timers prefer to keep joints darker at first, then touch up only the joints that look too stark once the wash has dried. If you dislike a result, a damp rag used promptly can lift fresh wash from a small area, but fully dried paint is a different job, so work slowly and check often.
Solid Paint, Limewash and German Schmear: Choosing the Right Look
Solid paint gives the cleanest, most modern result, but it also demands the most preparation and the most even application. Use a primer suited to masonry where needed, apply thin coats with a brush that reaches mortar joints, and allow full drying between coats. A solid colour hides texture and variation, which suits a very dated or stained surround, but it also makes brush marks and uneven coverage more visible, so take your time and work in good light.
Limewash is a mineral-based wash that gives a soft, chalky, mottled finish and suits brick and stone with a more rustic or European look. It behaves differently from latex paint, often needing dampening of the surface and careful layering, so follow the product instructions closely and test it first. German schmear, a mortar wash smeared over brick, creates a heavier, old-world texture and is less forgiving to reverse, so it suits confident beginners who have practised on a sample board, rather than a first project on a main living-room fireplace.
Updating the Mantel, Trim and Hearth Without Replacing Anything
Often the surround is not the only dated element. A dark wood mantel can be sanded, primed and painted in a heat-appropriate paint, or stripped and refinished if the wood underneath is attractive. Brass fireplace doors can be updated with high-heat spray paint made for that purpose, provided the doors are removed, cleaned and prepared exactly as directed, and never painted while hot or in use. Small changes here can matter as much as the main wash.
Trim is another high-impact, low-risk update. Replacing a broad, dark trim board with a slimmer, painted trim, or adding a simple picture-frame moulding around the surround, can frame the fireplace more cleanly without altering its structure. Keep any new trim clear of heat sources and within the fireplace maker's clearance requirements, and use fixings that do not interfere with the firebox, vents or gas lines.
Styling the Updated Fireplace So It Looks Finished, Not Half Done
A newly washed fireplace still needs styling to look finished. Keep the mantel simple: a mirror or piece of art that suits the scale of the surround, one or two taller objects at the ends, and a small plant or candle grouping in the centre, with space between objects so the mantel does not look crowded. Avoid placing paper, fabric, dried flowers or candles where heat, sparks or a falling object could create a hazard, and never hang anything that blocks a vent or a safety control.
Balance the room around the fireplace as well. If the surround is now light, a dark sofa, rug or artwork nearby can stop the room feeling washed out, while light walls and soft furnishings can make a whitewashed fireplace feel calm rather than stark. Step back and view the fireplace from the main seating position, because that is the view you will live with, not the close-up view from a step stool.
A Simple Weekend Sequence for First-Time Fireplace DIYers
A realistic weekend sequence looks like this: day one for inspection, cleaning, protection and a test patch; day two for the first full coat, drying and a second coat where needed, followed by mantel and trim touch-ups. Do not rush drying times to finish in one day, and do not start late in the evening if you need daylight to judge colour. Good light matters more than speed, especially with whitewash, where wet colour looks darker than dry colour.
Keep a small amount of your mixed finish aside for touch-ups, labelled with the mix ratio and product name. A scuff, a chipped edge or a spot where soot returns can be touched up quickly if you have the exact mix, and it saves a frustrating colour-matching exercise later. Photograph the finished fireplace in daylight and in evening light, so you can see whether the colour works in both conditions before you call the project done.
Fireplace Update Safety and When a First-Timer Should Stop
Stop and get professional advice if the fireplace has structural damage, a damaged chimney or flue, a gas leak smell, a faulty pilot or burner, smoke entering the room, or any doubt about clearances and heat-rated materials. Never paint inside a firebox with ordinary paint, never cover vents, air intakes or safety labels, and never use a fireplace until any new finish is fully cured and the area is clean and clear, following product instructions.
Work with ventilation, wear gloves and eye protection when cleaning soot or using masonry cleaners, and keep children and pets away from wet paint, dust and tools. If your home has lead paint on an older surround or trim, do not sand or disturb it without following local lead-safe guidance and, where required, professional help. A cosmetic update is never worth a health or fire safety risk.
Final Thoughts: A Fireplace You Like, Without Replacing the Surround
Updating a fireplace without replacing the surround is one of the most rewarding first DIY projects, because the change is visible every day and the risk is manageable when you prepare properly. Clean thoroughly, test your finish, build colour in thin layers, refresh the mantel and trim, and respect heat and clearance rules. Done that way, the same fireplace that once dominated the room for the wrong reasons can become a feature you actually enjoy living with.
Updating a Fireplace Without Replacing the Surround FAQs
Can I paint a brick fireplace as a first-time DIYer?
Yes, provided the fireplace is sound, you clean and prepare it properly, and you use products rated for the surface and location. Whitewash is the most forgiving first finish, while solid paint needs more even coats and patience. Never paint inside the firebox with ordinary paint.
What is the difference between whitewash and solid paint?
Whitewash is diluted paint wiped back so some original brick or stone shows through, giving a softer, textured look. Solid paint covers the surface completely for a cleaner, more modern finish, but it hides texture and shows uneven application more easily.
Do I need a primer before painting a fireplace?
It depends on the material and finish. Porous brick often accepts whitewash without primer, while glazed tile, sealed stone and previously painted surfaces usually need a primer made for slick or masonry surfaces. Test adhesion in a hidden spot if you are unsure.
Can I update brass fireplace doors without replacing them?
Often yes, using a high-heat paint made for fireplace doors, with the doors removed, cleaned and prepared exactly as directed. Never paint doors while hot, and do not paint vents, controls or gas parts. If the doors are damaged or do not close properly, replace them instead.
How long should fireplace paint dry before I use the fireplace?
Follow the product maker's curing instructions, which may be longer than the touch-dry time. Do not use the fireplace until the finish is fully cured, the area is clean, and any protective coverings are removed. Rushing this step can damage the finish and create odour or safety issues.
Will painting my fireplace affect its value?
A well-done, neutral update usually helps a dated fireplace feel fresher, while a bold or poorly applied finish can put buyers off. If you may sell soon, choose a light, neutral finish, keep the work tidy, and avoid covering attractive natural stone that buyers may prefer untouched.