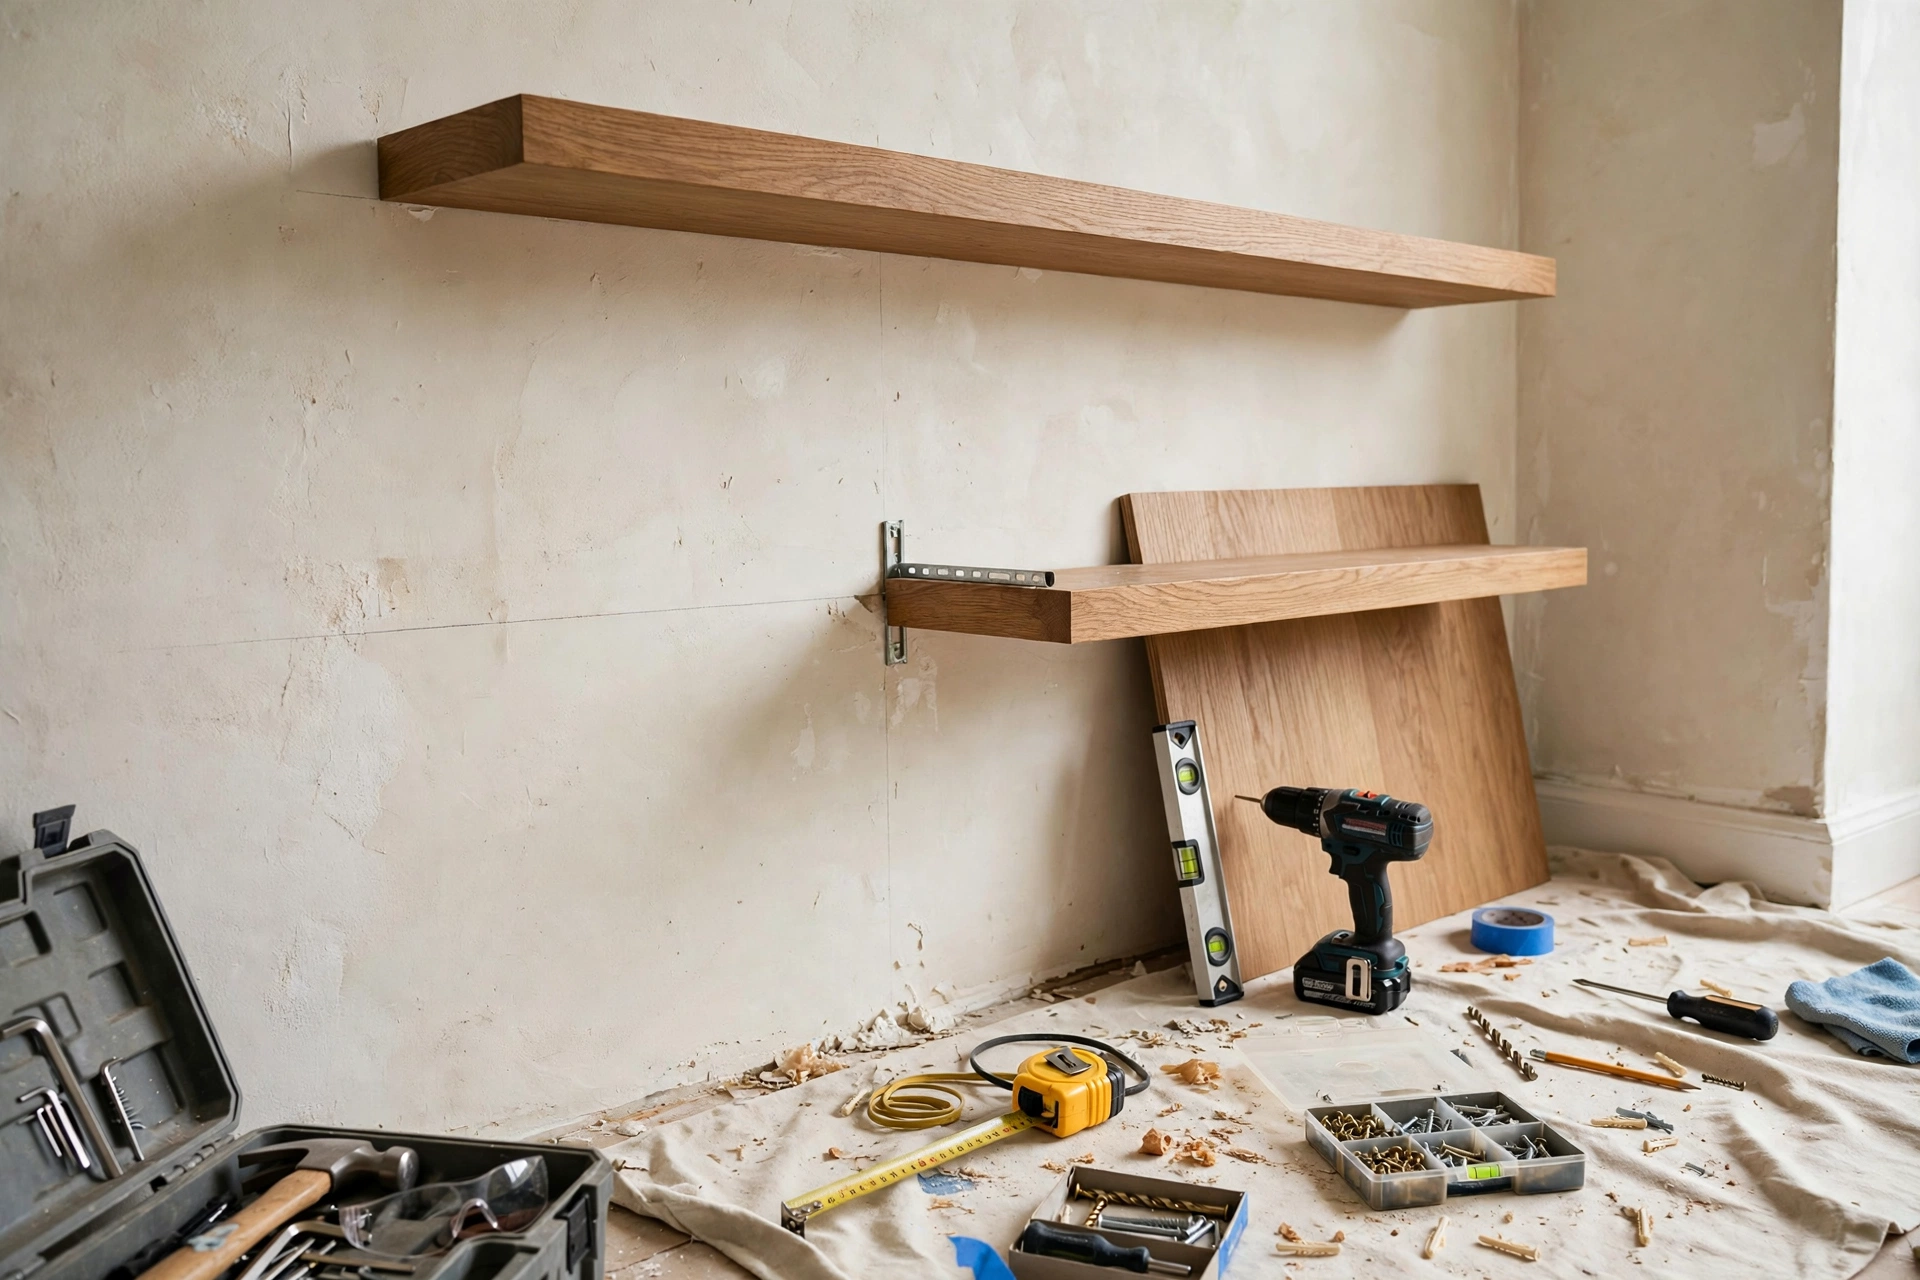
A floating shelf can make a plaster wall look calm and deliberately styled, but the wall underneath it is not forgiving. Old plaster is hard and brittle, often fixed to wooden lath, so a careless drill can crack a wide area, crumble the plaster key behind the surface, or — far more seriously — strike a cable hidden in the wall. None of that is inevitable. With a careful scan, the right fixing, and a slow, pilot-hole-first method, a floating shelf can be fixed firmly to plaster without damaging wiring.
The short answer is this: scan for studs, cables and pipes before you mark anything, aim for studs wherever the shelf layout allows it, drill small pilot holes without hammer action, and use a plaster-rated anchor only where no stud is available. Keep the load modest, spread it across at least two fixings, and test the shelf before loading it with books. If the scan is unclear, if the plaster is already loose, or if you find old fabric-covered wiring, stop and get an electrician to check the circuit first.
What Makes a Plaster Wall Different From Drywall for a Floating Shelf
Plaster and modern drywall look similar once painted, but they behave very differently under a drill. Traditional plaster is applied in coats over narrow wooden lath strips, and it gains much of its strength from plaster squeezed through the gaps in the lath, forming keys on the back. Drywall is a uniform board screwed to studs. Plaster can therefore crack away from the lath if it is vibrated, overheated or forced, while drywall usually just produces a clean hole.
Weight is the second difference. A floating shelf hides its bracket inside the shelf, so the whole load pulls downwards and outwards on the top fixing. On a sound stud, that leverage is manageable. On plaster alone, the same leverage can slowly work a fixing loose, especially if the shelf holds heavy books or ceramics. That is why bracket and anchor choice matters more on plaster, and why a short shelf with two well-placed fixings often outlasts a long shelf held by a single centre bracket.
Reading the Wall Before You Drill a Single Hole
Start by looking, not drilling. Run your hand lightly over the area and look for slight bumps, filled holes, or paint in a different shade — these can mark old fixings, a patched chase for cables, or a junction box cover. Shine a torch at a shallow angle across the wall; dents, bulges and old repair lines show up far more clearly in raking light than in ordinary daylight.
Next, think about where cables are likely to run. In many homes, cables run vertically above and below sockets and switches, and horizontally between them at roughly socket height, but this is a guide, not a guarantee, and older wiring does not always follow modern routing rules. Pipes are most likely near bathrooms, kitchens and radiators. If your shelf will sit above a socket, beside a switch, or on a wall shared with a bathroom, treat the area as higher risk and scan it twice.
Choosing a Floating Shelf Bracket That Suits Plaster
The strongest common design is a concealed steel rod bracket that screws to the wall and slides into the shelf, because it spreads the load along the rod rather than concentrating it on a single screw. A single central rod suits a short, lightly loaded display shelf, but a wider shelf needs a bracket with two or more rods, or two separate brackets, so the weight is shared.
Check the kit's stated load rating, then treat it as an upper limit for a perfect wall, not a promise for your wall. On plaster, stay well below the maximum, especially for books. If the kit supplies only short screws and small plastic plugs designed for drywall, do not rely on them in old plaster — buy fixings rated for plaster, lath or masonry as appropriate, and check that the screw length suits the bracket without punching too far through the wall.
Mapping Studs, Wiring and Pipes Without Guesswork
A combined stud, cable and pipe detector is the most useful tool for this job, and it is worth borrowing or buying one rather than guessing. Read its instructions first, because models calibrate differently, and many need to be held flat against the wall and moved slowly. Calibrate it on a section where you do not plan to drill, then scan the shelf area in slow, overlapping passes, first horizontally and then vertically, marking each signal lightly in pencil.
Do not trust a single pass. Plaster, lath nails and metal corner beads can all confuse a detector, so scan the same area at least twice and compare the marks. If the detector signals a cable in one pass and not the next, treat that spot as uncertain and move the fixing. A strong magnet can help as a second check for studs, because it finds the nails holding lath to studs, but a magnet cannot tell you where a cable is, so it never replaces an AC detector. Mark a clear no-drill zone around every signal, and around every socket and switch.
The Pilot-Hole Method That Keeps Plaster From Cracking
The most effective habit for plaster is to drill in stages. Start with a small pilot hole, using a sharp bit suited to the backing, and drill slowly with the drill set to rotary only — hammer action vibrates plaster and is a common cause of cracking and crumbling. Let the bit cut, do not push hard, and withdraw it regularly to clear dust. If the plaster starts to flake, stop, let the bit cool, and try a smaller pilot bit.
Once the pilot hole is clean, enlarge it in one careful step to the size needed for the anchor or screw, again without hammer action unless you have confirmed a solid masonry backing and the fixing instructions call for it. For a stud, a pilot hole slightly smaller than the screw lets the screw bite firmly without splitting the timber. For an anchor, follow the manufacturer's hole size exactly — a hole even slightly too large will let the anchor spin or pull out under load. Wrap tape around the bit at the required depth so you do not drill deeper than needed.
Scan the shelf area twice with a stud, cable and pipe detector, and mark safe points in pencil.
Mark the bracket positions, then check them with a spirit level before drilling.
Drill a small pilot hole slowly, rotary only, and clear dust as you go.
Enlarge the hole to the fixing size, test the anchor or screw fit, and only then tighten the bracket.
Slide the shelf on, level it, lock it if the kit provides a locking screw, and test it before loading.
Anchors for Plaster When No Stud Lines Up
Sometimes the shelf position you want simply does not line up with studs. In that case, a plaster-rated anchor is the fallback, not the first choice. Toggle anchors spread the load behind the plaster and can hold a useful weight in a hollow cavity, but they need enough space behind the lath to open fully, and they leave a larger hole if you ever remove them. Always check the manufacturer's rating for your wall type and for the shelf load.
Floating Shelf Installation, Step by Step, on Lath and Plaster
Hold the bracket against the wall at the chosen height and mark the holes through the bracket, rather than measuring from the shelf alone — this avoids small errors that leave a shelf tilted. Use a spirit level across the bracket, not just your eye, because a tilt that looks tiny at the bracket becomes obvious once the shelf is loaded and viewed from across the room.
Drill the pilot holes, fit the anchors or screws, and tighten the bracket firmly but not excessively. Over-tightening is a common cause of plaster cracking around a fixing, especially with a toggle or plug that is already snug. The bracket should not move when you press it firmly, but the plaster around it should not be bulging or cracking. Slide the shelf onto the rods, check the level again, secure any locking screws underneath, then test the shelf by pressing down gently at the front edge and at each end before you fill it completely.
Loading, Levelling and Testing a Plaster-Mounted Shelf
How you load a floating shelf matters as much as how you fix it. Heavy items should sit closest to the wall, where leverage on the fixing is lowest, and lighter items should go towards the front edge. Books should be grouped rather than spread as a single long, heavy row if the shelf is wide, and a shelf holding ceramics or plants should be checked more often than a shelf holding only a few framed photographs.
Floating Shelf Plaster Damage: Small Cracks, Loose Fixings and How to Fix Them
Small hairline cracks around a fixing are common in old plaster and are not always a sign of failure, but they should not be ignored. If the crack is stable, the fixing is firm, and the shelf is level, a flexible filler and a touch of paint after curing will usually restore the appearance. If the crack grows, if plaster dust keeps appearing, or if the fixing moves when you press it, the fixing has lost its grip and needs to be replaced, not just filled over.
To replace a failed fixing, unload the shelf, remove the bracket, and inspect the hole. If the hole is only slightly enlarged, a larger plaster anchor or a move to a nearby stud may solve it. If the plaster around the hole is crumbling, fill the damaged area with a suitable plaster repair compound, let it cure fully, and then drill a fresh pilot hole in the repaired area. For wiring damage, the rule is simple: stop work, switch off the affected circuit at the consumer unit, and do not use the circuit until an electrician has inspected it.
Final Thoughts: A Floating Shelf That Stays Put on Plaster Walls
A floating shelf on plaster rewards patience more than strength. Scan carefully, choose a bracket and fixing that suit the wall you actually have, drill slowly in stages, and respect the load limit of the fixings. Done that way, the shelf will look as if it is part of the wall, hold its level, and stay safe for years. Done in a hurry, with a hammer drill and a guess about where the cables are, the same shelf can crack the plaster, damage wiring, and fall — and none of those outcomes is worth saving ten minutes.
Floating Shelf Plaster Installation FAQs
Can I install a floating shelf on plaster without finding a stud?
Yes, for a light display shelf, using a plaster-rated toggle or hollow-wall anchor, provided the plaster is sound and the load is kept well below the anchor rating. For books or heavier items, fixing into studs is much safer.
How do I know if there is wiring behind my plaster wall?
Use a combined stud, cable and pipe detector, scan the area at least twice in different directions, and mark every signal as a no-drill zone. Also treat the areas vertically above and below sockets and switches as higher risk.
Why does plaster crack when I drill into it?
Plaster cracks most often from vibration, heat, or forcing a large bit in one step. Hammer action, a blunt bit, and pushing hard all increase the risk. Drilling slowly, rotary only, with a small pilot hole first, greatly reduces cracking.
What is the best anchor for old lath and plaster?
It depends on the cavity behind the plaster. A toggle anchor that opens behind the lath often works well in a hollow cavity, while plaster over solid brick or block usually suits a masonry fixing. Always check the anchor rating for your wall type.
How much weight can a floating shelf on plaster hold?
There is no single safe figure, because it depends on the bracket, the fixings, whether you hit studs, and the condition of the plaster. Keep loads modest, place heavy items near the wall, and spread the weight across at least two fixings.
Should I use hammer action on a plaster wall?
No, not on lath and plaster. Hammer action is for solid masonry and can crack and crumble plaster. Use rotary drilling only, and only use hammer action if you have confirmed a solid masonry backing and the fixing instructions require it.