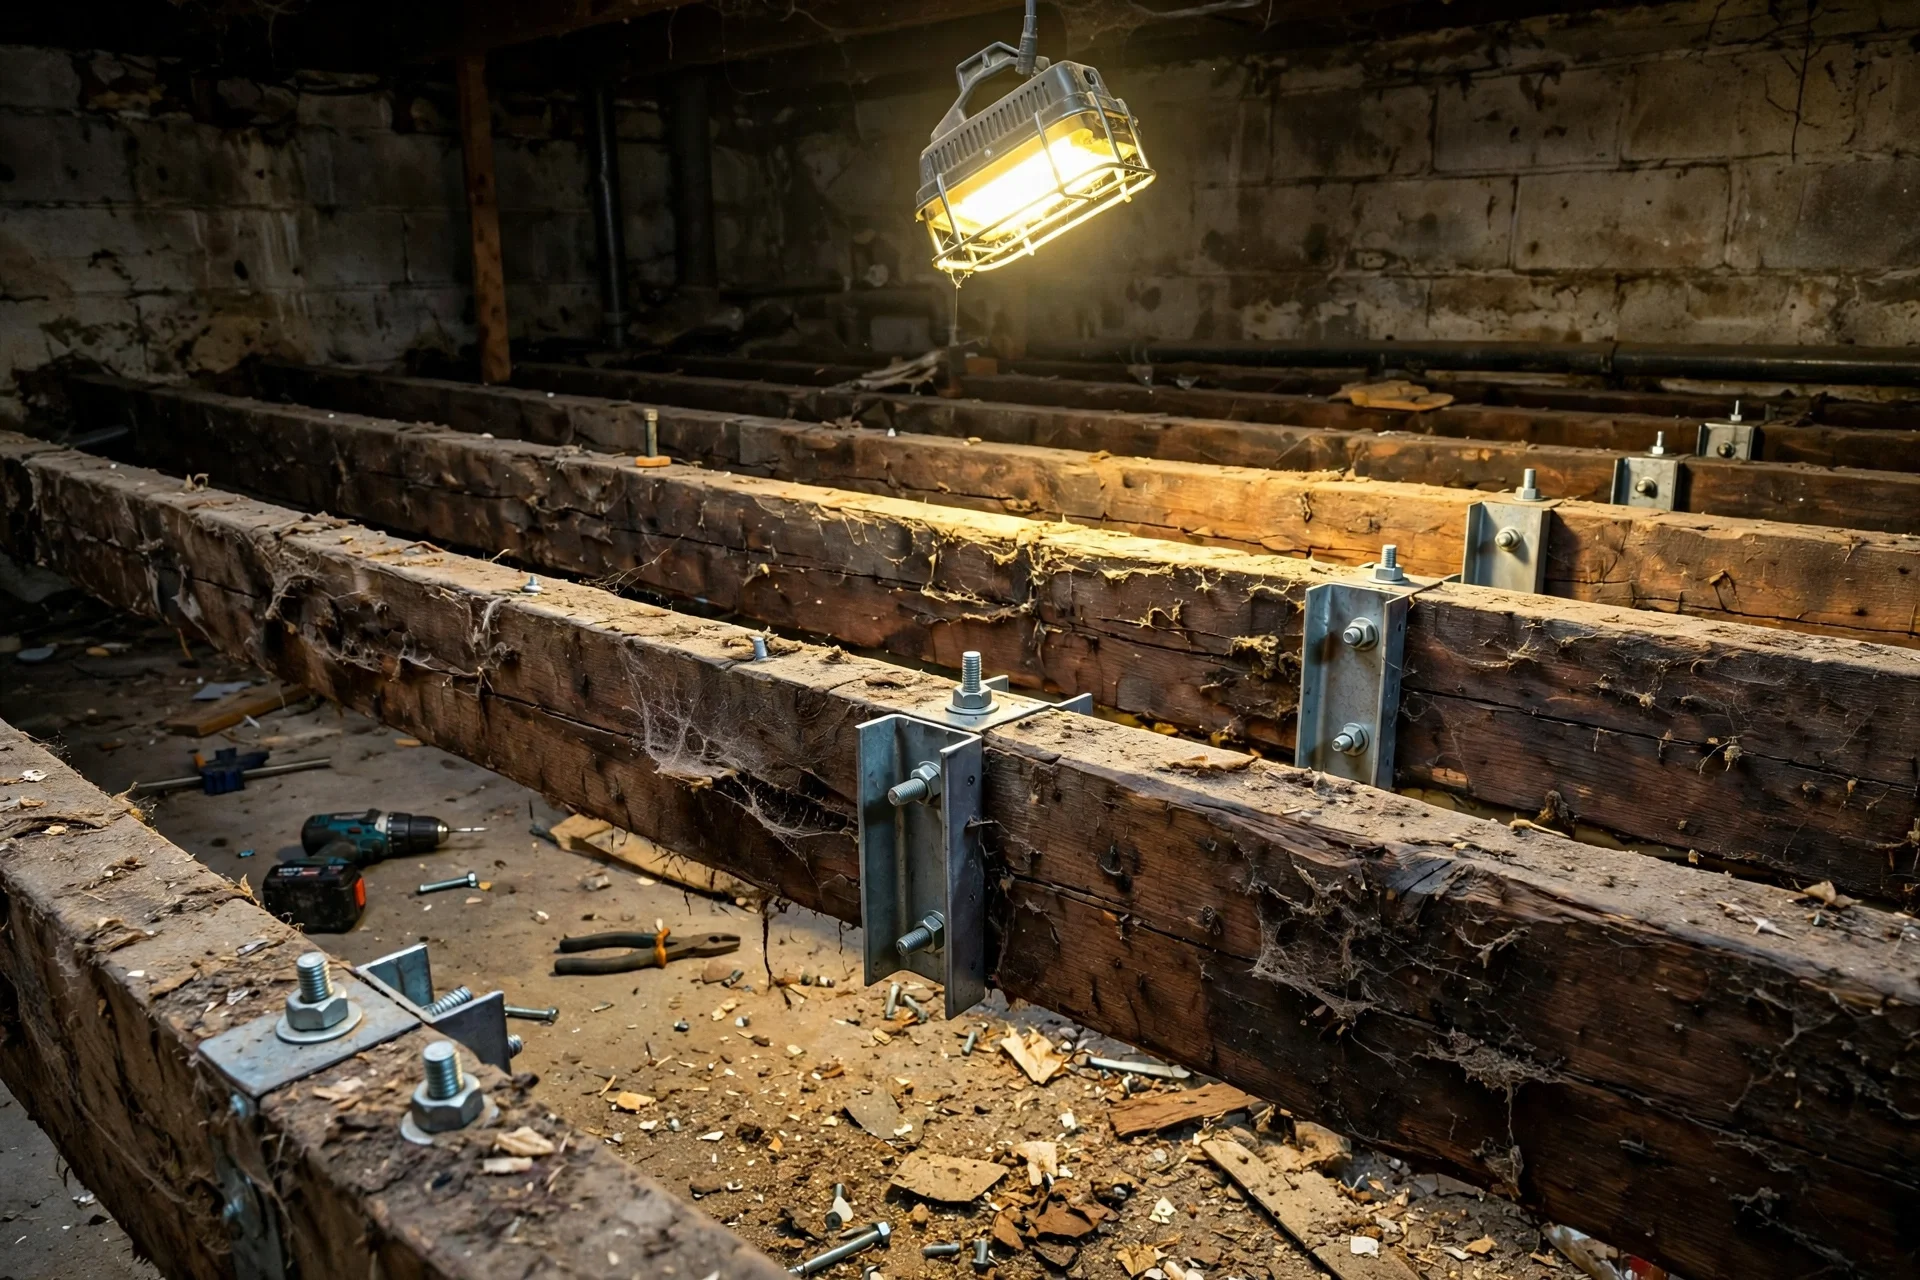
A floor that sags, bounces, or slopes toward the middle of a room is telling you something important about the wooden beams underneath it. In older homes, those beams have carried decades of furniture, foot traffic, and changing loads, and many have quietly lost strength to rot, insects, or ageing. Most deteriorating beams can be restored without tearing the house apart — sistering, resin and steel reinforcement, and partial replacement are proven methods that cost far less than a full floor rebuild.
The key is diagnosis before repair: a beam that looks bad may still carry load safely, while a sound-looking beam can be hollow inside. This guide shows how to read the warning signs, test your beams’ true condition, choose the right repair, and fix the moisture that caused the decay — so the repair lasts for decades.
Reading the Warning Signs in Sagging, Bouncy Old Floors
Deteriorating floor beams rarely fail without warning. A floor that dips in the centre of a room, doors that stick in their frames, or gaps opening between the skirting board and the floor all suggest the beams below have lost stiffness. Bouncy floors — where footsteps make the floor flex or dishes rattle — usually point to joists weakened by decay or spanning too far without support.
Other clues are subtler but just as important:
- Cracks in plaster running diagonally from door and window corners, especially downstairs.
- A musty smell in the basement or crawl space, or mould under floorboards.
- Joist ends that look dark, soft, or crumbly where they sit in damp masonry.
- Floors sloping in one direction, suggesting a pier has settled or a beam has dropped.
Any of these signs deserves an inspection from below. Bring a torch, a screwdriver, and a moisture meter. Sound wood resists the screwdriver’s point; decayed wood lets it sink in easily. Readings above 19 percent mean active rot is likely, and readings in the mid-20s indicate serious structural loss.
How Wooden Floor Beams Lose Their Strength Over Decades
Moisture is the biggest enemy. Leaking plumbing, poor crawl space ventilation, and damp masonry keep timber wet long enough for fungi to break down its fibres. Wet rot makes wood spongy and crumbly, while dry rot also needs moisture to start, then spreads through dry timber along strands that can travel through masonry. Both destroy load-bearing capacity from the inside out, so a beam can look intact while having lost a quarter of its cross-section.
Insect attack is the second major cause. Wood-boring beetles lay eggs in damp timber, and their larvae tunnel through the wood, creating hidden cavities. Termites hollow beams from the inside, leaving only a thin shell. Ageing adds a third strain: many old beams were sized for lighter loads than modern living demands, and decades of slow deflection — known as creep — gradually increase the sag. Engineers use a simple rule: if a beam has lost more than about 20 to 25 percent of its cross-section in a critical zone, assume it no longer carries its design loads safely.
Diagnosing Beam Damage Before You Lift a Tool
A careful diagnosis saves money twice: it stops you replacing timber that is still sound, and it stops you patching a beam that needs a structural solution. Start by mapping the floor system — which members are joists, which is the main girder, and where the sill plates sit. Note every pier, post, and bearing wall, because a sagging floor is often a pier problem: if the soil under a footing has shifted, the pier sinks and the beam drops with it.
Next, test each suspect member. Rap the beam with a knuckle: sound timber rings faintly, decayed timber thuds or flakes. Push an awl into the wood at several points, especially at bearing ends in masonry pockets and around plumbing runs. Check for fresh insect frass, mud tubes, or live insects, and treat any active infestation before structural work — repairing around live termites guarantees the new timber will be attacked too.
Before any repair begins, take the load off the damaged beam with temporary shoring. A typical setup uses screw jacks under a continuous strongback — a doubled 2×10 or a 4×6 — placed perpendicular to the joists, two or three feet back from the damaged section so the lift engages sound wood. Jack the floor up slowly, a fraction of an inch at a time, because lifting too fast can crack plaster upstairs.
Sistering Deteriorated Joists Back to Full Strength
Sistering is the workhorse repair for damaged floor joists. A new joist of the same depth is fastened tightly alongside the damaged one so the two act as a single, stronger member. Done properly, it restores full stiffness and load capacity while leaving the original timber in place — which matters where removing joists would mean tearing up finished floors above.
The detail that separates a repair from a patch is length. Run the sister the full span from bearing to bearing whenever possible, even when the damage is only a foot long. A short scab centred on the damage concentrates stress at its own ends and simply moves the failure down the board. Where wiring or plumbing prevents a full-length sister, aim for at least three to four feet of sound overlap past the damaged zone in both directions. Use No. 2 grade lumber or better, matching the original depth; laminated veneer lumber (LVL) is an excellent sister for long spans because it is straighter and stiffer than solid timber.
- Shore the floor and jack the sagging joist back to level first.
- Apply construction adhesive along the old joist, then press the sister tight.
- Fasten with staggered structural screws or half-inch carriage bolts on 12 to 16 inch centres.
- Bear the sister on the same supports as the original.
- Add solid blocking between joists to stop twisting and spread loads sideways.
Two sisters, one on each side, are better still when space allows. After sistering, re-check the floor with a straight edge, then remove the shoring gradually, so the load transfers smoothly onto the repaired joist.
Resin Bonding and Steel Plates for Beams You Cannot Remove
Some beams cannot be sistered or replaced without major demolition — a main girder buried in a finished ceiling, or a historic beam that must be preserved. For these, resin bonding and steel reinforcement restore strength in place. Slots are cut into the beam, high-tensile steel bars or plates are inserted, and structural epoxy resin bonds them to the wood so the two materials share the load, restoring most of the beam’s original capacity without changing its appearance.
Resin splicing also replaces a decayed section: the rotten portion is cut out, a new piece of sound timber is shaped to fit, and the joint is bonded with epoxy and steel rods. Epoxy consolidants can stabilise partially degraded fibres, but reserve them for limited, non-critical areas — a beam that has lost a quarter of its section needs steel or new timber. Steel flitch plates offer a simpler hybrid, adding stiffness without much extra depth. A structural engineer should size the steel and set the bolt pattern.
Replacing a Beam Section Without Taking the House Apart
When a joist is decayed end to end, or a girder has failed along its whole length, full or partial replacement is the honest answer. For a single joist, the damaged member is cut out in sections and a new joist slid into place, often through an opening in the exterior wall. For a main girder, the whole floor is shored with adjustable steel columns while the old beam is cut out and a new one — typically a triple 2×10 or 2×12, or an LVL beam for long spans — is set on new posts and footings.
Beam ends deserve special attention. Joist ends pocketed into damp masonry are the most common rot location in older homes, because the masonry stays wet and the end grain wicks moisture. When replacing a beam end, cut back to sound wood verified by probing, since decay runs ahead of what shows on the surface. Set the new end on a damp-proof course or a metal joist hanger, and leave a small ventilation gap around the pocket so the timber can dry.
Stopping the Moisture That Rotted the Beams in the First Place
Every beam repair is wasted if the moisture that caused the decay is left in place. Sistering a joist without fixing the water is a repair that will fail again — often within a few years — and the second failure is usually worse because the new timber rots alongside the old. Before the shoring comes down, trace every water source: leaking pipes, gutters discharging against the wall, high ground levels, and crawl spaces with no ventilation.
The fixes are usually straightforward. Repair plumbing leaks and re-route any pipe that drips onto timber. Improve crawl space ventilation and lay a ground vapour barrier over bare earth to cut the humidity that feeds fungi. Keep soil and paving at least 150mm below the damp-proof course, and make sure gutters carry water well clear of the foundation. Re-check moisture a few months after the repair: readings below 18 percent mean the environment is finally healthy.
| Repair method | Best for | Typical disruption | Relative cost |
|---|---|---|---|
| Sistering a joist | Cracked, sagging, or locally rotted joists | Low — work from below | Low to moderate |
| Resin and steel reinforcement | Beams that cannot be removed or must be preserved | Low — in-place repair | Moderate to high |
| Partial beam replacement | Rotted ends or a single failed member | Moderate — localised opening | Moderate |
| Full girder replacement | Girder failed along its whole length | High — full floor shored | High |
| Sill plate replacement | Rotted sills at the wall base | High — house lifted slightly | High |
What Beam Restoration Costs and How Long the Repair Lasts
Costs vary widely with access, span, and how much timber needs replacing, so treat any figure as a broad estimate, not a quote. Sistering a single joist is usually the cheapest structural repair, often running into the low hundreds of dollars per joist for labour and materials when access is good. Resin and steel reinforcement costs more because it needs an engineer’s design and specialist materials, but it avoids the demolition full replacement would require.
A full girder replacement with new posts and footings is the most expensive option, running into several thousand dollars on a large house — still far less than rebuilding a floor from scratch. A well-executed repair should last as long as the house itself, provided the moisture problem is solved. What shortens the life of a repair is almost always water: a new leak, a blocked gutter, or a damp crawl space.
Floor Beam Restoration FAQs for Older Homes
Can a rotted floor beam be repaired, or does it always need replacing?
Most rotted beams can be repaired. Sistering, resin bonding, and steel reinforcement restore strength without removing the beam, and partial replacement handles rotted ends. Full replacement is only needed when the beam is decayed along its whole length or the girder itself has failed.
How do I know if my floor joists are structurally unsafe?
Probe the timber, check moisture readings, and measure the sag. If a joist has lost more than a quarter of its cross-section, reads above 25 percent moisture, or the floor sags more than an inch, get a structural engineer to assess it.
Is sistering a joist as strong as replacing it?
Yes, when done correctly. A full-length sister of the same depth, fastened with adhesive and a proper bolt or screw pattern and bearing on the original supports, restores full design strength and often makes the floor stiffer than before.
Do I need a permit to repair floor beams?
It depends on your local building code, but girder or sill replacement, or adding new posts and footings, usually needs a permit and inspection. Simple sistering of a single joist often does not — check with your local building department before starting.
How long does a floor beam repair take?
Sistering a few joists typically takes one to two days, including shoring and jacking. A girder or sill replacement can take a week or more, especially if new concrete footings need time to cure before they carry load.
Will my floors be level again after the repair?
In most cases, yes — jacking the floor slowly back to level before sistering restores a flat floor. Very old houses may not return perfectly level, and a good contractor lifts gradually and stops before forcing the structure, to avoid cracking plaster upstairs.
Final Thoughts: Restoring Old Floor Beams for Another Generation
Old wooden floor beams earned their keep over decades, and with the right repair they can keep carrying your home for decades more. Diagnose carefully, shore properly, fix the moisture first, and choose the repair that matches the damage rather than the cheapest patch. A properly restored floor is a lasting upgrade you will feel every time you walk across a room that no longer sags.