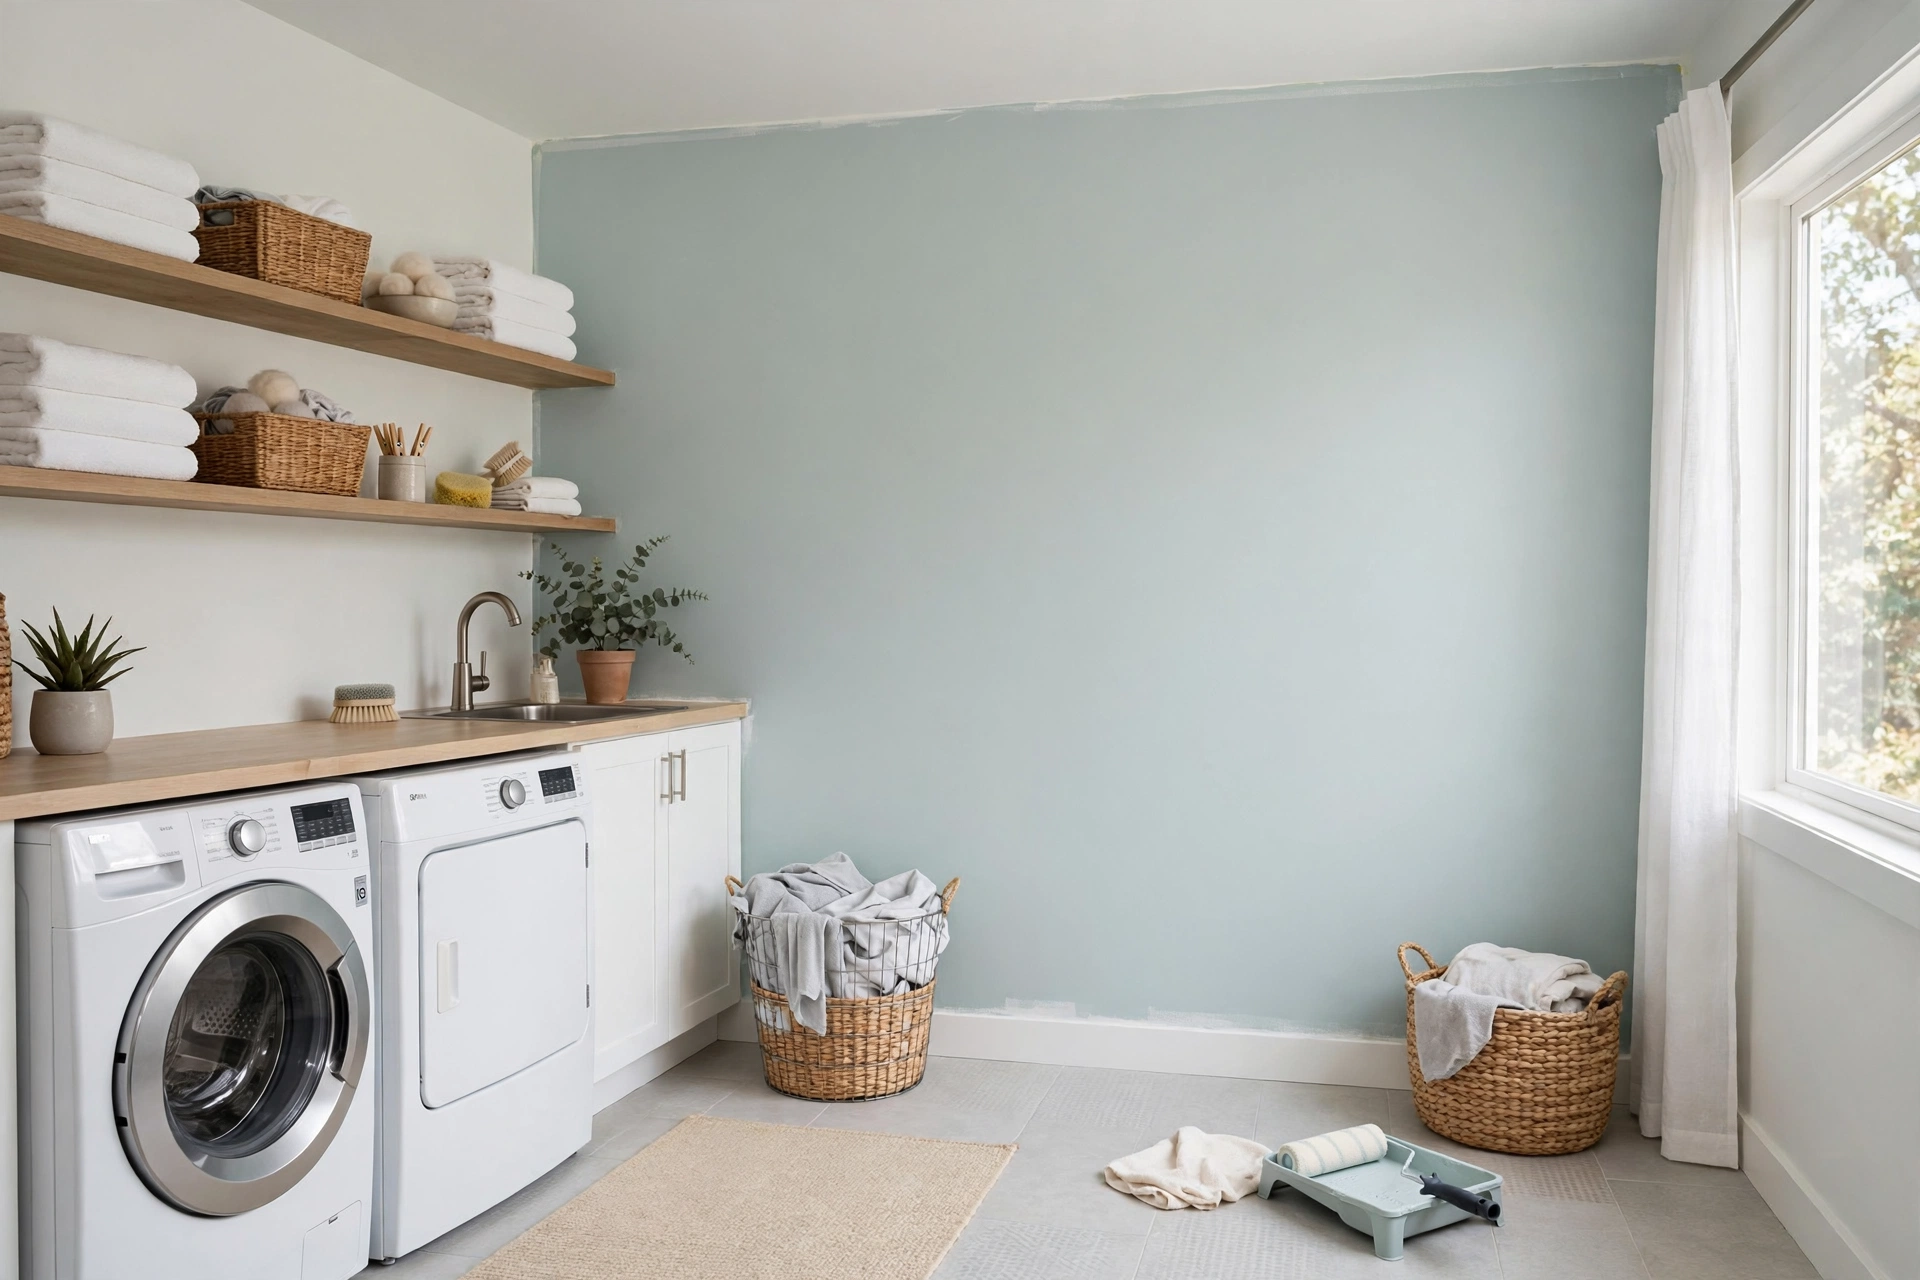
A laundry room is a small room with a big moisture problem. Washers splash, dryers push warm damp air into the space, wet clothes hang to dry, and a room with no window can stay humid long after the last load finishes. Ordinary matt paint often shows that history quickly: it marks when wiped, bubbles near a sink, and gives mould a surface to settle on. The short answer for a beginner is to choose a washable acrylic latex paint, or a paint made for kitchens and bathrooms, in a satin or semi-gloss finish, and to fix ventilation and leaks before you open a tin. That combination is forgiving to apply, easy to clean, and far more resistant to everyday laundry humidity than a standard flat wall paint.
This guide is written for a first-time painter, so it explains the choices in plain language, compares the main paint types side by side, and gives a step-by-step painting sequence that avoids the usual beginner errors. It also explains what paint cannot do: no paint will cure a leaking washer hose, a blocked vent, or rising damp, and painting over live mould without treating the cause will only hide the problem for a short while. Prices are broad estimates only, because brands, tin sizes, and regions vary, and the aim is to help you compare options rather than quote an exact job cost.
Why Laundry Room Walls Fail Faster Than Bedroom Walls
Laundry humidity is not constant, and that cycle is part of the problem. Walls warm up during a drying cycle, cool down afterwards, and condensation forms on the coldest surface, often an outside wall, a window frame, or the wall behind a machine. Repeated wetting and drying stresses a paint film, loosens its grip, and opens tiny cracks where moisture can sit. Add splashes of detergent, lint, and the occasional bump from a laundry basket, and a soft, porous finish soon looks tired. A moisture-resistant paint is not waterproof in the sense of a tanking membrane, but its film is tougher, less porous, and easier to wipe, so it survives those cycles far better.
Laundry Paint Types Compared for a First-Time Painter
Most beginners do best with a water-based acrylic latex paint, because it flows well, dries quickly, cleans up with soap and water, and has a mild odour. Kitchen-and-bathroom formulas are usually acrylic latex paints with added mildew resistance and a scrubbable finish, and they are a sensible upgrade for a damp laundry room. Specialist mould-resistant paints go a step further, with a biocide in the dried film that helps resist fungal growth, and they suit rooms with persistent humidity or poor airflow. Oil-based paints are tougher in some ways, but they are harder for a beginner to apply, slower to dry, and stronger smelling, so they are rarely the best first choice for an interior laundry wall.
Satin, Semi-Gloss, and Eggshell: Picking a Laundry Finish You Can Wipe
Finish matters as much as paint type in a laundry room. Satin and semi-gloss finishes have a smoother, tighter surface than flat matt, so splashes sit on top rather than soaking in, and a damp cloth removes most marks without lifting colour. Semi-gloss is the tougher of the two and suits trim, doors, and the wall behind a sink, while satin is a good compromise for main walls because it wipes well without the shiny glare that can highlight every bump in a small room. Eggshell sits between matt and satin: it looks softer, but it will not survive repeated scrubbing as well. For a beginner, satin walls plus semi-gloss trim is a simple rule that is hard to get wrong.
Checking Ventilation, Leaks, and Old Mould Before Painting a Laundry Room
Before painting, walk the room slowly and look for the causes of damp, not just its marks. Check washer hoses and connections, the dryer vent route, the sink trap, and the wall behind each machine. Run the dryer briefly and feel whether warm air escapes into the room instead of venting outside. Look for black spots, peeling paint, or a musty smell, and treat any mould by cleaning it with a suitable mould remover, following the product instructions and wearing gloves and eye protection, then letting the wall dry fully. If mould keeps returning, if plaster feels soft, or if you suspect a leak inside a wall, pause the cosmetic job and get the cause investigated, because paint will not hold on a wall that stays wet.
- Check hoses, traps, and dryer venting for leaks before you paint.
- Clean and treat any mould, then let the wall dry completely.
- Improve airflow first: an extractor fan, an open door, or a vent makes paint last longer.
- Do not paint over damp plaster, peeling paint, or live mould and hope for the best.
A Beginner Painting Sequence That Avoids Patchy Laundry Walls
Good preparation is what separates a beginner finish that lasts from one that peels in months, and it takes longer than the painting itself. Clear the room as far as you can, move machines only if you can do so safely and without straining hoses, and protect the floor and any fixed appliances with dust sheets. Wash walls with a mild sugar-soap solution, rinse, and let them dry. Fill small cracks and dents, sand lightly once filler is dry, and dust off. Prime bare plaster, patched areas, and any surface that has been stripped back, using a primer suited to the paint you have chosen, and allow the drying time stated on the tin rather than guessing.
When you paint, cut in the edges with a brush first, then roll the main wall in overlapping W-shaped strokes, keeping a wet edge so you do not leave lap marks. Two thin coats almost always beat one thick coat, especially in a humid room, because thick paint skins over while the layer beneath stays soft. Leave the drying and recoat times stated on the tin, ventilate the room while you work, and avoid hanging wet laundry in the freshly painted room until the paint has cured. That patience is free, and it is the single easiest way for a beginner to get a professional-looking result.
Laundry Paint Colour Choices That Stay Practical in a Small Room
Colour is a matter of taste, but in a small laundry room it also affects how the space feels and how easily it can be kept clean. Light, warm whites and pale blue-greys reflect the limited light most laundry rooms receive and make the room feel larger and easier to inspect for marks. Very dark colours can look striking, but they show lint, dust, and water marks more readily, and they need more coats for even coverage, which is extra work for a beginner. Whatever colour you choose, buy a small tester first and paint a large swatch on two walls, then look at it in daylight and under the room’s artificial light before committing to a full tin.
Laundry Paint Beginner Errors That Cause Peeling and Mould to Return
The most common beginner error is painting over a problem instead of preparing for it: skipping the wash, painting over gloss without a light sand, or using one thick coat to save time. The second error is choosing a flat matt paint because it looks soft on the colour card, then discovering it cannot be wiped after the first splash. The third is sealing a room up tight while paint dries, which traps moisture in the film and slows curing. The fourth is forgetting trim and doors, which take the hardest knocks from baskets and machines and need the tougher semi-gloss finish. Avoid those four, and a beginner laundry paint job can look good for years rather than months.
Final Thoughts: A Laundry Room Paint Job Beginners Can Trust
For a beginner, the safest laundry room choice is a washable kitchen-and-bathroom acrylic latex paint in satin for walls and semi-gloss for trim, applied over a clean, dry, well-prepared surface in two thin coats, in a room whose ventilation and leaks have already been dealt with. That is not the cheapest tin on the shelf, and it is not the most exotic product either, but it balances ease of application, cleanability, and moisture resistance in exactly the way a hard-working laundry room needs. Start with one wall, test your colour and finish, and let the paint cure before laundry day returns to normal, and your first painting project will be one you are happy to live with.
Moisture-Resistant Laundry Paint FAQs for Beginners
What is the best paint finish for a laundry room?
Satin for walls and semi-gloss for trim and doors is the most reliable beginner combination. Both wipe clean far better than flat matt, resist splashes, and stand up to the bumps and scuffs of laundry day, while satin avoids the high glare that can make a small room feel harsh.
Do I need a special mould-resistant paint in a laundry room?
Not always. A good kitchen-and-bathroom acrylic paint is enough for a ventilated laundry room with no history of mould. Choose a specialist mould-resistant paint if the room is windowless, stays humid, or has had mould before, and remember that paint helps resist growth on its film; it does not fix leaks, blocked vents, or rising damp.
Can a beginner paint a laundry room in a weekend?
Yes, for a small room, if preparation is done on the first day and painting on the second. Washing, filling, sanding, and priming take time, and each coat needs its stated drying time. Rushing coats or painting over a damp wall is the fastest way to spoil an otherwise good weekend project.
How do I paint around a washer and dryer safely?
Do not move heavy machines alone, and never strain or kink water hoses or the dryer vent. Paint what you can reach safely, use a small brush for tight edges, and protect machines with dust sheets. If a wall behind a machine needs full access, ask for help moving it or leave that section to a professional rather than risking injury or a leak.
Why is my new laundry paint peeling near the sink?
Peeling near a sink usually means the surface was damp, greasy, or glossy when painted, or that water keeps splashing onto an unsealed edge. Clean and dry the area, sand lightly, prime bare or damaged patches, and repaint with a scrubbable satin or semi-gloss finish, then check the sink seal and splashback for a leak that keeps the wall wet.
How long should laundry paint cure before normal use?
Paint is usually dry to touch within hours, but full curing takes longer, often several days depending on the product, temperature, and ventilation. Avoid scrubbing, hanging wet clothes against fresh paint, and steaming the room heavily until the paint has cured, and follow the curing time stated on your tin rather than assuming it is ready because it feels dry.