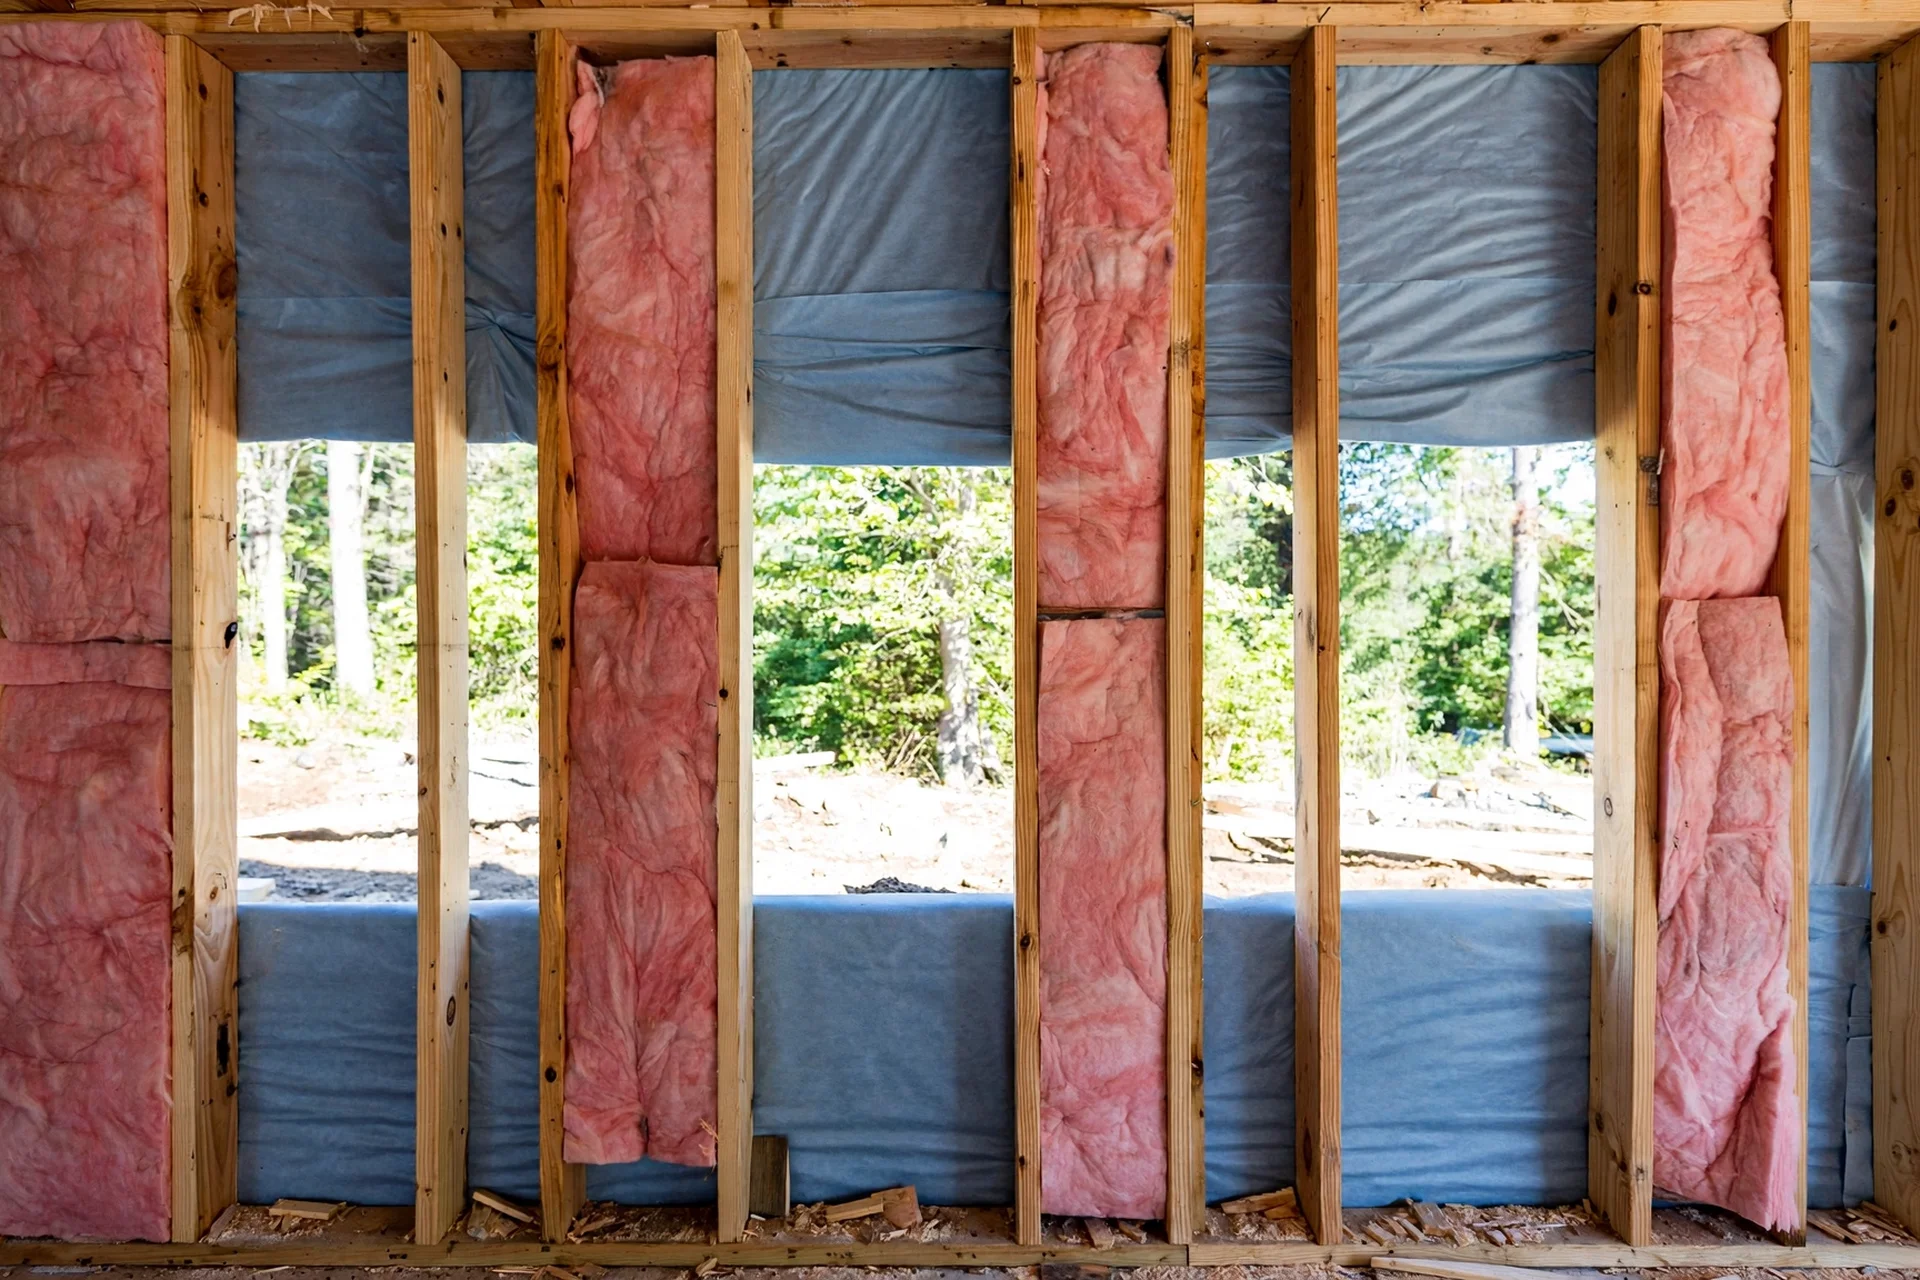
A wood-framed wall can look perfectly sound from the living room while the cavity behind the drywall is quietly soaking up water. Paint stays smooth and nothing smells damp — until a window leaks for one more winter, insulation sags, or a musty odour finally gives the problem away. By then the repair is rarely a small patch.
The best techniques work as a layered system: shed rain at the cladding, drain water that gets in down a continuous water-resistive barrier, ventilate the space behind the cladding, seal air leaks, choose the right vapour retarder for the climate, and flash every opening so water runs outward and down. A wall protected this way can get wet occasionally without staying wet — which is what prevents rot. Costs here are broad estimates only.
The Four Ways Moisture Attacks a Wood-Framed Wall Cavity
Wood can absorb and release small amounts of moisture without harm, but it fails when its moisture content stays high for long periods. Research from the USDA Forest Products Laboratory notes that wood performs well indefinitely at normal moisture levels yet is subject to failure when moisture content exceeds about 19 percent for sustained periods. That threshold is why management matters more than waterproofing alone: the goal is to keep wetting brief and drying reliable.
Moisture reaches a cavity four ways. Bulk water is rain driven through cladding joints, around windows, or past failed flashing; one leak can deliver far more water in a day than vapour diffusion delivers in a year. Capillary action wicks water through narrow gaps, for example where wood meets concrete. Air leakage carries warm, moist indoor air into the cavity, where it can condense. Vapour diffusion is the slow movement of vapour from damp to dry. Blocking only one path leaves the wall vulnerable.
How Does Moisture Enter and Stay Trapped Inside a Wall Cavity?
Most wet walls are not caused by a flood, but by small, repeated wetting combined with a wall that cannot dry. Wind-driven rain finds the smallest opening — a cracked caulk joint, a poorly lapped piece of house wrap, or a window top that was never flashed. Once water is behind the cladding, gravity should carry it down and out. When the drainage path is blocked, the barrier is torn, or cladding sits tight against sheathing, water lingers against wood and insulation.
Indoor moisture adds a quieter load. Cooking, showering, and breathing release vapour into indoor air. In cold weather that warm, moist air moves outward; if it reaches cold sheathing below the dew point, it condenses and leaves insulation damp. In hot, humid climates the drive reverses, pushing humid outdoor air inward.
- No drainage gap behind the cladding, so water clings to the sheathing.
- A water-resistive barrier lapped the wrong way, torn, or unsealed at windows.
- Compressed or gappy insulation that creates cold spots and holds moisture against studs.
- A vapour retarder on the wrong side for the climate, blocking the wall’s drying direction.
- Missing flashing, so every storm re-wets the same cavity.
Building a Drainage Plane That Lets Wall Cavities Shed Rainwater
The drainage plane is the wall’s second line of defence and, in practice, its most important. Cladding deflects most rain, but builders assume some water will get past it. The drainage plane, formed by the water-resistive barrier (WRB) on the face of the sheathing, catches that water and carries it down and out.
Lapping is where many good walls fail. Each upper course must overlap the course below it, shingle-style, so gravity pulls water outward and down rather than behind a seam. Seams should be taped as the manufacturer directs, the WRB sealed to window and door flanges, and tears patched. At the base, the WRB should end over flashing that directs water out. Most house wraps stop liquid water while allowing vapour to escape outward, helping the wall recover after a leak.
Rainscreen Gaps and Ventilated Cladding for Faster Wall Cavity Drying
A rainscreen adds a deliberate air gap between the back of the cladding and the WRB, usually with vertical furring strips, a drainage mat, or a textured house wrap. That gap gives bulk water an unobstructed path down by gravity, breaks capillary contact so water cannot wick from cladding to sheathing, and lets air move behind the cladding, carrying vapour away and drying both surfaces after rain.
Codes commonly require a gap of at least 3/8 inch, and many builders prefer 3/4 inch or more in wet or coastal climates. Brick veneer is traditionally installed with about a one-inch gap and weep holes at the base. Stucco over wood framing typically needs two layers of water-resistive barrier or a drainage mat, because wet stucco can bond to a single layer and trap water. A rainscreen only works if its bottom has an open, screened exit such as a weep screed; a bottom edge sealed tight with caulk can defeat it.
Choosing the Right Vapour Retarder for Your Climate Zone
A vapour retarder slows vapour diffusion; a true vapour barrier stops it almost entirely. The International Residential Code classifies retarders by permeance in perms: Class I is 0.1 perm or less, including sheet polyethylene and foil facings; Class II is over 0.1 and up to 1.0 perm, including kraft-faced insulation; Class III is over 1.0 and up to 10 perms, including ordinary latex paint on drywall. Materials above 10 perms are considered permeable.
The right class and position depend on climate, because vapour drive changes with season. In cold climates, warm indoor air drives vapour outward for most of the heating season, so a Class I or II retarder on the interior side keeps vapour from reaching cold sheathing and condensing. In hot, humid climates the drive often reverses, pushing humid air inward; a low-permeability interior barrier there can trap moisture that entered from outside.
Two cautions matter most. First, a vapour retarder controls diffusion only; it does nothing about air leakage, which moves far more moisture. A small hole can admit many times more water as moist air than diffusion through a whole sheet of drywall, so air sealing comes first. Second, never add a second low-permeability layer on the opposite side of a wall that already has one — that vapour sandwich traps moisture.
Air Sealing and Insulation Choices That Keep Wall Cavities Dry
Air sealing is the most effective moisture technique many homeowners overlook, because it is invisible once drywall is up. The fix is a continuous air barrier: sealed sheathing joints, taped house-wrap seams, sealed top and bottom plates, and careful sealing around every wire, pipe, outlet box, and window opening. Seal these gaps during framing and before insulation goes in, because access afterwards is limited and expensive.
Insulation choice also shapes how a cavity handles moisture. Fibreglass and mineral wool batts are vapour-permeable and dry reasonably well when they can breathe, but they lose performance when wet, compressed, or gappy, and they do not stop air movement alone. Closed-cell spray foam gives insulation and a strong air barrier and resists bulk water, but it is low-permeability, so the assembly must suit limited drying in that direction. Open-cell foam is more permeable yet can absorb water if a leak persists.
During construction, frame at consistent spacing so batts fit snugly and cut insulation around wiring rather than stuffing it behind boxes. In existing homes, seal the rim joist, the attic-to-wall junction, and top-plate penetrations from the attic side, and fit foam gaskets behind outlet covers on exterior walls.
Flashing, Windows and Penetrations: Sealing the Leakiest Wall Cavity Joints
Most wall leaks begin at a joint, not in the middle of a flat wall. Windows, doors, roof-to-wall intersections, decks, and service penetrations are where water concentrates and a small error becomes a chronic cavity problem. Flashing — shaped metal, membrane, or vinyl — intercepts water there and directs it outward and down, over the WRB and cladding below.
At windows, the sill should be sealed and sloped so water drains out, not inward, with flexible flashing tape on the sill and jambs before the window is set. Skipping the sill pan is a common failure: water past the window then has nowhere to go except into the framing below. Doors need the same care at the threshold, and every pipe, vent, and cable needs a proper flashing boot or sealed joint, not caulk alone. Kick-out flashing where a roof meets a wall diverts runoff into the gutter.
Spotting Hidden Wall Cavity Moisture Before Rot Sets In
Catching moisture early is far cheaper than rebuilding a wall. Look for peeling or bubbling paint, staining at the base of exterior walls, musty smells that worsen in damp weather, swollen trim, and siding that feels soft when tapped. Inside, damp patches, cold spots, or mould near windows can signal condensation or a leak above. A pin-type moisture meter, compared against a known dry wall, can confirm whether a suspect area is genuinely wet.
Some checks are safe for a homeowner: clearing gutters, re-caulking a failed joint, checking that ground slopes away from the foundation, and monitoring a stain after rain. Opening a wall or investigating widespread mould is different: it can expose hidden rot and, in older homes, lead paint or asbestos, which need specialist handling. Call a qualified builder, inspector, or mould remediation professional when moisture is widespread, framing feels soft, or the leak source cannot be found.
Final Thoughts: Keeping Wall Cavity Moisture Under Control for the Life of the Home
Protecting a wood-framed wall is not about one miracle product. It is about a system in which each layer does its job: cladding sheds rain, the drainage plane carries away what gets through, a rainscreen gap lets the wall drain and dry, air sealing stops moist air condensing inside, the right vapour retarder matches the climate, and flashing guards the joints where leaks begin.
For a new build, insist on the details before cladding covers them: a continuous, correctly lapped WRB, a ventilation gap behind the cladding, sealed air-barrier joints, and flashed openings. For an existing home, start with the highest-value fixes: clear drainage, sound flashing, air sealing at accessible gaps, and a check on indoor humidity. The cheapest repair is always the one made early, while the wall is still dry enough to save.
Best Wall Cavity Moisture Management FAQs for Wood-Framed Homes
How can I tell if moisture is trapped inside my wall cavity?
Look for musty odours, peeling paint, soft or stained trim, damp patches, and mould near windows or at the base of walls. A moisture meter can confirm elevated readings against a known dry wall, and a professional can use thermal imaging or a small inspection opening to check the cavity directly.
What is the difference between a vapour barrier and a water-resistive barrier?
A vapour retarder controls slow vapour diffusion, usually from the interior, and is rated in perms. A water-resistive barrier such as house wrap sits on the exterior sheathing and stops liquid rainwater while usually allowing vapour outward. House wrap is not a substitute for a vapour retarder.
Do I need a rainscreen gap behind my siding?
A rainscreen gap is strongly recommended in wet, coastal, or wind-exposed climates and is good practice during most re-sides or new builds. It improves drainage, breaks capillary contact, and speeds drying, especially behind stucco, brick veneer, and fibre-cement cladding. A drainage mat can provide a smaller but still useful space.
Which vapour retarder should I use in a cold climate?
In cold zones, codes generally call for a Class I or II vapour retarder on the interior side, limiting warm, moist indoor air from reaching cold sheathing and condensing. Kraft-faced batts and polyethylene sheeting are common examples. Confirm the requirement with the local code.
Can I add a vapour barrier to an existing wall from the inside?
It is possible, but not always wise. Adding a low-permeability layer to a wall that already dries in that direction, or that already has one outside, can trap moisture and make the problem worse. In hot, humid climates an interior Class I barrier is often discouraged. Have a professional review the assembly first.