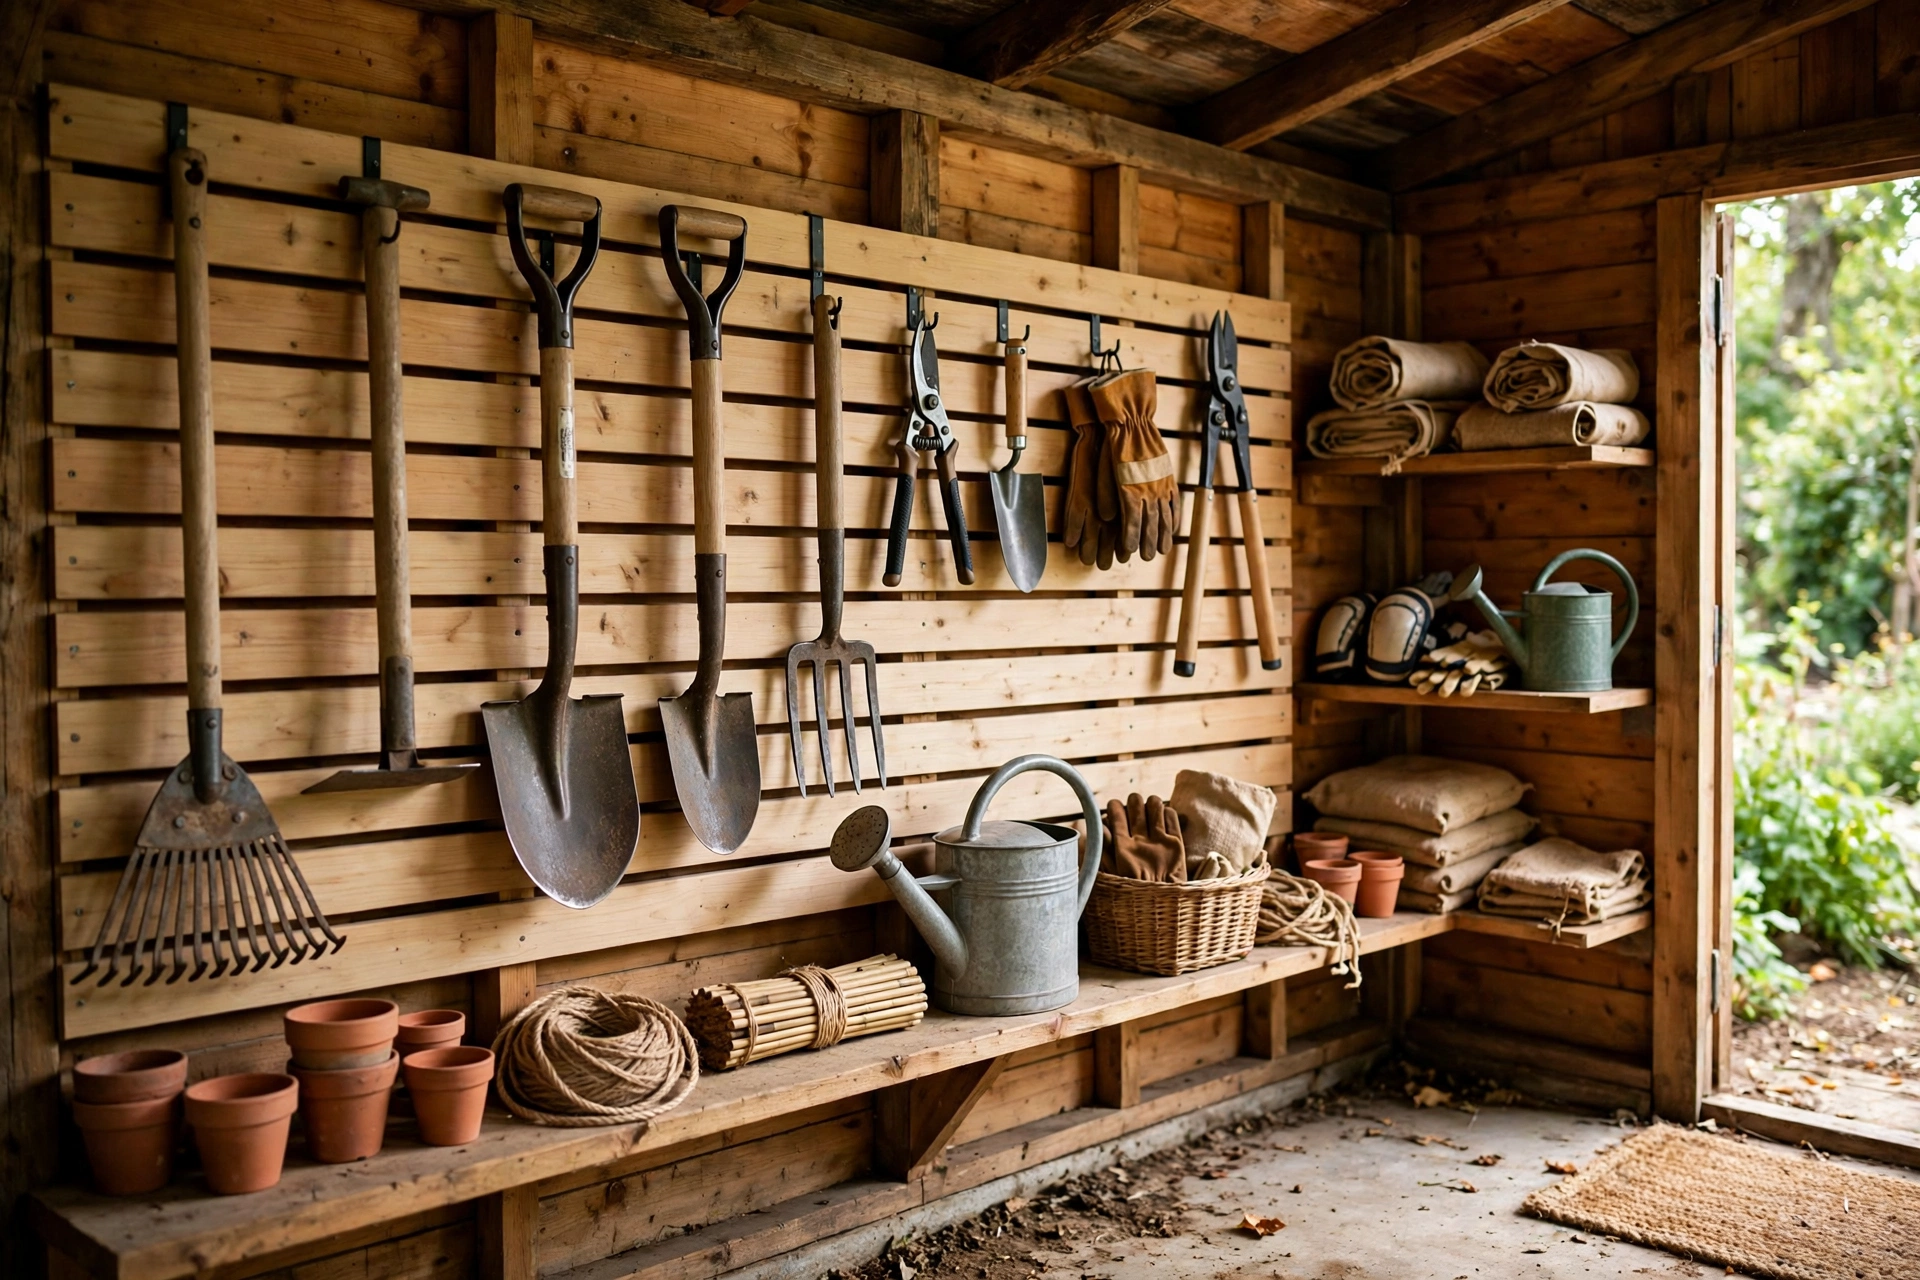
A small shed with a narrow door and barely any floor space does not need a bigger building. It needs its walls to do the work. When every spade, fork and pair of secateurs hangs on a purpose-built tool wall, the floor stays clear and the door swings fully open.
- The direct answer: Cover one full shed wall, from knee height to just above head height, with a modular hanging system — French cleats, pegboard, or timber battens fixed into the shed framing. Sort tools by frequency and weight: long tools on the strongest fixings, heads down; small hand tools at eye level; only the mower and wheelbarrow left on the floor.
The Straight Answer: Why a Tool Wall Beats a Bigger Shed
Most shed chaos is not a storage shortage. It is a floor shortage. Tools leaning in a corner slide, fall and block each other, Moving the same tools onto the wall frees the only walking surface the shed has.
Hanging also protects your tools. Metal heads resting on a damp floor rust from the bottom up, and handles left leaning against a wall warp and split. A wall system keeps steel dry and every tool in plain sight — so you stop buying a second pair of secateurs because you could not find the first.
Mapping a Shed You Can Barely Turn Around In
Before buying a single hook, measure the shed: internal width, depth and wall height, the door opening, and which way the door swings. Then stand inside with the door closed and mark the path from the door to the back wall. That path is sacred: nothing hangs over it at shoulder height, and nothing sits on it.
Next, empty the shed and sort everything into four piles. Daily tools earn the wall nearest the door at eye level, weekly tools take the rest of the main wall, seasonal tools go high or on the opposite wall, and fuel and chemicals go on shelves or in a locked box, never on open hooks.
- Every visit. Daily: secateurs, hand trowel, hand fork, gloves, twine, kneeling pad.
- Through the season. Weekly: spade, fork, rake, hoe, shears, watering can, hose.
- A few times a year. Seasonal: loppers, pruning saw, bulb planter, leaf blower, frost fleece.
Finally, measure your longest tool: a spade or fork needs around 1.4 to 1.6 metres of vertical clearance when hung head-down. If no single wall offers it, split the long tools across two walls.
What a Shed Wall Can Actually Hold Before It Complains
A tool wall is only as strong as what it is screwed into. In a timber shed, the load-bearing part is the framing — the studs and rails behind the cladding — not the cladding itself. Thin tongue-and-groove boards will pull out under a loaded spade rack.
Find the framing first. On a timber shed, studs are usually spaced around 600 millimetres apart, and you can locate them by tapping or by looking for nail lines. Every rail and cleat should be fixed into at least two studs, and heavy rails into three. Keep the heaviest items low, and never hang anything heavy above head height.
For metal sheds, avoid drilling the skin unless the manufacturer allows it; a freestanding timber frame just inside the wall, or a plywood back panel bolted to the shed's frame, gives you something solid to screw into. The same plywood trick rescues weak timber cladding: one 12 to 18 millimetre sheet, screwed into every stud it crosses.
French Cleats: The Sliding Rail System That Grows With Your Tool Collection
A French cleat is one of the most forgiving storage systems for a small shed, because nothing about it is permanent. Two strips of timber, each ripped at a 45-degree angle along one edge, interlock like a hook: one strip screws horizontally to the wall, and a matching strip on a holder drops onto it. Layouts change without a new hole.
That flexibility is exactly what a cramped shed needs. Gardens change — this year three spades, next year a hedge trimmer and a pole saw — and a cleat wall absorbs the change instead of forcing a rebuild. Holders can be simple: a board with hooks, a small box for twine, or a shelf for spray bottles.
Mount the wall rails. Fix horizontal wall cleats into the studs, spaced 300 to 400 millimetres apart vertically, from knee height to just above head height.
Build the holders. Cut matching cleats for each holder, adding a spacer block at the bottom so each holder hangs flat.
Load by frequency. Load daily tools at eye level nearest the door, then fill outward and upward — and leave one rail section empty for the next tool you buy.
Watch the depth: a cleat holder stands 50 to 75 millimetres proud of the wall, so on a walkway under 600 millimetres wide, use cleats on one wall only.
Pegboard, Slatwall, and Plain Timber Battens: Picking the Right Backing
If French cleats feel like more woodwork than you want, three simpler backings cover most sheds — and mixing two on different walls often beats forcing one system to do everything.
Pegboard earns its place in almost every small shed because it is cheap, light and endlessly rearranged. Fix it to battens, not directly to the cladding, so hooks have room behind the board, and choose locking-tab metal hooks if your board is thin.
Timber battens are the simplest option of all: a horizontal board screwed into the studs, with heavy-duty hooks, screw-in dowels, or short lengths of PVC pipe on it. Angled dowels hold long tools well — a handle drops between two dowels set at 45 degrees and gravity does the rest.
Long-Handled Tools on a Narrow Wall: Heads Down, Handles Clear of the Door
Long-handled tools cause most shed injuries and most shed frustration, so they deserve their own plan. Hang them head-down, with the handle gripped near the top and the metal head pointing at the floor. That keeps sharp edges low and lets you lift a tool out cleanly.
Give each long tool its own slot rather than bunching three spades onto one hook. A shared hook means the tool you want is always at the back, and pulling it free knocks the others to the floor. Spacing of roughly 150 to 200 millimetres between slots suits most spades, forks and rakes.
Mind the door. The most common layout error in a narrow shed is hanging long tools beside the door hinge, where the handle blocks the door from opening fully. Keep the door wall for flat, light items, and put long tools on a side or back wall.
The Door Wall, the Gable End, and Other Spots Most Shed Owners Waste
A small shed usually has more usable wall than its owner thinks. The inside of the door, the gable ends, the strip above a potting bench, and even the roof framing all offer hanging space that costs no floor area.
The door is ideal for light, flat items: an over-door pocket organiser holds seed packets, gloves and plant labels, and screw-in hooks on the frame take a coiled hose or extension lead. Keep the weight modest — a shed door on light hinges will sag under a full tool load.
Gable ends suit tall, light, seasonal items: a pole saw, bamboo canes, a folded tarpaulin, or frost fleece in a mesh bag. One caution: do not block ventilation or light — a packed wall against a vent traps the damp that rusts tools.
Small Tools, Twine, and Seed Packets: Pockets, Jars, and Magnetic Strips That End the Rummage
Small items are the ones that actually waste your time. A trowel is easy to hang; a ball of twine, plant labels, seed packets and spare gloves are the things that end up in a bucket, then lost. The fix is small, cheap containers fixed to the wall where you can see them.
- Magnetic strip. A magnetic strip holds secateurs, snips and scissors at eye level — and shows a missing tool before you leave.
- Jars and pots. Screw-top jars fixed under a shelf keep screws, nails and plant ties visible and dry.
- Pocket organiser. A clear pocket organiser on the door swallows seed packets, labels, gloves and string without a drawer.
- Wall bucket. A small bucket screwed to the wall at hip height is the home for gloves and kneeling pads.
Keeping a Damp Shed Wall From Eating Your Tools
Shed walls get damp, and damp eats tools. Condensation forms on cold metal and inside single-skin walls, and a tool pressed flat against a wet board rusts exactly where it touches. A tool wall therefore needs a small air gap, which battens and cleats provide.
Brush soil off tools before hanging them, dry them if wet, and wipe metal parts with a light coat of oil a few times a season. Ventilation is the long-term answer: keep at least one vent clear, and fix roof leaks first.
Shed Tool Wall Slip-Ups That Cost a Weekend to Undo
Most tool walls fail in predictable ways. The expensive one is fixing into cladding instead of framing: a rack loaded with long tools rips out of thin boards, drops everything, and leaves a wall full of holes. Always find the studs and use screws that bite at least 25 millimetres into solid framing.
The annoying one is building the wall and then discovering the door will not open, or the tool you use most sits behind the one you use least. A dry run prevents both: lean tools against the wall in their planned spots and walk the shed with the door closed first.
What a Shed Tool Wall Costs, From Scrap Timber to a Full Cleat System
Spend the money where it matters: on fixings and hooks rated for the weight they will carry, not on the prettiest board. A confident DIYer can fit one, provided you find the studs and level everything before loading it.
Garden Tool Storage Wall Questions Shed Owners Ask Before Drilling
Can a garden tool wall work in a shed with only one usable wall?
Yes. Prioritise ruthlessly: daily tools at eye level, long tools on the strongest fixings, seasonal gear high up, and the rest on shelves. One well-planned wall beats three crowded ones.
How do I hang heavy garden tools without pulling the shed wall apart?
Fix into the framing, not the cladding. Every rail should be screwed into at least two studs, heavy items should sit low, and in a metal shed — or one with weak cladding — fix a plywood back panel to the frame first.
Should long-handled tools hang head-up or head-down in a narrow shed?
Head-down is the safer choice. The head sits low where it cannot swing into your face, the handle is gripped at a comfortable height, and the tool lifts out cleanly.
What is the cheapest way to start a shed tool wall this weekend?
Start with one timber batten and a row of heavy-duty hooks, fixed into the studs on the wall nearest the door. Hang long tools head-down, add a magnetic strip for secateurs, and screw a small bucket to the wall for gloves.
When should a shed tool wall be a job for a professional rather than DIY?
Call a professional if the shed framing is rotten or damaged, if the wall must carry very heavy equipment, if you need to cut into the structure or add electrics, or if the shed itself is unstable.
Final Walk-Through: A Tool Wall That Leaves Room to Actually Work
A good garden tool storage wall is judged by one test: can you walk in, take the tool you need, and walk out again without moving anything else? If yes, the system works, whatever it is made of. Start with the wall nearest the door, fix into the framing, hang long tools head-down, and keep daily tools at eye level.
Then give the wall a season. Notice which tools never move — they can go higher or make way for something else — and which hooks stay empty because the tool lives somewhere more convenient. A shed that stays organised is not the one with the most storage; it is the one where every tool has one obvious home, and putting it back is easier than leaving it on the floor.