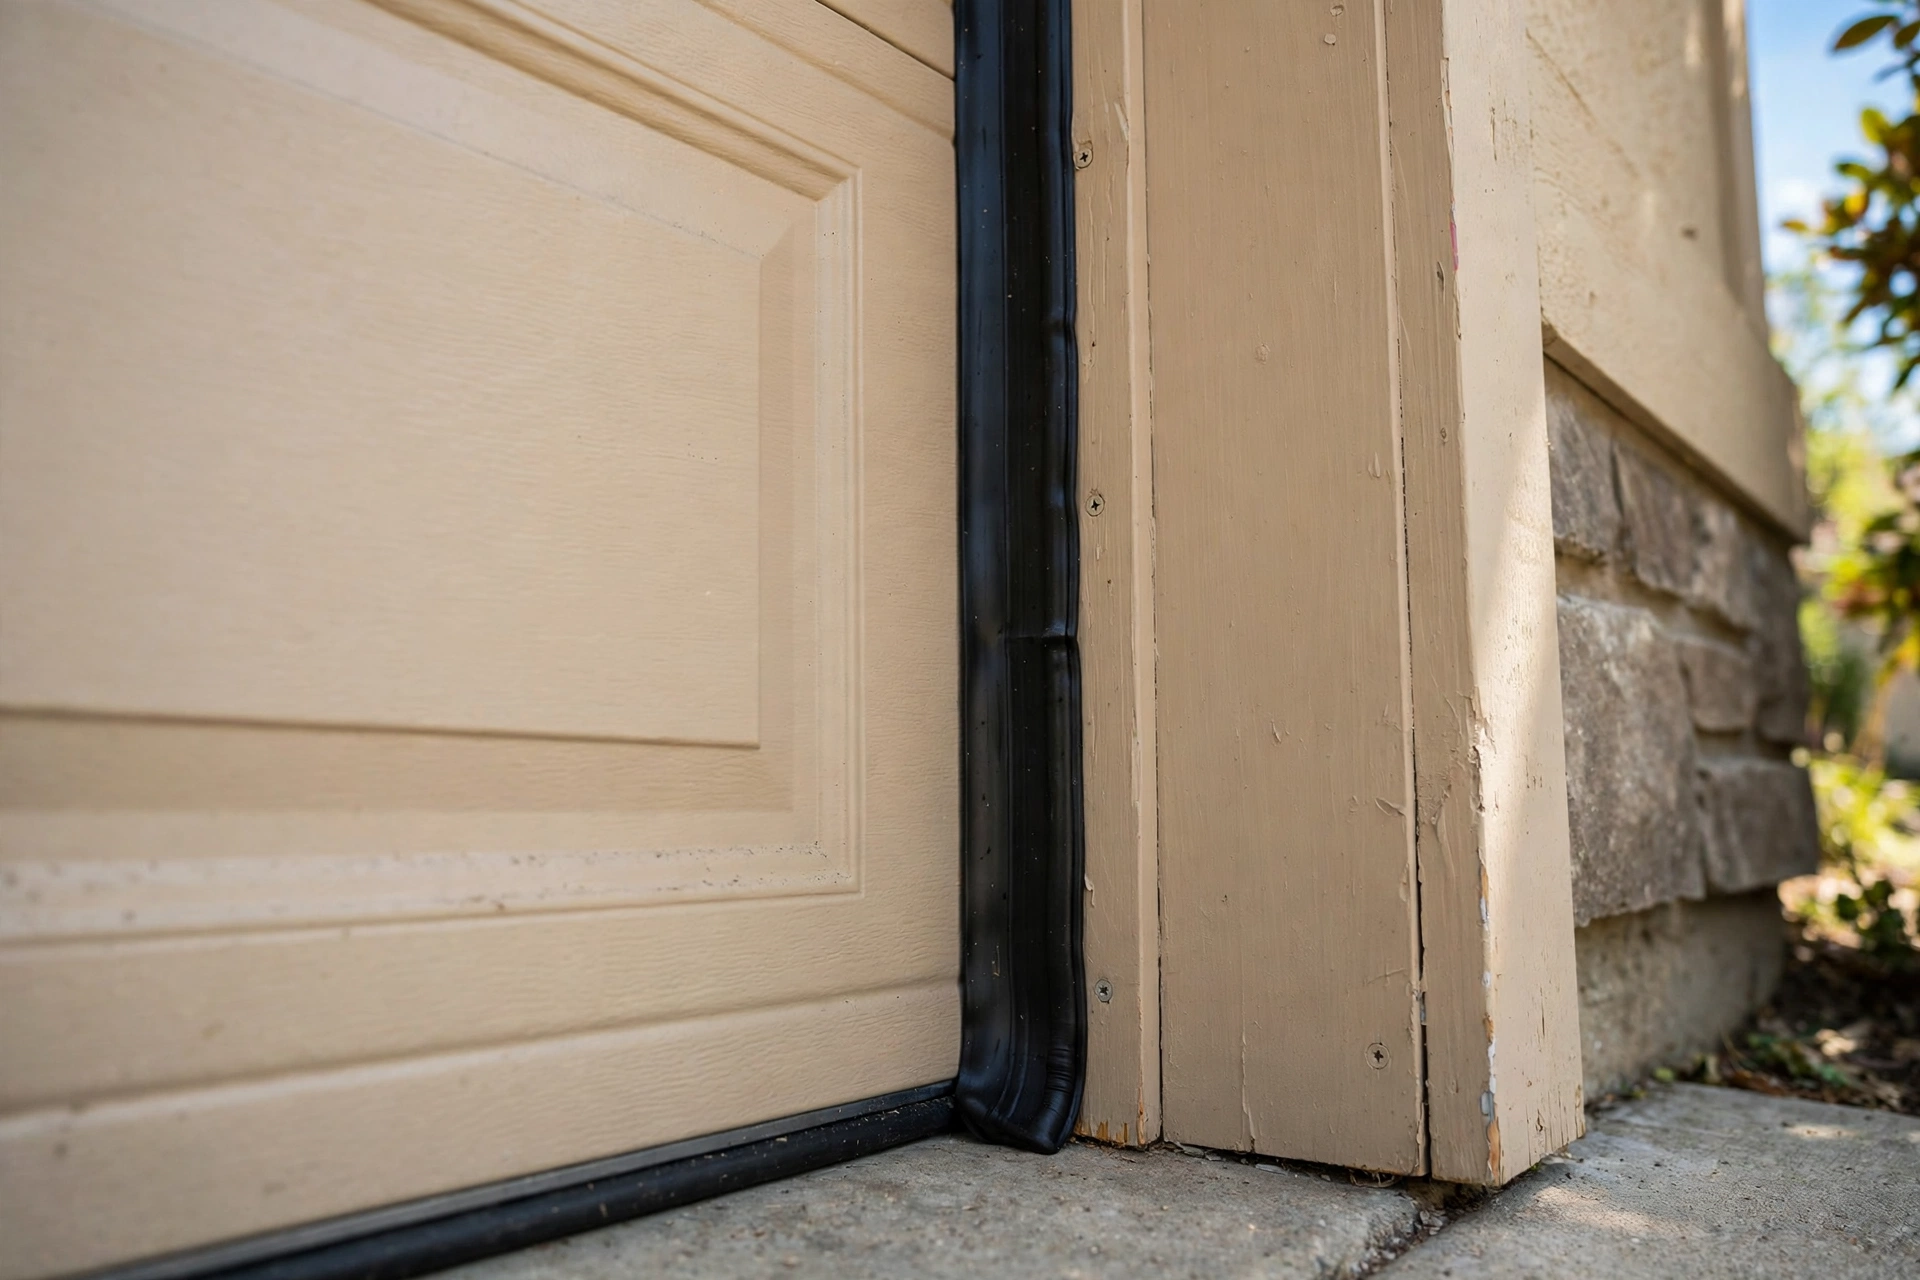
A sealed garage perimeter is not one product but a layered system that closes every gap where dust, pests, and water enter: the door bottom and jambs, the wall-to-slab joint, the service door, vents, and utility penetrations. When those gaps are closed together, a garage stays noticeably cleaner, drier, and far less attractive to insects and rodents.
The most effective approach starts with an audit, not a shopping trip. Walk the garage at dusk with a flashlight, look for daylight and dust trails along the door edges, wall bases, and pipe penetrations, and note every gap wider than a credit card edge. Those findings decide which seals you need, because a bottom seal cannot fix a sill-plate gap and caulk cannot fix a warped door.
What Garage Perimeter Sealing Actually Stops at the Door Line
The garage door is the largest opening in most homes, and its perimeter is where the majority of dust, water, and pests get in. A closed sectional door still leaves a working gap around all four sides so the panels can move freely. Perimeter sealing closes it with flexible materials that compress when the door shuts and spring back when it opens.
The door line has four sealing zones, each needing a different product: the bottom seal meets the floor, side seals press against the door face, the header seal closes the top edge, and a floor threshold creates a raised dam for the bottom seal. When any one zone is missing or worn, the whole line leaks, which is why replacing only the bottom seal often disappoints.
- Bottom seals close the gap between the door and the floor and take the most wear from daily opening and closing.
- Side jamb seals press against the door face along both vertical edges and block the daylight lines visible from inside.
- Header seals close the top edge where wind-driven rain and dust are pushed over the door.
- Threshold seals sit on the floor and create a raised barrier that stops water and crawling insects at ground level.
- Brush seals use dense nylon bristles to block fine dust while flexing over uneven floors and door surfaces.
Choosing between these options comes down to the gap you measured and the surface it must meet. A bottom seal works best on a flat, level slab, while a threshold seal earns its place on slabs that slope, crack, or heave, because the raised dam gives the door seal something consistent to press against. Brush seals suit rough openings where a solid rubber blade would skip and leave gaps.
How to Read the Gaps in a Garage Perimeter Audit
A careful audit takes about thirty minutes and saves far more than that in wasted purchases. Start inside with the door closed and the lights off, and look for daylight around the door edges, corners, and wall bases. Anywhere you see light, air and water can pass, and anywhere you feel a draft, insects can pass too. Mark each leak with painter’s tape.
Close the door, turn off the lights, and scan the full door perimeter for daylight lines.
Run a hand along the bottom seal and side jambs to feel for drafts and check for brittle or cracked rubber.
Inspect the wall-to-slab joint behind stored items, looking for gaps, crumbling caulk, or pest droppings.
Check the service door, windows, vents, and every pipe or conduit penetration for open gaps.
Walk the exterior after rain and look for water stains, silt lines, or damp patches that show where water enters.
Once the audit is complete, the pattern usually tells a clear story. Daylight along the bottom points to a worn bottom seal or an uneven slab, while daylight at the top corners points to header and jamb seals that have shrunk or pulled away. Gaps at the wall base usually mean the sill-plate joint was never sealed, and droppings near a penetration mean a hole that needs mesh and sealant rather than caulk alone. Fix the biggest leaks first, then recheck at dusk after each repair.
Bottom Seals, Thresholds, and the Uneven Slab Problem
The bottom seal is the hardest-working part of the system because it meets the floor every time the door closes, and it fails first. Rubber and vinyl inserts harden with age and sun, crack along their flex lines, and eventually tear from the retainer channel. Slide a coin under the closed door: if it passes freely in places, the seal is no longer compressing there.
Uneven slabs complicate the job because a rigid bottom seal cannot follow dips and high spots at once. A threshold seal solves this by creating a raised, flexible dam that the bottom seal presses into, bridging low spots and blocking wind-driven water even when the slab has settled. For a single deep dip, self-levelling concrete filler under the threshold can restore a consistent line first.
| Seal type | Best for | Typical lifespan | Watch out for |
|---|---|---|---|
| Bottom rubber insert | Flat, level slabs | 3 to 5 years | Hardening and cracking in sun |
| Vinyl bulb seal | Light-duty doors | 2 to 4 years | Flattening under heavy doors |
| Threshold dam | Uneven or sloped slabs | 5 to 8 years | Adhesive failure on dusty concrete |
| Brush bottom seal | Rough or pitted floors | 4 to 6 years | Bristles packing with debris |
| Heavy-duty EPDM | Hot climates, heavy use | 5 to 10 years | Higher upfront cost |
Material choice matters more than brand names, and EPDM rubber consistently outperforms basic vinyl in hot climates because it resists hardening and stays flexible through temperature swings. Whatever material you choose, clean the retainer channel and the floor thoroughly first, since dust and old adhesive are the most common reasons new seals peel away within weeks.
Side Jambs, Header Seals, and the Corners Where Dust Slips Through
Side and header seals are often the most neglected part of the perimeter because they are less visible than the bottom seal, yet they block the daylight lines that let in fine dust during windstorms. These seals, usually stop molding with a flexible vinyl or rubber blade, attach to the jambs and header so the blade presses against the door face when it closes. Over time the blade curls away, shrinks in heat, or is damaged by the door edge, leaving a small-looking gap that admits surprising amounts of dust.
Corners deserve special attention because two seals meet there and the joint is rarely perfect. A gap of only a few millimetres at a top corner becomes a funnel for wind-driven dust and a highway for spiders and cockroaches. Cutting the header seal so it overlaps the side seals closes the corner, and a small bead of exterior sealant behind the joint stops anything that still finds its way through.
- Inspect side seals from inside with the door closed and mark every daylight line with tape.
- Replace curled blades rather than trying to bend them back, since curled vinyl rarely holds its shape.
- Overlap corners by cutting the header seal long and letting it lap over the side seals.
- Seal behind the molding with a thin bead of polyurethane sealant so the joint is backed up.
- Check the door face for bent panels or loose hinges that keep the door from sitting square in the frame.
After the side and header seals are replaced, close the door and repeat the daylight test before moving on. If a line of light remains, the door itself may be out of square, and adjusting the track brackets or replacing a bent hinge often closes the gap better than thicker seals. A square door with modest seals outperforms a racked door with premium seals every time.
Sealing the Wall-to-Slab Joint and Hidden Pest Highways
The joint where the framed wall meets the concrete slab is one of the most common hidden entry points, and it is easy to miss because it hides behind stored boxes and baseboards. In many garages this joint was sealed only with a thin bead of builder caulk that has since cracked, or it was never sealed at all, leaving a continuous gap that connects directly to the outdoors through weep screeds and stucco breaks. Insects, and even mice, use this joint as a hallway along the whole wall.
Sealing it properly starts with clearing the wall base and vacuuming out debris, old caulk, and insect nests. For gaps under a quarter inch, a high-quality elastomeric sealant in a continuous bead works well. Wider gaps need a foam backer rod pressed in first so the sealant has something to grip and does not slump into the void. Where the gap runs behind drywall, low-expansion foam applied carefully from the interior can fill it without bowing the framing.
Utility penetrations deserve the same treatment, and they are often worse, because a hole drilled for a pipe or cable is usually left larger than the pipe itself. Pack the space with copper mesh or stainless steel wool for rodent resistance, then seal over it with silicone or polyurethane sealant. Never use plain steel wool, which rusts, and never rely on spray foam alone for a pest opening, since mice chew through cured foam.
Brush Seals, Rodent Guards, and Vent Covers That Still Breathe
Not every gap should be sealed solid, because a garage still needs controlled ventilation for fumes, moisture, and combustion appliances. Brush seals are the workhorse here: dense nylon bristles block insects and fine dust but flex to let a door move, which makes them ideal for side gaps on pedestrian doors and the top of sectional doors in dusty regions.
Rodent guards add a metal layer where chewing is the risk. A strip of galvanised or stainless mesh fitted behind a brush seal, or a metal kick plate on the bottom of a service door, stops rats and mice from gnawing a new entrance overnight. Vent covers need a similar balance: a fixed louver with fine stainless mesh behind it keeps insects out while preserving airflow, and the mesh should be removable for cleaning.
- Fit brush seals on service door sides and tops where a solid blade would bind or wear quickly.
- Add metal mesh behind any seal that guards a known rodent route, especially at corners and ground level.
- Cover vents with fine stainless mesh on a removable frame for easy cleaning.
- Protect weep holes with small mesh inserts that let water escape but keep insects out.
- Keep a gap at the top of the garage door seal line only where the building needs ventilation, and screen it.
The guiding principle is simple: seal the accidental gaps completely and screen the intentional openings. A garage sealed tight with no ventilation traps moisture and fumes, while a garage with open vents and sealed joints stays dry, clean, and pest-resistant. Check vent screens twice a year, because a clogged screen is as bad as a missing one.
Garage Perimeter Sealing Choices by Climate and Budget
Climate decides which materials survive: hot sun hardens vinyl and favours EPDM rubber and UV-stable sealants, cold regions need materials that stay flexible below freezing, and humid regions need moisture-resistant sealants plus ventilation.
| Approach | Approximate cost | Best climate | Maintenance |
|---|---|---|---|
| DIY bottom and jamb seals | Low | Mild, moderate | Annual inspection |
| Threshold dam plus seals | Low to moderate | Wet, uneven slabs | Clean twice a year |
| Full perimeter kit | Moderate | Dusty, windy | Replace seals every 3 to 5 years |
| Brush seals and mesh | Moderate | Hot, pest-heavy | Clean mesh seasonally |
| Professional sealing | Higher | Any, complex gaps | Pro check every 2 years |
Costs are broad estimates only, but a typical single-door DIY job stays modest while a professional full-perimeter service costs noticeably more.
Seasonal Checks That Keep a Garage Seal Working for Years
Seals are wear items, and a system that is never inspected slowly reopens the gaps it once closed. A short seasonal routine catches wear before it becomes an entry point again: check the bottom seal in spring, look for heat curling in summer, clear leaves in autumn, and watch for ice damage in winter.
- Spring: flex the bottom seal by hand and replace it if it cracks or stays flat.
- Summer: brush out dust from brush seals and check side blades for heat curl.
- Autumn: clear the threshold channel and test the door close after leaf fall.
- Winter: check for ice damage and reseat any threshold that has lifted.
- Yearly: repeat the dusk daylight audit and reseal any joint that has opened.
This routine takes less than an hour a year and is the difference between a sealing job that lasts two years and one that lasts eight. Keep a spares box with a spare bottom insert, a tube of sealant, and a roll of mesh, so a failed seal can be replaced the same weekend it is found.
Garage Perimeter Sealing FAQs
How often should garage perimeter seals be replaced?
Most rubber and vinyl door seals last three to five years, while EPDM seals often reach five to ten years. Replace a seal as soon as it cracks, stays compressed, or lets daylight through, rather than waiting for a fixed schedule.
Can I seal my garage perimeter myself?
Yes, door bottom, jamb, and header seals are straightforward DIY jobs needing only basic hand tools and careful measurement. Wall-to-slab joints and structural gaps are also DIY-friendly, but call a professional if the door is out of square or the slab has major movement.
Will sealing the garage stop mice from getting in?
Sealing closes the common entry routes and sharply reduces mouse access, especially when gaps are backed with copper mesh or steel wool. Mice can still enter through any opening wider than a pencil, so combine sealing with removing food sources and clutter.
Does a threshold seal work on a sloped driveway?
Yes, a threshold dam is designed for sloped and uneven slabs, and it performs better than a bottom seal alone in those conditions. Choose a flexible threshold and bed it on clean concrete so it follows the slab profile without gaps underneath.
Why does dust still enter after new seals are installed?
Fine dust usually enters through the wall-to-slab joint, vents, or unsealed penetrations rather than the door itself. Repeat the daylight audit, seal the wall base and penetrations, and fit brush seals or mesh on vents to close the remaining routes.
Final Thoughts: A Sealed Garage Perimeter Pays for Itself Quietly
A sealed garage perimeter quietly changes daily life: less dust on everything you store, fewer insects, no more puddles after rain, and a garage that feels like part of the house instead of a leaky shed. The work is mostly inspection and a few well-chosen seals, and the audit-first approach means you spend only on the gaps you actually have.