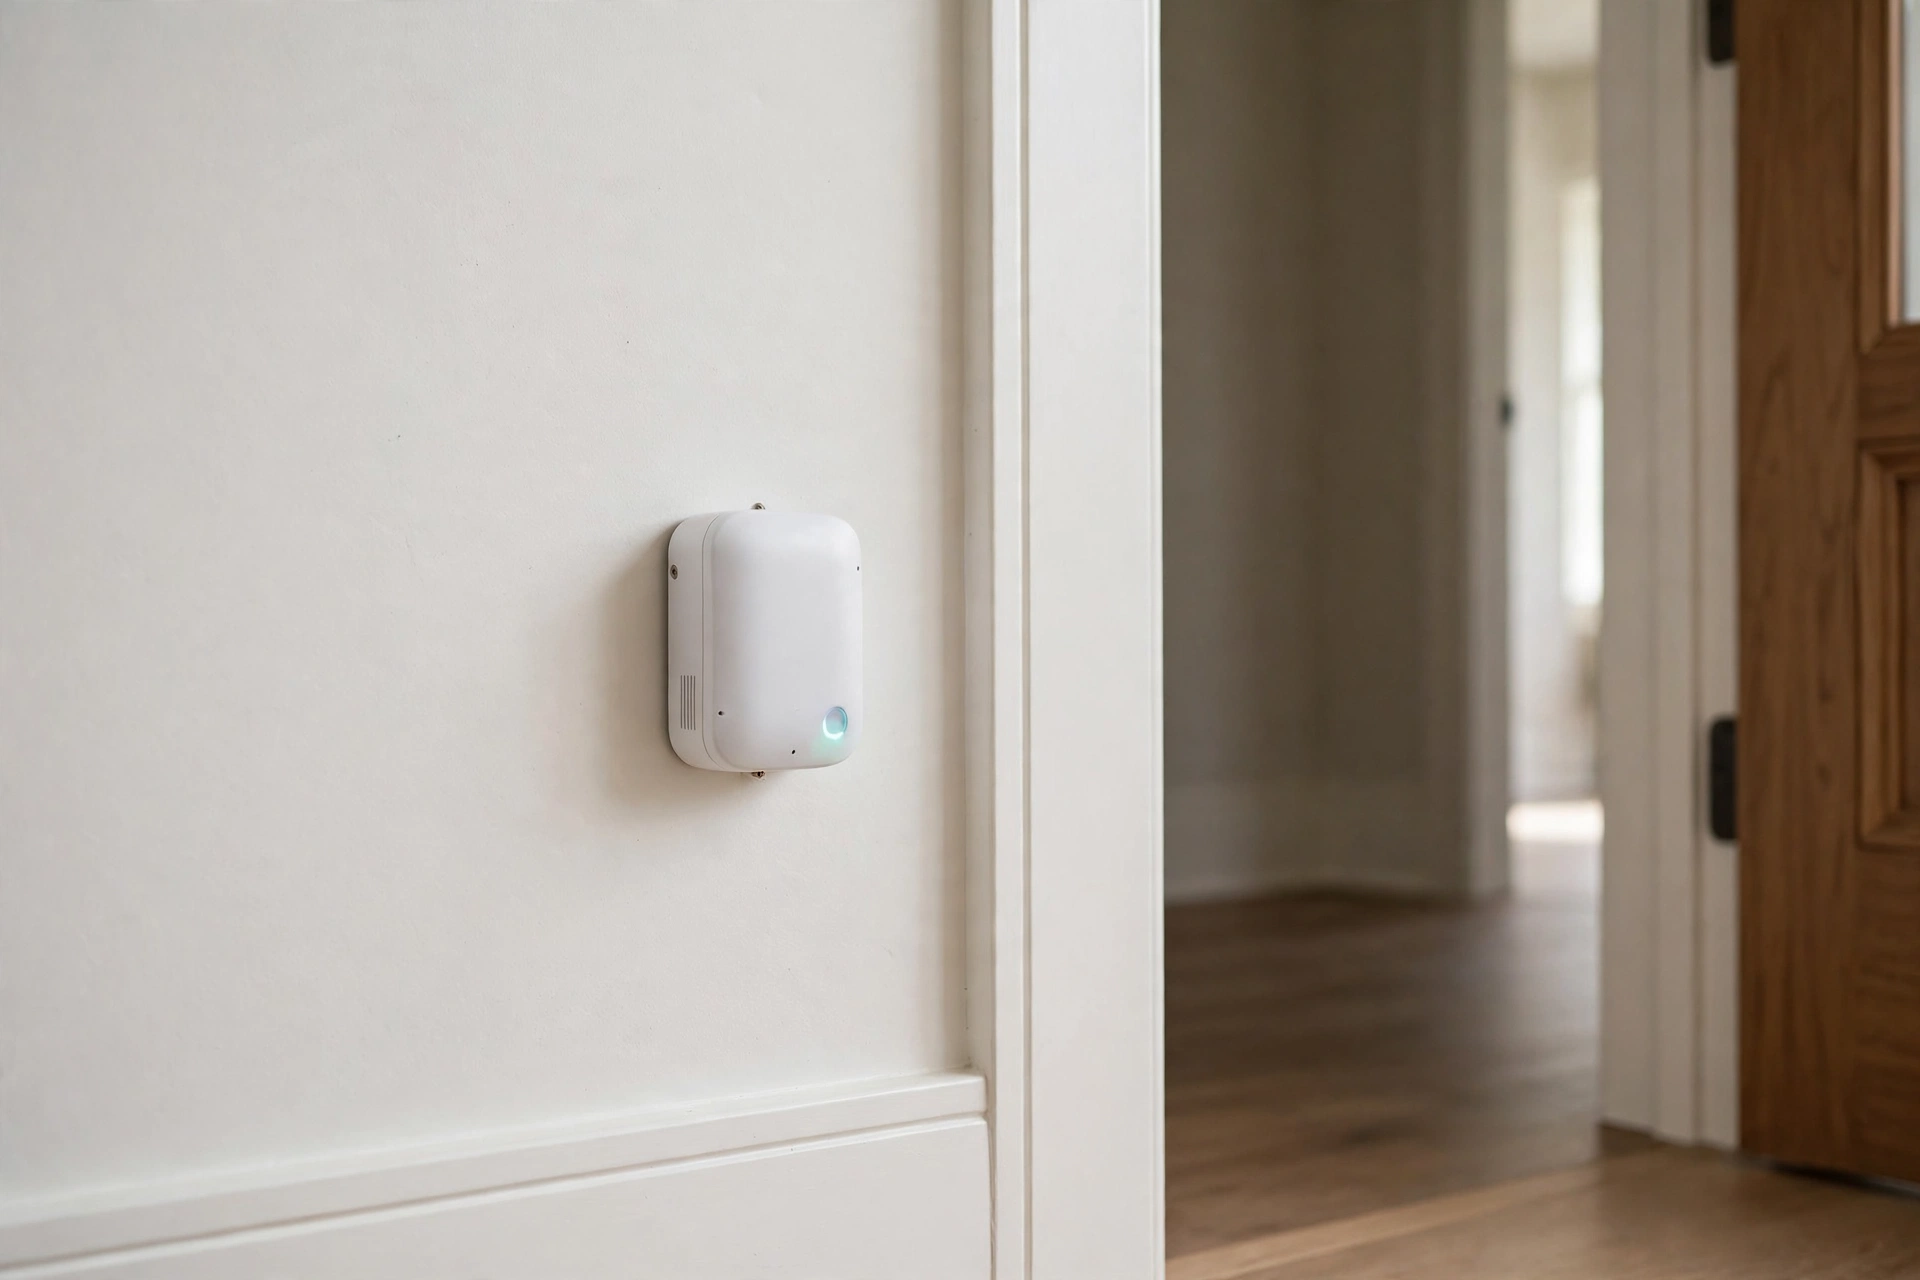
Doors that suddenly stick, windows that no longer latch, and hairline cracks creeping from a corner are often the first visible signs that a house is moving, and by the time they appear the movement has usually been going on for months. Smart structural movement sensors change that timeline by catching tiny shifts around door and window openings while they are still measured in fractions of a degree, giving homeowners weeks or months to fix drainage or soil problems before cracks widen and repairs get expensive. Installed in the right places and read correctly, a small sensor network is one of the cheapest early-warning systems a house can have.
This guide covers which sensors suit residential openings, where to place them, how to install them without damaging finishes, and how to read the data so normal seasonal movement is not mistaken for structural trouble. The focus is on practical, homeowner-scale systems, not commercial monitoring rigs, and every recommendation is aimed at catching movement early enough that the fix stays small.
How Structural Movement Sensors Around Openings Catch Trouble Early
Door and window openings are the weak points of a wall, so they show movement first. A frame that was square when the house was built will rack slightly when one side of the foundation settles or heaves, and that racking shows up as a door that rubs, a window that sticks, or a crack that starts at a corner and runs diagonally. A sensor fixed across that opening measures the same distortion directly, long before it is visible to the eye.
Most residential sensors work in one of two ways. Tilt sensors measure tiny changes in angle, which reveal when a frame or wall section is leaning or rotating. Crack gauges measure the width of an existing crack in fractions of a millimetre, which shows whether it is stable, opening slowly, or moving with the seasons. Some systems combine both, and the best homeowner setups pair a tilt sensor at the worst opening with a crack gauge on the most worrying crack, so the two readings confirm each other.
Which Smart Sensors Suit Residential Door and Window Openings
Choosing a sensor starts with deciding what you need to measure, because no single device covers every kind of movement. A wireless tilt sensor suits a door frame that is slowly going out of square, while a crack gauge suits a visible crack that needs watching. Contact and vibration sensors, familiar from home security, measure open and close events rather than structural movement, so they are useful for context but cannot replace a tilt or crack device.
| Sensor type | What it measures | Best use | Typical battery life |
|---|---|---|---|
| Wireless tilt sensor | Angle change, 0.01 degree steps | Door and window frames | 2 to 5 years |
| Crack gauge, digital | Crack width in 0.1 mm steps | Existing cracks at corners | 1 to 3 years |
| Accelerometer node | Vibration and sudden shifts | Post-storm checks | 1 to 2 years |
| Tilt and humidity combo | Angle plus moisture | Openings near wet soil | 2 to 4 years |
| Wired crack monitor | Continuous crack width | Long-term engineer monitoring | Mains powered |
Wireless systems dominate residential use because they avoid drilling through finished walls for cables, and most run on coin cells or AA batteries for years. Before buying, check that the sensor talks to a hub or app you already own, since a device that cannot join your existing smart home platform becomes a separate chore to check. Zigbee, Z-Wave, Wi-Fi, and Bluetooth variants all exist, and the right choice depends on the distance to your hub and the thickness of your walls.
Mapping the Openings Worth Monitoring in Your Home
Not every door and window needs a sensor, and scattering devices everywhere produces noise rather than insight. Start with the openings that already show symptoms: the door that sticks in summer, the window that needs a shove to latch, the corner with a hairline crack, and any opening on the side of the house where water collects or the soil is visibly wet. Those are the places movement is already happening.
A useful rule is to monitor one opening per affected wall, plus a reference sensor on a stable opening elsewhere in the house. The reference reading matters because whole-house seasonal movement affects every sensor, and comparing the problem opening against the reference separates local trouble from normal seasonal flex. Place the sensor on the frame itself rather than the moving door or window sash, since the frame is what distorts when the structure moves.
- Start with symptomatic openings such as sticking doors, binding windows, and cracked corners.
- Add a reference sensor on a stable opening so seasonal movement has a baseline for comparison.
- Cover each affected wall with at least one sensor rather than clustering them all in one room.
- Prioritise ground-floor openings closest to the foundation, where settlement shows first.
- Include openings near downspouts and wet soil, since water is the most common movement trigger.
This map keeps the system small, affordable, and meaningful. Three to five sensors cover most single-family homes, and each one has a clear job, which makes the data easy to read and the alerts easy to trust.
Fitting Sensors Without Damaging Frames or Finishes
Installation is deliberately low-impact, since the goal is monitoring, not renovation. Most wireless tilt sensors mount with a small adhesive pad or two tiny screws on the top corner of the door or window frame, positioned so the device sits flat against a surface that moves with the frame. Avoid mounting on trim that can flex independently of the frame, and avoid the hinge side of a door, where normal use creates vibration that muddies the readings.
Clean the mounting spot with rubbing alcohol and let it dry so the adhesive pad bonds fully.
Hold the sensor against the frame corner and mark the position lightly in pencil.
Fix the sensor with the supplied adhesive pad, or with small screws if the surface is rough or painted.
Pair the sensor with the hub or app and confirm it reports before moving to the next one.
Record the starting reading and the date in a notebook or in the app, so later changes have a baseline.
Repeat the daylight and door-swing check after a week to confirm the sensor has not shifted.
Crack gauges need a little more care because they must straddle the crack exactly. Clean the surface on both sides, fix one anchor plate on each side of the crack, and set the gauge to zero only after the adhesive has cured. Never mount a crack gauge over paint that is peeling or over a crack that is actively shedding material, since the anchor will move with the loose surface rather than the wall.
Setting Alerts That Warn Without Crying Wolf
A sensor that alerts constantly gets ignored, so thresholds matter as much as placement. Start by letting the system record for two to four weeks before setting any alert, because that baseline captures normal daily and weekly variation. Most homes show small daily tilt cycles as the sun warms one side of the house, and those cycles are normal.
As a practical starting point, treat tilt changes under 0.1 degree as normal seasonal variation and readings between 0.2 and 0.5 degrees as a prompt to check drainage and soil moisture around that wall. A sustained change above 0.5 degrees, or a crack widening steadily over several weeks, deserves a call to a structural engineer. Set alerts for sustained change rather than single spikes, since a slammed door or a storm gust can produce a brief reading that means nothing on its own.
- Baseline first: record two to four weeks of data before setting any alert threshold.
- Alert on trends: a slow drift over weeks matters more than a single-day spike.
- Separate seasons: compare readings against the same season last year, not against last month.
- Pair tilt with moisture: a tilt alert plus wet soil near that wall points at drainage, not structure.
- Log every alert with the date and the weather, so patterns become visible over time.
This approach keeps the system quiet when the house is behaving and loud only when something is genuinely changing. A sensor network that only speaks when it matters is one a homeowner will still be listening to in two years.
Reading the Data: Seasonal Flex Versus Real Settlement
The hardest part of structural monitoring is interpretation, because houses move all the time. Timber frames swell and shrink with humidity, clay soils expand when wet and contract when dry, and a south-facing wall warms and leans slightly on a sunny afternoon. All of this is normal, and a sensor system that cannot distinguish it from settlement will generate worry without value.
The tell is pattern, not magnitude. Seasonal movement reverses: a frame that tilts slightly in wet winter and returns in dry summer is flexing, not failing. Settlement does not reverse: a crack that widens a little each month and never closes is the signal to act. Plotting readings monthly, even on paper, makes this difference obvious, because a reversing pattern looks like a wave while settlement looks like a staircase.
| Reading pattern | What it usually means | Action |
|---|---|---|
| Tilt reverses with seasons | Normal flex, moisture cycles | Keep monitoring |
| Crack opens in winter, closes in summer | Seasonal soil movement | Check drainage |
| Steady widening over months | Ongoing settlement | Call an engineer |
| Sudden jump after a storm | Water or impact event | Inspect gutters and soil |
| One opening moves, others stable | Localised problem | Focus on that wall |
When the pattern points at water, the fix is usually drainage rather than structure: extend downspouts, regrade soil away from the wall, and clear gutters. Many homeowners find that their sensor readings settle down within a season of fixing the water problem, which is exactly why early monitoring pays for itself.
Connecting Sensors to the Smart Home You Already Own
A sensor that lives in a separate app is easy to forget, so integration is worth planning before purchase. Most wireless tilt and crack sensors connect through a hub using Zigbee or Z-Wave, and from there they appear in the same app as lights and thermostats. That makes it simple to build automations, such as sending a phone alert when a tilt threshold is crossed, or logging readings to a spreadsheet each month.
Check three things before buying: the protocol your hub supports, the range from the sensor location to the hub through your walls, and whether the sensor’s app exports data. A sensor that only shows a live reading with no history is far less useful than one that charts months of data. If range is a problem, a mains-powered repeater or a second hub placed centrally usually solves it for less than the cost of one sensor.
Battery management is part of the system too. Note the install date on each sensor, set a calendar reminder for battery checks at the manufacturer’s recommended interval, and replace batteries proactively rather than waiting for a low-battery alert that may arrive during a storm. A dead sensor during the wettest month is the same as no sensor at all.
What Smart Sensors Cost and When Professional Monitoring Fits
Homeowner-scale systems are modest in cost compared with the repairs they can prevent. Basic wireless tilt units generally cost a few hundred dollars for a small set, while a fuller network with alerts and a hub can run into the low thousands, plus any annual app fee. Those are broad estimates, and prices vary with brand, protocol, and the number of openings monitored.
Professional monitoring fits a different situation: a house with a known structural concern, an engineer’s investigation already under way, or a crack that a professional wants tracked continuously. In those cases the engineer usually supplies and calibrates the equipment, and the data goes to them directly. Homeowners should not buy professional-grade wired systems for a house with no symptoms, since the extra precision adds cost without adding decisions.
Smart Structural Movement Sensor FAQs
How accurate are home structural movement sensors?
Consumer tilt sensors typically resolve changes around 0.01 to 0.1 degrees, which is enough to track meaningful frame movement. They are not survey instruments, so treat readings as trends rather than absolute measurements and confirm important findings with a professional.
Where should I place a tilt sensor on a door frame?
Mount it on the top corner of the frame on the side opposite the hinges, flat against the frame itself rather than the trim. This position captures racking directly and avoids vibration from normal door use.
Can sensors replace a structural engineer?
No, sensors monitor and warn, but they do not diagnose causes or design repairs. If readings show steady widening or sustained tilt above roughly 0.5 degrees, a structural engineer should inspect the house in person.
Do these sensors work through thick walls?
Wireless sensors can struggle through masonry and foil-backed insulation, so check the signal at each planned location before fixing the sensor permanently. A repeater or a hub placed closer to the sensors usually restores reliable reporting.
How long do sensor batteries last?
Most wireless tilt sensors run two to five years on a single set of batteries, while crack gauges last one to three years. Battery life drops in cold garages and unheated spaces, so check the manufacturer’s rating for your climate.
Final Thoughts: Smart Sensors Turn Worry Into a Plan for Your Openings
Smart movement sensors do not stop a house from moving, but they replace guesswork with a record, and that record changes every conversation about the house. A sticking door becomes a dated measurement instead of a vague worry, a crack becomes a trend line instead of a source of dread, and a drainage fix becomes a decision backed by data. Install a small network on the openings that already show symptoms, give it a month to learn your house, and let it quietly watch the frames while you get on with living in the home.