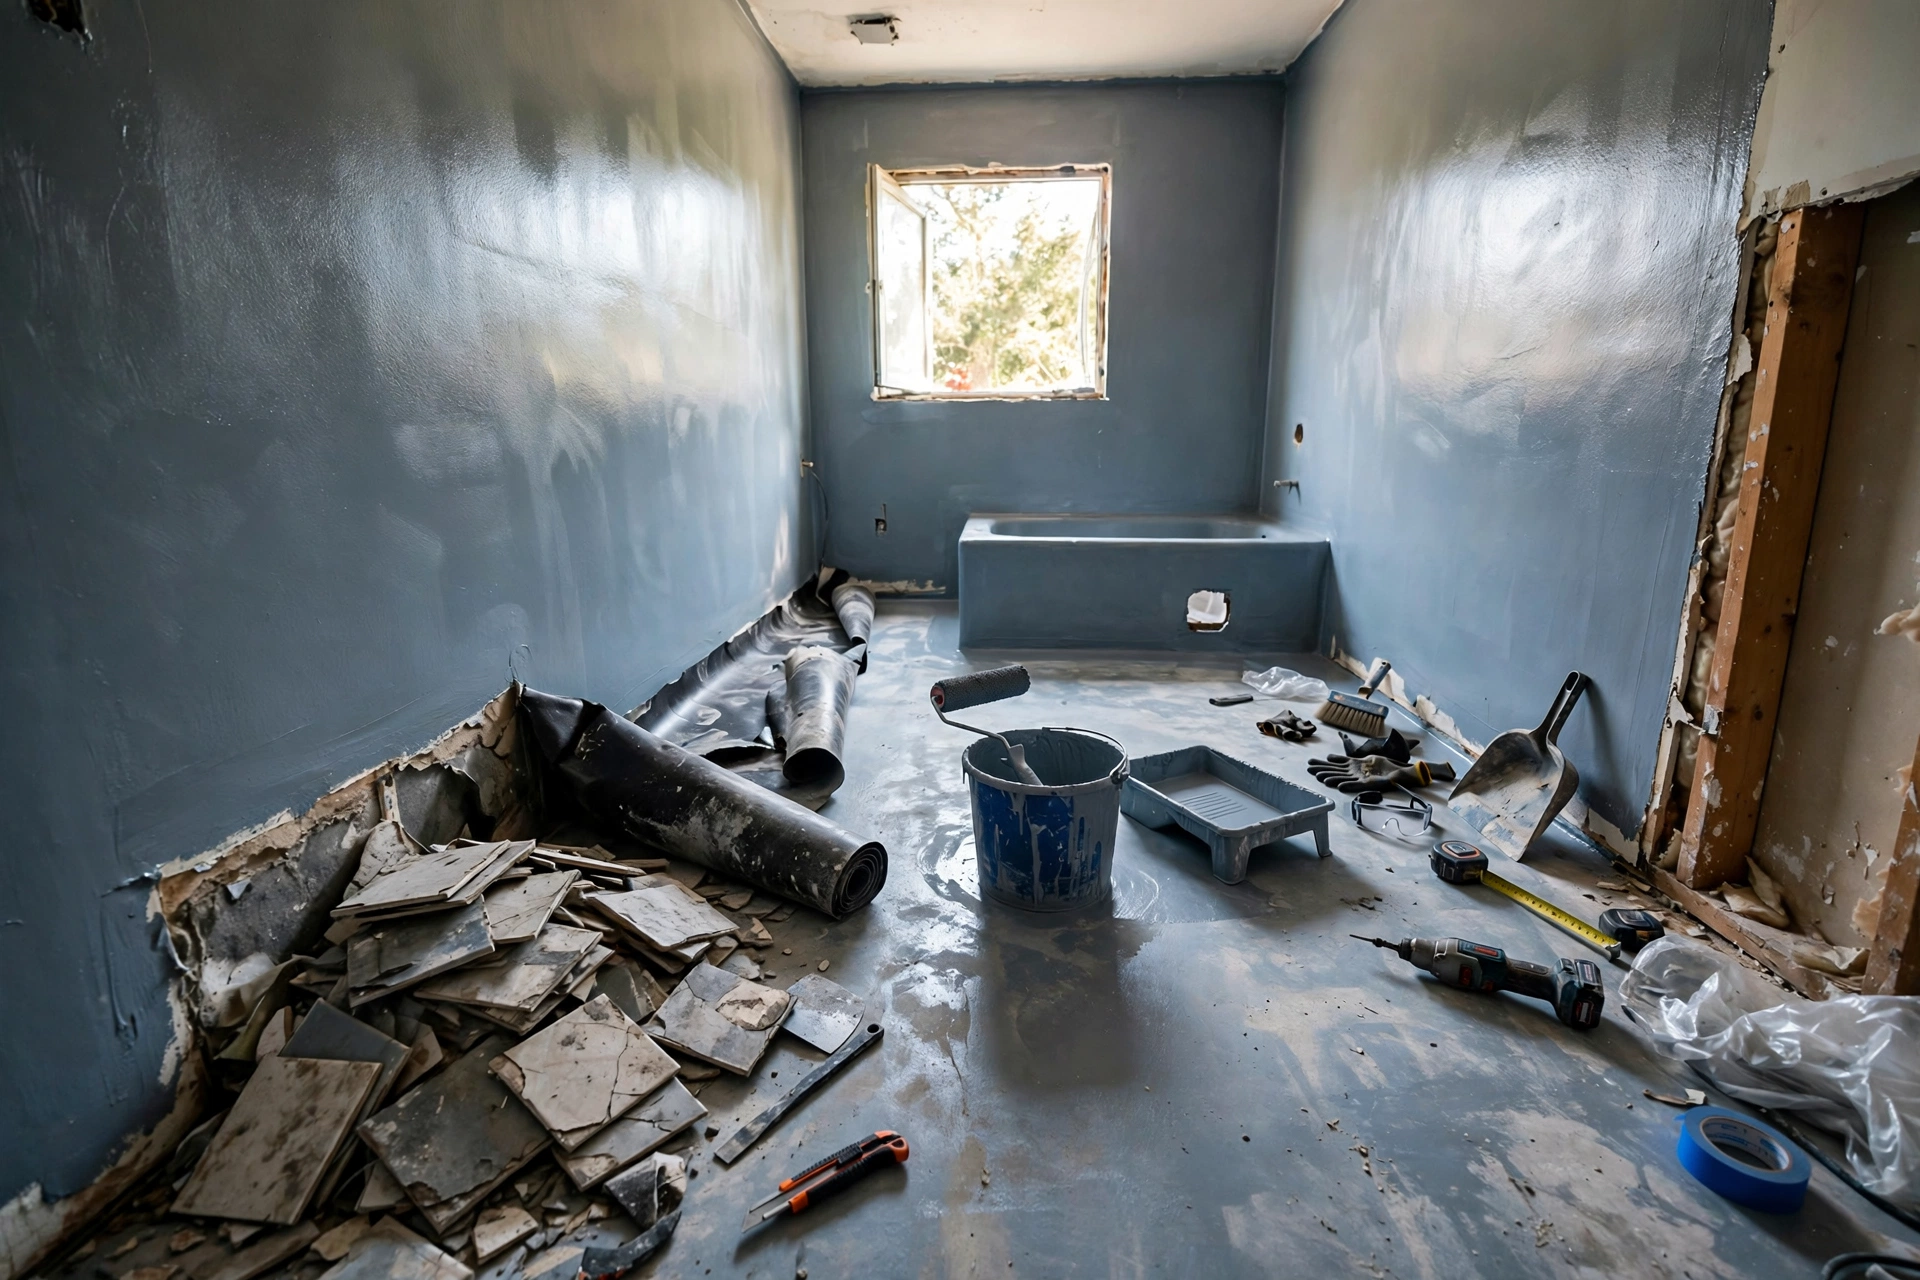
You are standing in a bathroom that looks perfectly fine. The tiles are a little dated, the grout could be brighter, and you are planning a renovation anyway. Then someone asks the question nobody wants to hear: what condition is the waterproofing membrane in underneath it? That hidden layer, buried beneath tiles and adhesive, is the only thing standing between daily showers and the structure of your home.
The Short Answer: Replace a Bathroom Membrane When Its Protection Has Run Out, Not When the Tiles Look Tired
Replace a residential bathroom waterproofing membrane during a renovation whenever it has failed, is nearing the end of its service life, or will be disturbed by the renovation work itself. In practical terms, replacement is due if the membrane is roughly 15 to 20 years old, if you see signs of water escaping such as stains on the ceiling below, bubbling paint, persistent mould, or loose tiles, or if the renovation involves removing tiles, moving fixtures, or changing the layout. If the membrane is young, intact, and the renovation is purely cosmetic, it can usually stay in place.
What a Bathroom Waterproofing Membrane Actually Does Beneath Your Tiles
A waterproofing membrane is a continuous, flexible barrier applied to the floor and lower walls of a wet area before tiling. Tiles and grout are not waterproof: grout is porous, and water passes through joints and hairline cracks every time the shower runs. The membrane catches that water and directs it toward the drain, protecting the slab, wall framing, and rooms below. It is reinforced at the weakest points: internal corners, floor-to-wall junctions, pipe penetrations, and around wastes and drains. A membrane is only as good as its detailing: a perfectly applied field with a missed corner or an unsealed pipe penetration will still leak. It also explains why surface repairs so often disappoint: re-grouting treats the visible layer, while the real barrier sits underneath, out of reach without removing tiles.
How Long Bathroom Membranes Last: Liquid, Sheet, and Cement-Based Systems Compared
No membrane lasts forever, and published lifespans vary because installation quality matters as much as the product. Professional guidance commonly puts a well-installed bathroom system at roughly 10 to 20 years, with some failing in as little as five years when preparation, thickness, or curing was poor. Humid climates, heavy use, and building movement shorten service life, while careful maintenance of grout and silicone joints extends it.
Treat these figures as planning estimates, not guarantees. If you do not know when the membrane was fitted, the age of the bathroom itself is a reasonable proxy. A bathroom renovated or built more than 15 years ago should be assumed to be approaching the decision point, even if nothing looks wrong yet.
Seven Warning Signs Your Bathroom Membrane Has Already Given Up
Membrane failure usually announces itself indirectly, because damage happens out of sight for months before anything appears on the surface. Any one of these signs is worth investigating, and two or more together strongly suggest water has been escaping:
- Stains, damp patches, or peeling paint on the ceiling below the bathroom, or on walls adjoining the shower.
- Bubbling or blistering paint, or lifting render, on the other side of a shower wall.
- A musty smell that does not clear with cleaning and ventilation, pointing to moisture trapped inside a wall or floor cavity.
- Mould that keeps returning to the same grout lines or silicone joints no matter how often you scrub.
- Tiles that sound hollow when tapped, feel loose, or have cracked along with their grout.
- White, chalky residue (efflorescence) on tiles or grout, showing water migrating through the mortar bed.
- A soft or spongy feeling underfoot, or flooring warped or lifted near the shower or bath.
Age Alone: Why a 15-Year-Old Bathroom Deserves a Membrane Check Before You Retile
Many homeowners plan a re-tile assuming the membrane underneath can simply be reused. Once a membrane passes about 15 years, that assumption needs evidence, not hope. Membranes age by losing flexibility: repeated wetting and drying cycles make them brittle, so they can no longer bridge small movements of the slab and walls. Tiny defects open up and water gets beneath the tiles, spreading silently. An inspection before re-tiling is far cheaper than the alternative: a moisture reading, a check of the ceiling below, and a look at the substrate where a tile is lifted can tell a professional whether the old membrane is still sound. If the bathroom is over 20 years old and its membrane was never replaced, budget for replacement during the renovation.
Renovation Moments That Force a Membrane Decision
Some renovations leave you no choice, and it helps to know which ones they are before you set the budget. Removing floor or wall tiles almost always damages the membrane bonded to them, so a full re-tile should be treated as a membrane replacement project. Moving a toilet, shower, or bath means new pipe penetrations and a new drain position, each breaking the continuity of the old membrane. Changing the layout, enlarging a shower, or converting a bath to a walk-in shower alters falls to the drain and the wet-area footprint, which the old membrane was never shaped for. Structural work such as replacing a subfloor likewise exposes the membrane. By contrast, cosmetic work that does not touch the tiled wet area, like repainting walls outside the shower or fitting a new vanity in the same position, does not by itself require replacement. The rule is simple: if the renovation disturbs the tiled surface or the plumbing beneath it, plan to replace the membrane at the same time.
When a Patch, Reseal, or Injection Buys Time, and When It Only Delays the Inevitable
Not every leak means full replacement, and knowing the difference can save thousands. If the membrane itself is still sound and the problem is limited to the surface, re-grouting, replacing silicone, and resealing junctions can stop a leak without removing tiles. A localised leak from a single failed joint can sometimes be treated with polyurethane injection or a targeted reseal. These options are reasonable when the membrane is young, the damage is confined to one spot, and the leak stops and stays stopped. They stop being reasonable when the same leak returns, when damage appears in several places at once, or when the membrane is already past its expected life. At that point, repeated patching only buys months while water keeps working into the structure. A useful decision rule: one localised repair that holds is maintenance; a second repair for the same leak is a signal to replace.
What Full Membrane Replacement Involves, Step by Step
Full replacement is disruptive, which is exactly why it should be combined with a planned renovation rather than done as a standalone emergency:
Strip-out: tiles, adhesive, and fixtures are removed down to the substrate, and water-damaged board or timber is cut out.
Substrate repair: the slab or wall lining is made sound, level, and dry, since a membrane over a damaged or damp base fails early.
Priming and detailing: primer is applied, and corners, junctions, and pipe penetrations are reinforced with bond breaker and tape.
Membrane application: the membrane goes on in multiple coats to the specified thickness, with curing time between coats.
Leak testing: the shower area is plugged and filled with water for a set period to confirm the membrane holds before tiling.
Tiling and sealing: tiles are laid and grouted, with flexible silicone, not rigid grout, at internal corners and junctions.
Two details deserve emphasis. First, membrane thickness matters: a thin coat applied to save time or material is a common cause of early failure. Second, curing time cannot be rushed: tiling over a membrane that has not fully cured traps moisture and weakens the bond.
Membrane Replacement Mistakes That Leave a New Bathroom Leaking Again
A new membrane does not guarantee a dry bathroom. The mistakes that ruin replacement jobs are usually small and invisible once tiled over. Skipping reinforcement at corners and junctions is the most common: these are the points that move and crack first. Applying the membrane over a dusty, damp, or uneven substrate prevents proper adhesion, as does using the wrong product for the surface. Ignoring falls to the drain leaves water ponding on the membrane, which stresses every joint. Sealing internal corners with grout instead of flexible silicone guarantees cracks as the building moves. And the most expensive mistake is re-tiling over an old membrane to save money, then paying for the whole job twice when it fails.
What Replacing a Bathroom Membrane Costs, and What Drives the Quote Up or Down
Costs vary widely by region, bathroom size, and how much hidden damage is found, so treat the figures below as broad planning estimates, not quotes. The membrane material itself is usually a small part of the total; demolition, substrate repair, tiling, and labour dominate the bill. That is why replacing a membrane during a planned renovation is far cheaper than doing it alone: strip-out and re-tiling are already in the renovation budget.
Get an itemised quote that separates demolition, substrate repair, membrane application, and tiling, and ask what system will be used and what warranty applies. A warranty covering only materials, and not the workmanship that usually causes failure, is worth far less than one covering both.
Keeping a New Bathroom Membrane Sound for the Next Two Decades
A new membrane is not set and forget. The maintenance that protects it is mostly about the layers above it. Replace silicone joints every few years before they split, repair cracked grout promptly, keep drains clear so water does not pond, and avoid harsh cleaners that degrade grout and sealants. Ventilate the room well, and inspect the ceiling below and the walls beside the shower once a year, acting on the first stain or musty smell rather than painting over it.
Final Thoughts: Is Your Bathroom Membrane Worth Replacing During This Renovation?
If your renovation touches the tiles or the plumbing, replace the membrane. If the bathroom is past 15 years old, or shows any warning signs in this article, replace the membrane. If the membrane is young, intact, and the renovation leaves the wet area untouched, leave it alone and spend the money elsewhere. The membrane is the one part of a bathroom renovation you will never see again once the tiles go down, which makes it the worst place to economise.
Bathroom Waterproofing Membrane Replacement Questions Homeowners Ask Before Renovating
Can a bathroom membrane be replaced without removing the tiles?
In most cases, no. The membrane sits beneath the tiles and adhesive, so reaching it means removing them. Surface treatments and reseals can fix leaks in the grout and silicone layer, but they cannot replace a failed membrane.
How do I know whether my membrane has failed or just the grout?
Grout problems are local and visible: a cracked joint or a stained line. Membrane failure shows up elsewhere, as stains on the ceiling below, paint bubbling on the adjoining wall, mould returning to the same spot, or tiles sounding hollow. A moisture inspection can confirm which layer is at fault.
Should I replace the membrane if I am only replacing the shower screen?
No, not on that basis alone. A screen swap does not disturb the tiled wet area or the membrane beneath it. Replacement becomes relevant only if the change involves moving the shower or re-tiling, or if the membrane already shows signs of failure.
How long does bathroom membrane replacement take during a renovation?
As part of a renovation, allow several days for strip-out, substrate repair, membrane application with curing time, and leak testing before tiling begins. Rushing the curing stage is a common cause of early failure.
What warranty should I expect on a replacement membrane?
Ask for a warranty covering both materials and workmanship, in writing, with the product name and system used. Material-only warranties leave you unprotected against installation errors, which cause most early failures.
Can I replace a bathroom membrane myself?
Membrane application is a specialist job where invisible mistakes cause expensive damage, and in many regions wet-area waterproofing must be done or certified by a licensed professional. DIY re-grouting and re-siliconing is reasonable; full membrane replacement is best left to a qualified waterproofer.