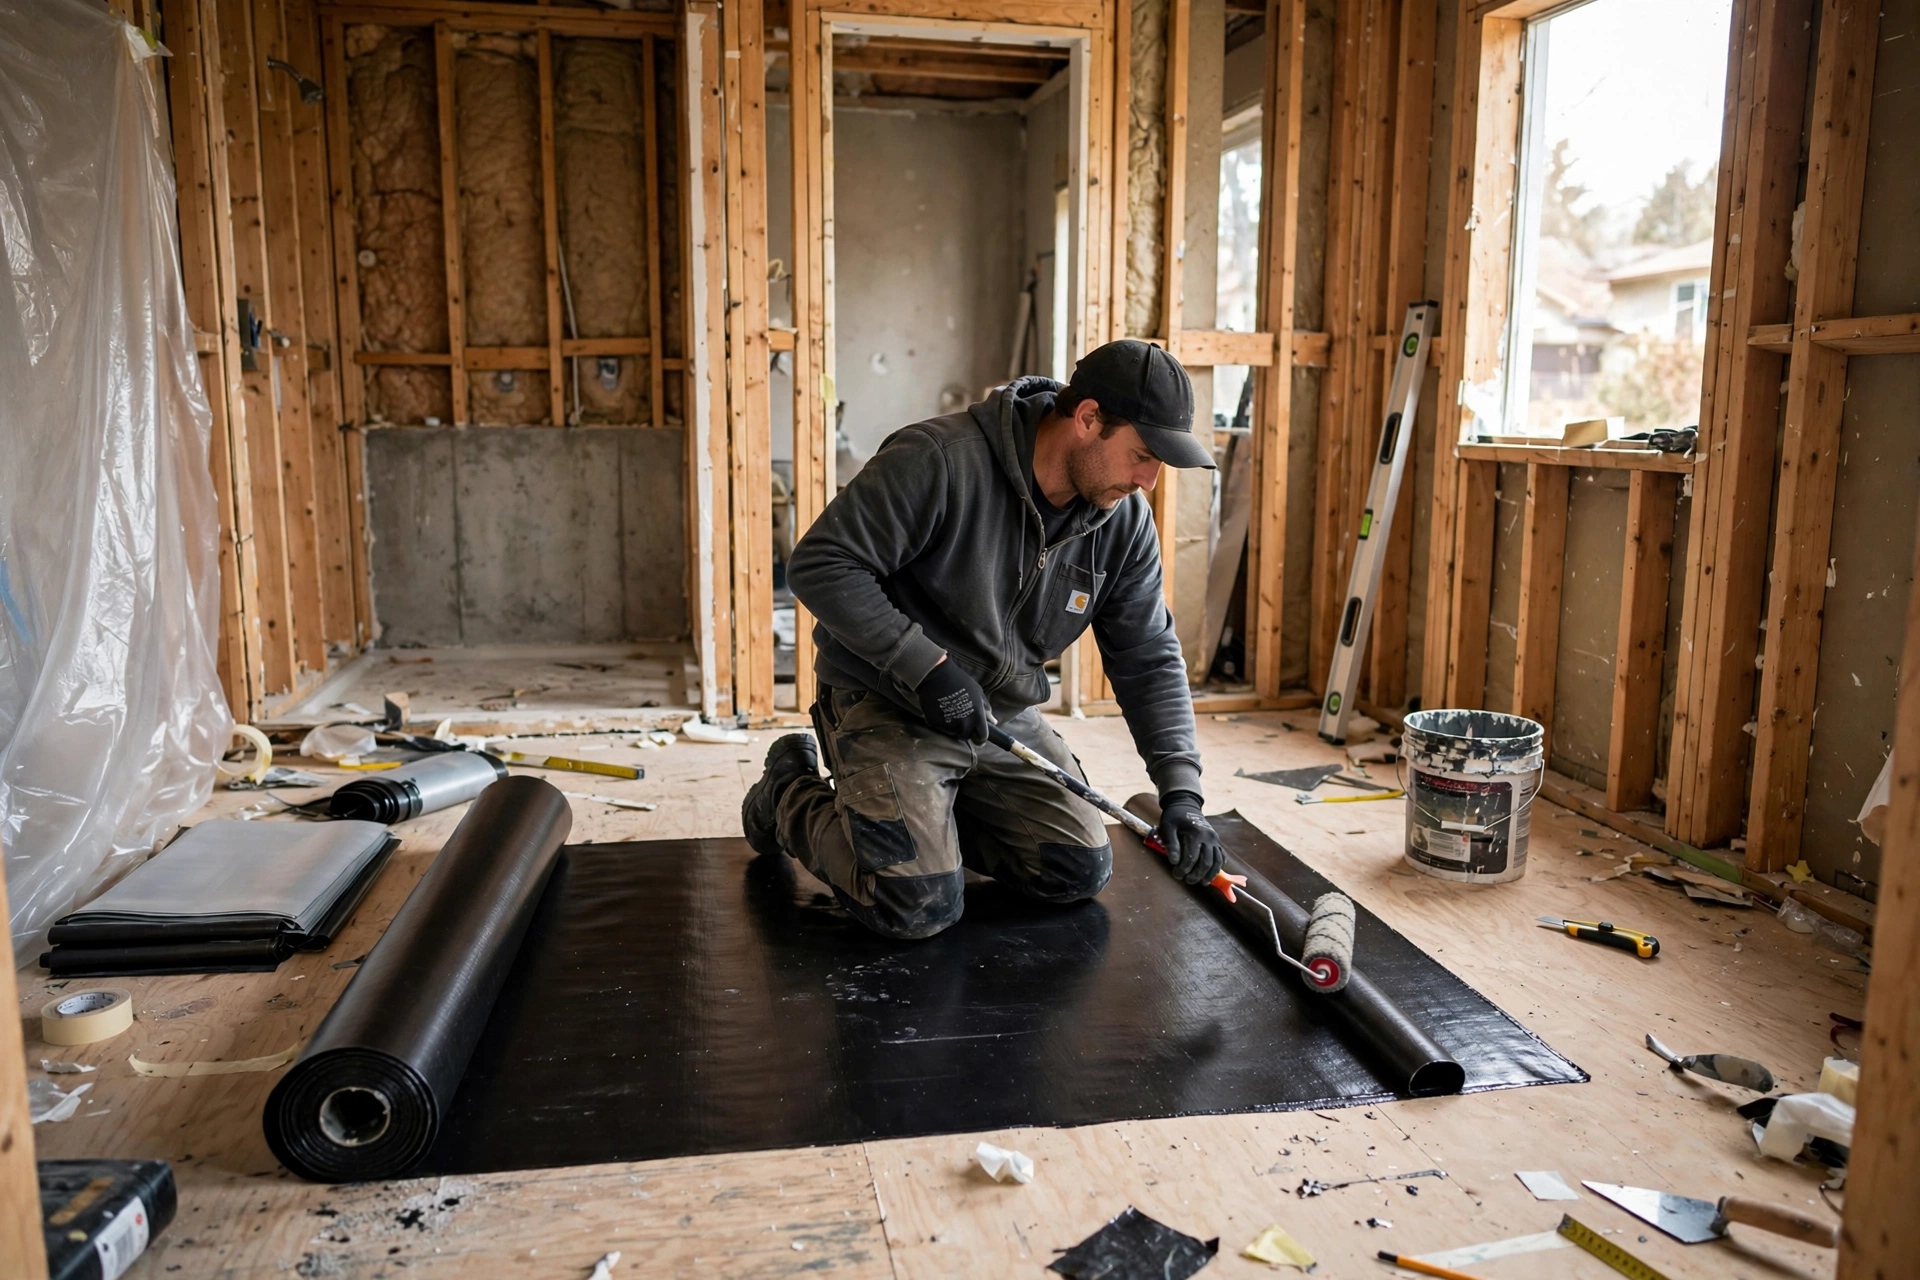
Most bathroom floors look perfectly dry long after water has started working against them. Tiles stay glossy and grout lines look tidy, while a slow trickle slips through hairline cracks, failed sealant, and porous grout and settles into the subfloor below. By the time a tile rocks underfoot or a musty smell refuses to clear, the plywood or oriented strand board beneath may already be soft, swollen, or spotted with mould. A membrane is the one layer in the floor assembly whose entire job is to stand between everyday water and the structural floor it would otherwise quietly ruin.
- The short answer: a continuous membrane bonded to the subfloor, carried up the walls, sealed at every seam and drain, and flood-tested before tiling is what keeps hidden leaks and moisture buildup from reaching and rotting the subfloor. Tile and grout are finishes, not waterproofing; the membrane only protects the subfloor when unbroken from wall to wall.
Tile and Grout Were Never Meant to Keep a Subfloor Dry
Cement grout is porous by nature, and even well-sealed grout lets moisture pass over time. Tiles are largely impervious, but the joints between them are not, nor are gaps where the floor meets the tub, toilet flange, or shower threshold. Every shower sends water into those joints, and every splash adds more. A floor built on the assumption that tile keeps water out rests on hope, not a barrier.
A membrane changes the logic of the floor: instead of trusting the finish to stop water, the assembly expects water to get through the tile layer and catches it underneath, shedding it to the drain or holding it until it evaporates. In a shower, it sits beneath the mortar bed and directs seepage to the drain. Across the wider floor, a bonded layer stops a slow drip, a splash, or a failed wax ring from soaking into the boards below. The subfloor never sees the water, so it never has to survive it.
What a Subfloor Actually Endures When the Membrane Fails
Plywood and oriented strand board, the two most common bathroom subfloors, react to trapped moisture slowly, silently, and expensively. Repeated wetting makes plywood plies swell and separate, a process called delamination, while oriented strand board puffs at its edges and loses stiffness that keeps tiles from cracking. Fasteners loosen as wood swells and shrinks, which is why a once-quiet floor starts to squeak. Given time in a dark, damp space, mould and decay follow, spreading into joists and wall plates.
Concrete subfloors fail differently: a slab does not rot, yet moisture moving through it lifts adhesives, feeds mould above it, and leaves efflorescence, the white powdery deposit on grout lines. Either way symptoms appear far from the leak: a ceiling stain below, peeling paint, or grout staying dark days after drying. The membrane exists so none of this chain ever starts.
Reading the Floor: Subfloor Distress Signals You Can Spot Early
Because subfloor damage hides beneath the finish, the earliest clues are usually small and easy to dismiss. Treat any of the following as a reason to investigate, especially when two or more appear together:
- A soft, springy, or slightly sunken spot underfoot, particularly near the toilet base, tub edge, or shower threshold.
- Tiles that rock, click, or sound hollow when tapped, meaning the adhesive bond below has weakened.
- Grout that stays dark in one area long after the floor has dried, or keeps cracking in the same place.
- A musty smell that survives cleaning and ventilation, often strongest near the moisture source.
- White, chalky deposits on grout lines, bubbling baseboard paint, or a stain on the ceiling below.
- New squeaks when crossing a once-silent floor, suggesting fasteners loosened as the wood moved.
A knuckle-tap test costs nothing: walk the floor in a slow grid, tapping each tile and listening for the change from a solid thud to a hollow ring. Hollow sections near a fixture strongly suggest moisture has reached layers beneath the tile and deserve a moisture-meter check before any cosmetic repair.
Subfloor-First Membrane Choices: Liquid, Sheet, and Uncoupling Compared
Not every membrane protects a subfloor the same way; the right choice depends on subfloor material, room shape, and floor movement. Liquid membranes roll or brush on in two or three coats and cure into a seamless, flexible skin, forgiving around corners, niches, and penetrations where a subfloor is most vulnerable. Sheet membranes arrive at factory-controlled thickness and bond with thinset, giving uniform coverage on flat floors but demanding carefully sealed overlaps at every seam. Uncoupling membranes add a second benefit: their dimpled structure lets tile move slightly independently of the subfloor, so expansion and minor flex are less likely to crack grout and open new paths for water.
For a timber subfloor, a liquid or sheet membrane bonded to a properly prepared, rigid substrate both work well, provided the subfloor is sound, screwed down tight, and free of bounce. A springy subfloor defeats any membrane eventually, since flexing opens seams and cracks tile above, so stiffening comes before waterproofing, not after.
The Joints That Betray a Subfloor: Seams, Penetrations, and Floor-to-Wall Turns
Ask any experienced tiler where bathroom membranes fail and the answer is rarely the middle of the floor. It is the joints: the seam where two sheets meet, the ring around the toilet flange, the gap where a pipe passes through the floor, and the inside corner where the floor turns up the wall. Water follows the path of least resistance, which is almost always a discontinuity in the barrier rather than the barrier itself.
Subfloor-first detailing treats those points as the main event: sealing bands or fabric embedded at every inside corner and change of plane, collars or sealant rings around penetrations, and membrane carried up the wall far enough that a splash cannot run behind it. At drains, it must connect to the flange so caught water has somewhere to go; a membrane trapping water without a drain route holds moisture against the subfloor just as surely as no membrane at all. Mixing brands without confirming compatibility is risky: a tape that will not bond to a liquid coating is a seam waiting to open.
A Subfloor-Safe Membrane Sequence, From Bare Boards to First Tile
A membrane protects a subfloor only when layers beneath it are prepared and layers above it respect it. Most manufacturers and experienced installers follow this order:
Inspect and stiffen the subfloor: screw down loose boards, replace soft or stained sections, and confirm the floor does not deflect underfoot.
Clean, dry, and prime: vacuum the substrate, repair screed or concrete cracks, level uneven areas, and apply the specified primer.
Reinforce weak points first: embed sealing bands or fabric at corners, floor-to-wall junctions, and around pipes and drains.
Apply to full thickness: two or three liquid coats, checking wet-film thickness, or fully bedded sheets with sealed overlaps and no air pockets.
Flood-test before tiling: plug the drain, fill the shower floor, mark the waterline, and check after 24 hours for any drop or dampness below.
Tile with care: use the approved thinset, avoid puncturing the membrane with fasteners, and keep grout and sealant maintenance on schedule.
The flood test deserves emphasis: it is the only step proving the subfloor is protected before it is hidden forever. A membrane passing a 24-hour standing-water test with no drop in level and no dampness below has earned its tile. Skipping the test saves a day and risks the entire floor.
What Subfloor Membrane Protection Tends to Cost, in Rough Terms
Waterproofing is one of the smallest line items in a bathroom remodel and one of the most expensive to redo. For a standard shower, membrane materials and installation add only a small fraction of the total remodel cost, while a failed membrane found years later can mean stripping tile, replacing subfloor sections, and sometimes repairing joists or the ceiling below. Figures below are broad estimates, varying by region, room size, and system:
The comparison that matters is not membrane versus no membrane; it is the modest cost of doing it properly once against opening a finished bathroom to fix a subfloor rotted in secret. On that measure, the membrane is the cheapest insurance in the room.
Keeping a Protected Subfloor Dry for the Next Twenty Years
A good membrane is not fit-and-forget: re-caulk tub and shower joints when sealant shrinks, re-seal grout on schedule, and fix dripping taps promptly, since a slow drip defeats even a perfect membrane by finding one unsealed penetration. Run an extractor fan vented outside during showers and for twenty minutes afterwards, and walk the floor twice a year tapping tiles.
When a Soft or Stained Subfloor Needs a Specialist, Not a Sealant
There is a line between maintaining a protected subfloor and rescuing one already damaged, and crossing it with sealant alone only hides the problem. Call a specialist promptly if the floor feels spongy or sags, tiles have lifted as a group, a musty smell persists after thorough drying, or a stain appears on the ceiling below. The same applies for widespread mould, possible lead paint or asbestos in a pre-1980s home, or a leak suspected inside a wall or under a slab. The right response starts with a moisture meter and, where needed, opening the floor to inspect joists, then rebuilding membrane and subfloor as a system. A surface fix on a rotten subfloor buys weeks.
Subfloor Membrane Questions Homeowners Ask Before Tiling
Can a membrane be added to an existing bathroom without removing the tiles?
Surface sealers and epoxy coatings can slow moisture on an existing floor, but they are no substitute for a bonded membrane under the tile. For a durable fix, remove the flooring, inspect and repair the subfloor, install the membrane, and retile. Anything less leaves the subfloor's condition unknown, precisely the risk the membrane is meant to remove.
Does a concrete slab still need a membrane?
Yes, in wet zones. Concrete does not rot, but it wicks moisture, lifts adhesives, and feeds mould above it. A membrane on a slab stops that migration and protects the tile assembly and adjoining timber.
How long does a bathroom membrane last?
A properly installed membrane generally lasts as long as the tile above it, often twenty years or more, protected from wear and sunlight once buried. Its enemies are not age but movement, punctures, and failed seams, which is why stiffness and joint detailing matter more than the brand on the bucket.
Why did my subfloor rot even though the bathroom had a membrane?
Usually because the membrane was incomplete rather than absent: a missed seam, an unsealed penetration, a membrane stopping short of the wall, or a pan without a working drain route. Water found the gap and used it for years, which is why flood testing and joint detailing matter more than thickness alone.
Is a liquid or sheet membrane better for a timber subfloor?
Both work well on timber. Liquids suit irregular rooms and many penetrations because they cure seamlessly, while sheets offer guaranteed thickness on flat floors. Deciding factors are usually installer familiarity, subfloor rigidity, and whether the room needs an uncoupling layer's crack isolation.
How do I know if moisture is already trapped under my bathroom floor?
Look for the cluster of signs described earlier: hollow tiles, grout that stays dark, a persistent musty smell, or a soft spot underfoot. A contractor with a moisture meter and thermal camera can confirm how far water has travelled without tearing the floor up, guiding whether repair is a reseal or a rebuild.
A Dry Subfloor Is the Quiet Part of a Bathroom That Lasts
Nobody admires a bathroom for its subfloor, and that is exactly the point. A dry, solid subfloor is the silent condition that lets everything visible stay beautiful: bonded tiles, clean grout, a firm floor year after year. The membrane guarantees that silence, catching water tile and grout were never designed to stop and keeping it from the boards holding the room up.
If you are tiling or renovating a bathroom, treat the membrane as the floor's real waterproofing and the tile as its finish. Prepare the subfloor, detail the joints, flood-test before tiling, and maintain sealant and ventilation afterwards.