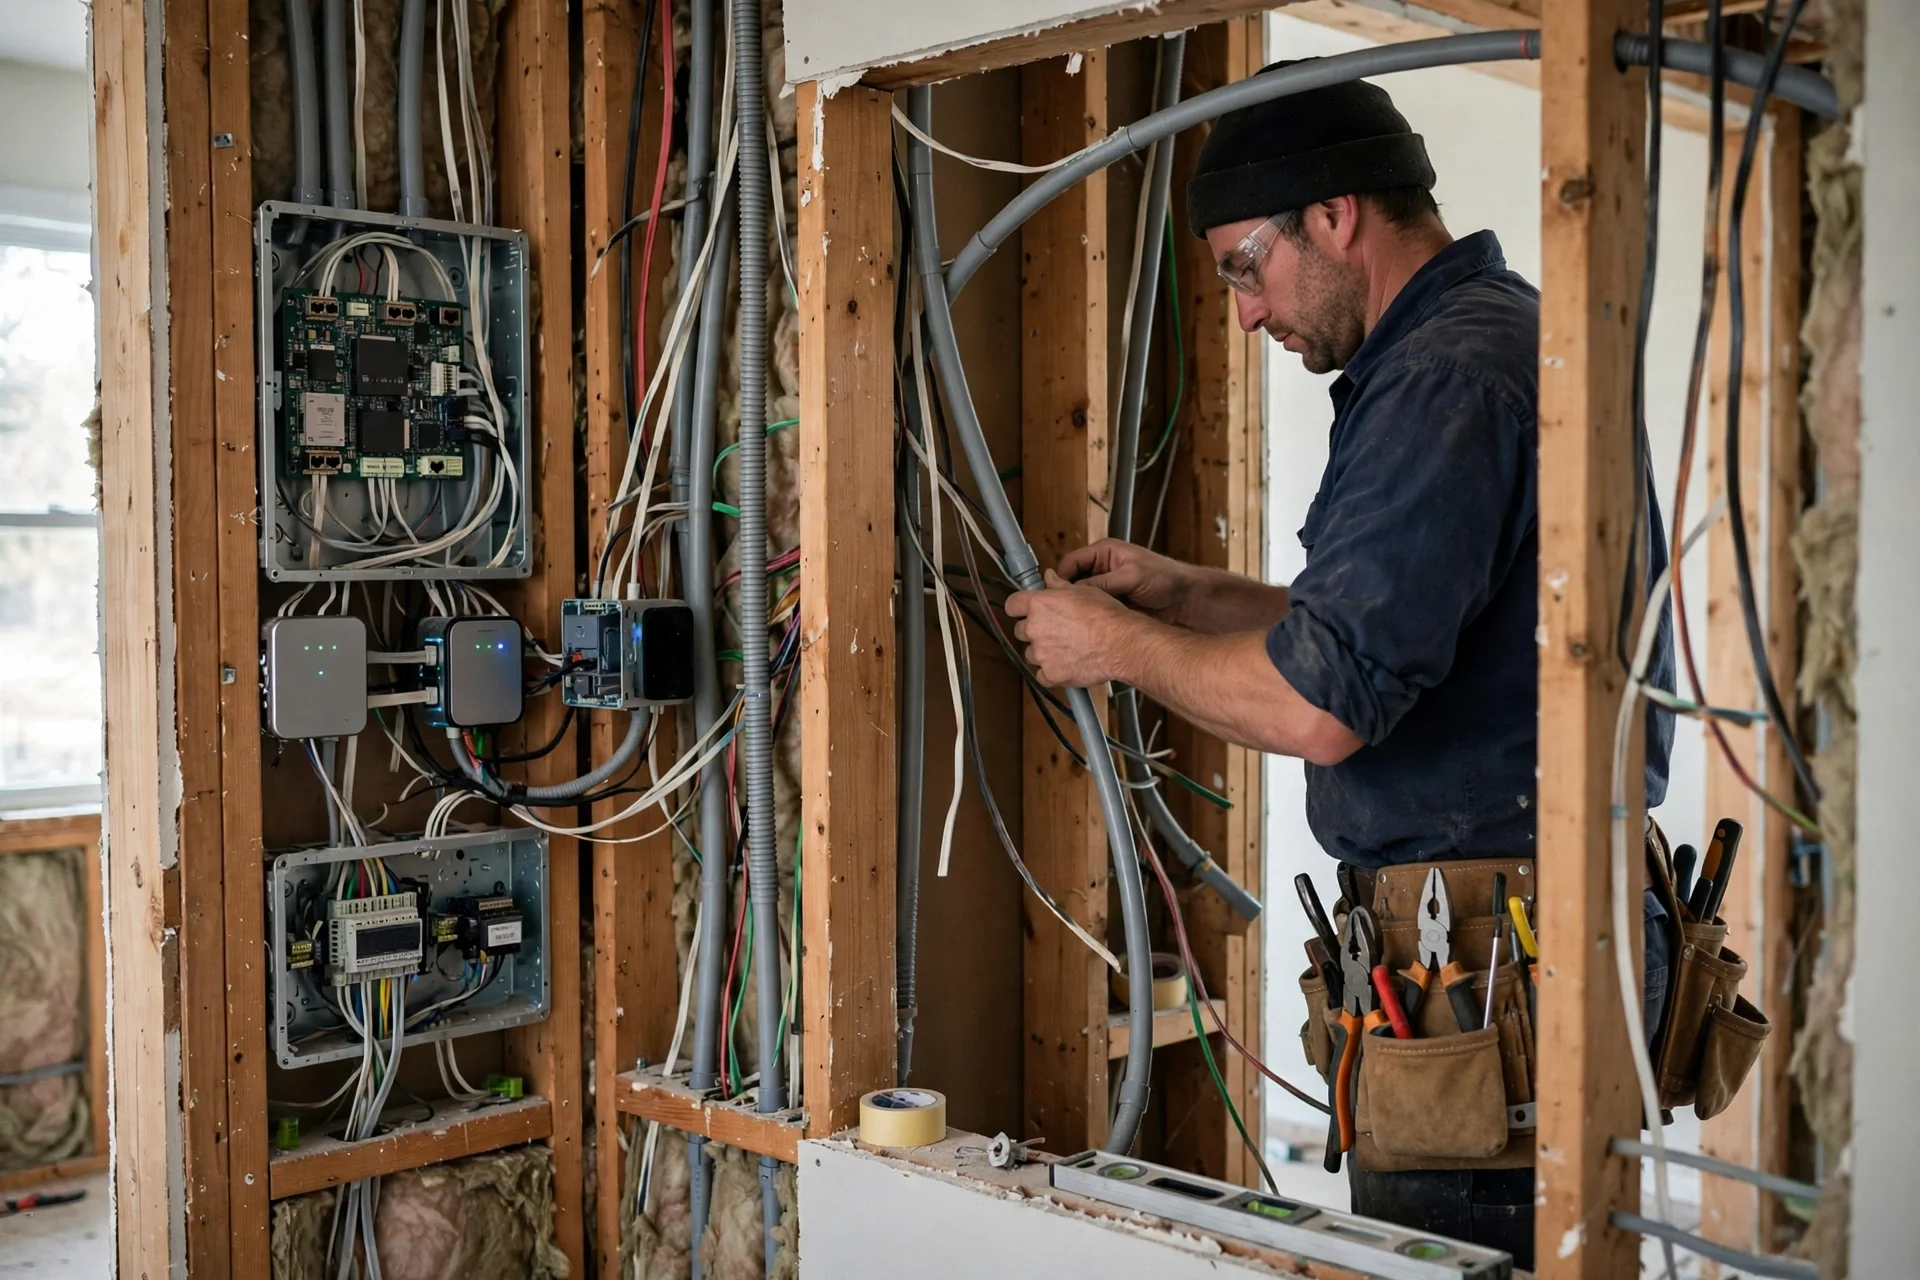
Smart home technology changes every two years. The wiring inside your walls, if you get it right, lasts the life of the house. That gap is the whole case for dedicated conduit pathways: an empty, properly sized tube run through the structure today lets you pull new cables tomorrow without opening a single finished wall. Without it, every upgrade — a faster network, a camera system, a new lighting platform — means cutting plaster, fishing cable through insulation, and patching the damage afterwards. The short answer is that a retrofit conduit plan protects the handful of routes that are hardest to reach later, sizes them generously, keeps power and data apart, and labels every end so the next upgrade takes an afternoon instead of a week.
This guide shows how to retrofit those pathways into an existing home: which routes earn the investment, which conduit types belong where, how to size runs so a future cable pull actually works, and where the line sits between competent DIY preparation and work that belongs to a licensed electrician. The goal is not conduit everywhere. It is conduit in the right places, installed once, ready for whatever the next decade of technology brings.
Why Finished Walls Make Smart Upgrades Expensive
In a new build, running cable is cheap: the walls are open, the routes are obvious, and adding a network drop costs a fraction of what it costs after the drywall goes up. Industry experience puts the difference at several times over — a cable run that costs a modest amount during framing can cost thousands once the walls are finished, because the work then includes cutting, fishing, patching, sanding, and repainting. In an existing home, that cost lands on every single upgrade, and it is the reason many homeowners settle for wireless workarounds instead of the wired backbone their devices actually need.
What a Dedicated Conduit Pathway Actually Gives You
A dedicated conduit pathway is an empty raceway — usually PVC, flexible corrugated tubing, or metal EMT — installed with accessible ends and a pull string inside, waiting for the cable that will eventually use it. It is not a cable and it is not a circuit; it is the road the cable will travel. When the upgrade arrives, the new conductors or low-voltage cables are pulled through the tube instead of being fished blindly through closed walls, which means the work is faster, the walls stay intact, and the result is neater and easier to inspect.
Mapping the Routes Worth Protecting
Conduit is not worth installing everywhere, and a plan that tries to cover every wall wastes money and space. The routes that earn it share two traits: they are hard to reach later, and they serve an upgrade that is likely within the next five to fifteen years. Start by sketching the house and marking the panel, the garage, the attic, the basement, the main living areas, and the planned home office. Then ask, for each pair of points, how painful the route would be to open later — and protect the painful ones first.
Think about how the household is likely to change, not just how it works today. A family adding a vehicle, finishing a basement, working from home, or planning an extension has different needs from a household preparing to sell. The routes that survive almost any version of the future are the ones that connect the panel to the garage, the attic to the utility room, and the main living space to the places where cameras, access points, and outdoor equipment will eventually live.
- Panel to garage or driveway — the most valuable single run, for EV charging and workshop power.
- Attic to utility room — the vertical spine that feeds every floor above and below.
- Living room to garden office — a route that crosses finished space and is brutal to open later.
- Front door and perimeter — camera and access-control cables to the gate, door, and garden.
- Home office and media wall — high-bandwidth wired drops that wireless cannot reliably replace.
Leave the easy routes alone. A cable that can be run later through an accessible loft, an unfinished basement, or a surface-mounted trunk in a utility room does not need conduit, because the retrofit cost is already low. The budget goes to the routes where opening the wall is the expensive part — and that discipline is what keeps a conduit plan affordable instead of turning it into a second rewire.
Conduit Types and Where Each One Belongs
Three conduit families cover almost every residential retrofit, and each has a place. Rigid PVC is cheap, corrosion-proof, and easy to run in straight sections through attics and basements, but it needs sweeping bends rather than sharp elbows if a future cable is to pull through. Flexible corrugated tubing, often called smurf tube, bends around obstacles in existing walls and is ideal for short drops to a socket or an access point. Metal EMT is the choice where physical protection matters — garages, workshops, and exposed runs — and where local code requires it.
| Conduit type | Best retrofit use | Watch out for |
|---|---|---|
| Rigid PVC | Straight runs in attics and basements | Needs sweeping bends, not sharp elbows |
| Flexible corrugated tube | Short drops inside existing walls | Can kink if bent too tightly |
| Metal EMT | Garages, workshops, exposed runs | Heavier to install; needs proper earthing |
| Oversized PVC (one size up) | Main spine routes and future-proof runs | Costs a little more; worth it every time |
The Panel-to-Garage Run: The Single Most Valuable Pathway
Remember that conduit creates a route for wiring, not electrical capacity. Before the run is installed, ask an electrician whether the panel has enough spare capacity for the loads it may one day carry — an EV charger, a heat pump, a hot tub, or a workshop circuit. A generous conduit feeding a panel that cannot support the load is a road to nowhere, and a panel upgrade is far cheaper to plan alongside the conduit than to discover when the charger is already on order.
Attics, Basements, and the Vertical Spine
Every multi-storey home needs a vertical spine: a conduit route from the attic to the utility room or basement that every floor can tap into. The attic is the natural distribution point for the upper floor, and the basement or utility room is the natural hub for the ground floor, so a spine connecting the two turns each floor into a short, easy branch instead of a separate fishing expedition. Run the spine through a wardrobe, a service cupboard, or a purpose-built chase where it will never be buried behind fitted furniture.
Where the spine passes through floors, fire-stopping matters. A conduit that runs through several storeys can carry fire and smoke between levels if the penetrations are left open, so seal each floor penetration with the fire-rated material your local code requires, and fit the seal as the conduit is installed rather than as an afterthought. The same attention applies where the spine crosses a fire-rated wall: the conduit itself is not the problem, but an unsealed hole around it certainly is.
- One spine, many branches — a single vertical route beats a separate run to every room.
- Accessible ends — both ends of the spine must stay reachable, never buried behind tiling.
- Spare capacity — leave at least a quarter of the tube empty for the next cable.
- Fire-seal every penetration — seal floor and wall crossings as you go, not afterwards.
- Label the spine — mark what it serves at each floor so the next electrician finds it fast.
A spine that is documented beats a spine that is merely installed. Sketch the route on the house plan, note the conduit size and the pull-string location, and store a photograph of the open run before it is closed up. Future owners and future electricians will work faster and cheaper because they start with answers instead of exploratory holes in the plaster.
Separating Power From Data: A Rule, Not a Preference
Power and data must travel in separate conduits. High-voltage circuits — the mains supply, EV charging, and heavy appliances — induce electrical noise in the low-voltage cables that carry network, audio, and control signals, and most building codes require the separation anyway. Run one conduit for mains and a second, parallel conduit for data, keeping a clear gap between them wherever they run together, and never pull a network cable through a tube that already carries mains conductors.
The separation also protects the future. A data conduit that carries only low-voltage cable can be opened, re-pulled, and upgraded by a homeowner or a network installer without touching the mains, while a mixed conduit turns every network upgrade into electrical work. Label each tube clearly at both ends — power and data look identical once the walls are closed — and use different colours where the system allows it, so nobody has to guess which is which.
Pull Strings, Labels, and the Details That Decide Whether It Works
The difference between a conduit system that works and one that does not is rarely the tube; it is the details. A pull string left in every run, tied off at both ends so it cannot slip inside, turns a future cable pull into a ten-minute job. Without it, the next installer must push a fish tape through a tube that may have settled, shifted, or collected debris, and a run that was easy on installation day can become a frustrating afternoon. Leave the string in place, and leave a spare alongside it.
Labels are the other half of the system. Every conduit end should carry a simple code — a room, a purpose, and a number, such as living-room network one — written on a tag that will survive inside a wall box. The central end should terminate at a structured wiring panel or a labelled junction box near the main panel, where every run can be found in one place. A labelled system is a system the next person can actually use; an unlabelled one is a mystery that gets ignored until the walls come open again.
When a Licensed Electrician Must Do the Work
Anything that touches mains power belongs to a licensed electrician, and that boundary is not a suggestion. Running empty conduit through open walls or an attic is work a careful homeowner can often prepare, but connecting circuits, sizing breakers, and certifying the installation are regulated tasks in most areas, and the certificate is what the insurer and the next buyer will ask for. A good division is to prepare the routes, fit the empty tubes and pull strings, and let the electrician make the connections, test the circuits, and sign the work off.
Bring the electrician in early, before the routes are fixed. An electrician who sees the plan can spot the problems a homeowner misses — a route that crosses a structural beam, a tube that runs too close to a hot-water pipe, a panel that needs upgrading before the conduit makes sense. Ask for the finished work in writing, with the routes, the sizes, and the test results recorded, and keep that record with the house documents alongside the roof map and the envelope survey.
Electrical Conduit Pathway FAQs: Sizing, Routes, and Smart Upgrades
How big should retrofit conduit be for future smart home cables?
Bigger than today’s cable needs. Size for the largest cable the route might ever carry, then go one size larger, and leave at least a quarter of the tube empty. A generous tube with gentle bends is the difference between a cable pull that takes minutes and one that takes an afternoon of frustration.
Is empty conduit worth installing during a small renovation?
Yes, when the walls are already open. A rewire or a room renovation is one of the few chances to add hidden infrastructure without reopening finished surfaces, and the added cost of a few empty runs is small compared with opening the same walls again later. It is not worth installing indiscriminately in every wall — protect the hard routes first.
Can power and network cables share one conduit?
No. Mains conductors induce noise in low-voltage data cables, and most codes require separate raceways for power and data. Run a second, parallel conduit for network, audio, and control cables, keep a clear gap between the two, and label each tube at both ends so they are never confused.
What is a pull string and why does every conduit need one?
A pull string is a strong cord left inside the conduit, tied off at both ends, that a future installer uses to draw new cables through the tube. Without it, the next cable must be fished blindly, which can be slow or impossible on a long run with bends. Leave the string in place and add a spare alongside it.
Does conduit help if I only use wireless smart devices?
Yes, for the backbone. Wireless devices still need wired access points, cameras, and a reliable network core, and the most valuable runs — to the garage, the office, and the outdoor cameras — are the ones wireless struggles to reach. Conduit gives the wireless system a wired spine to stand on.
Final Thoughts: Conduit in the Walls, Freedom in the Future
The devices will change. The platforms will change. The cables will change. The conduit does not need to change, because it was never about the technology of today — it was about the routes that are hard to reach tomorrow. A handful of well-chosen, well-sized, well-labelled runs, installed while the walls are open and the electrician is already on site, buys the household a decade of upgrades without a single cut in the plaster.
Start with the spine and the garage run, add the routes that cross finished space, and stop there. Then label everything, photograph the open runs, and file the plan with the house documents. The next upgrade will arrive, the cable will pull through in minutes, and the walls will stay exactly as they are — which is the whole point.