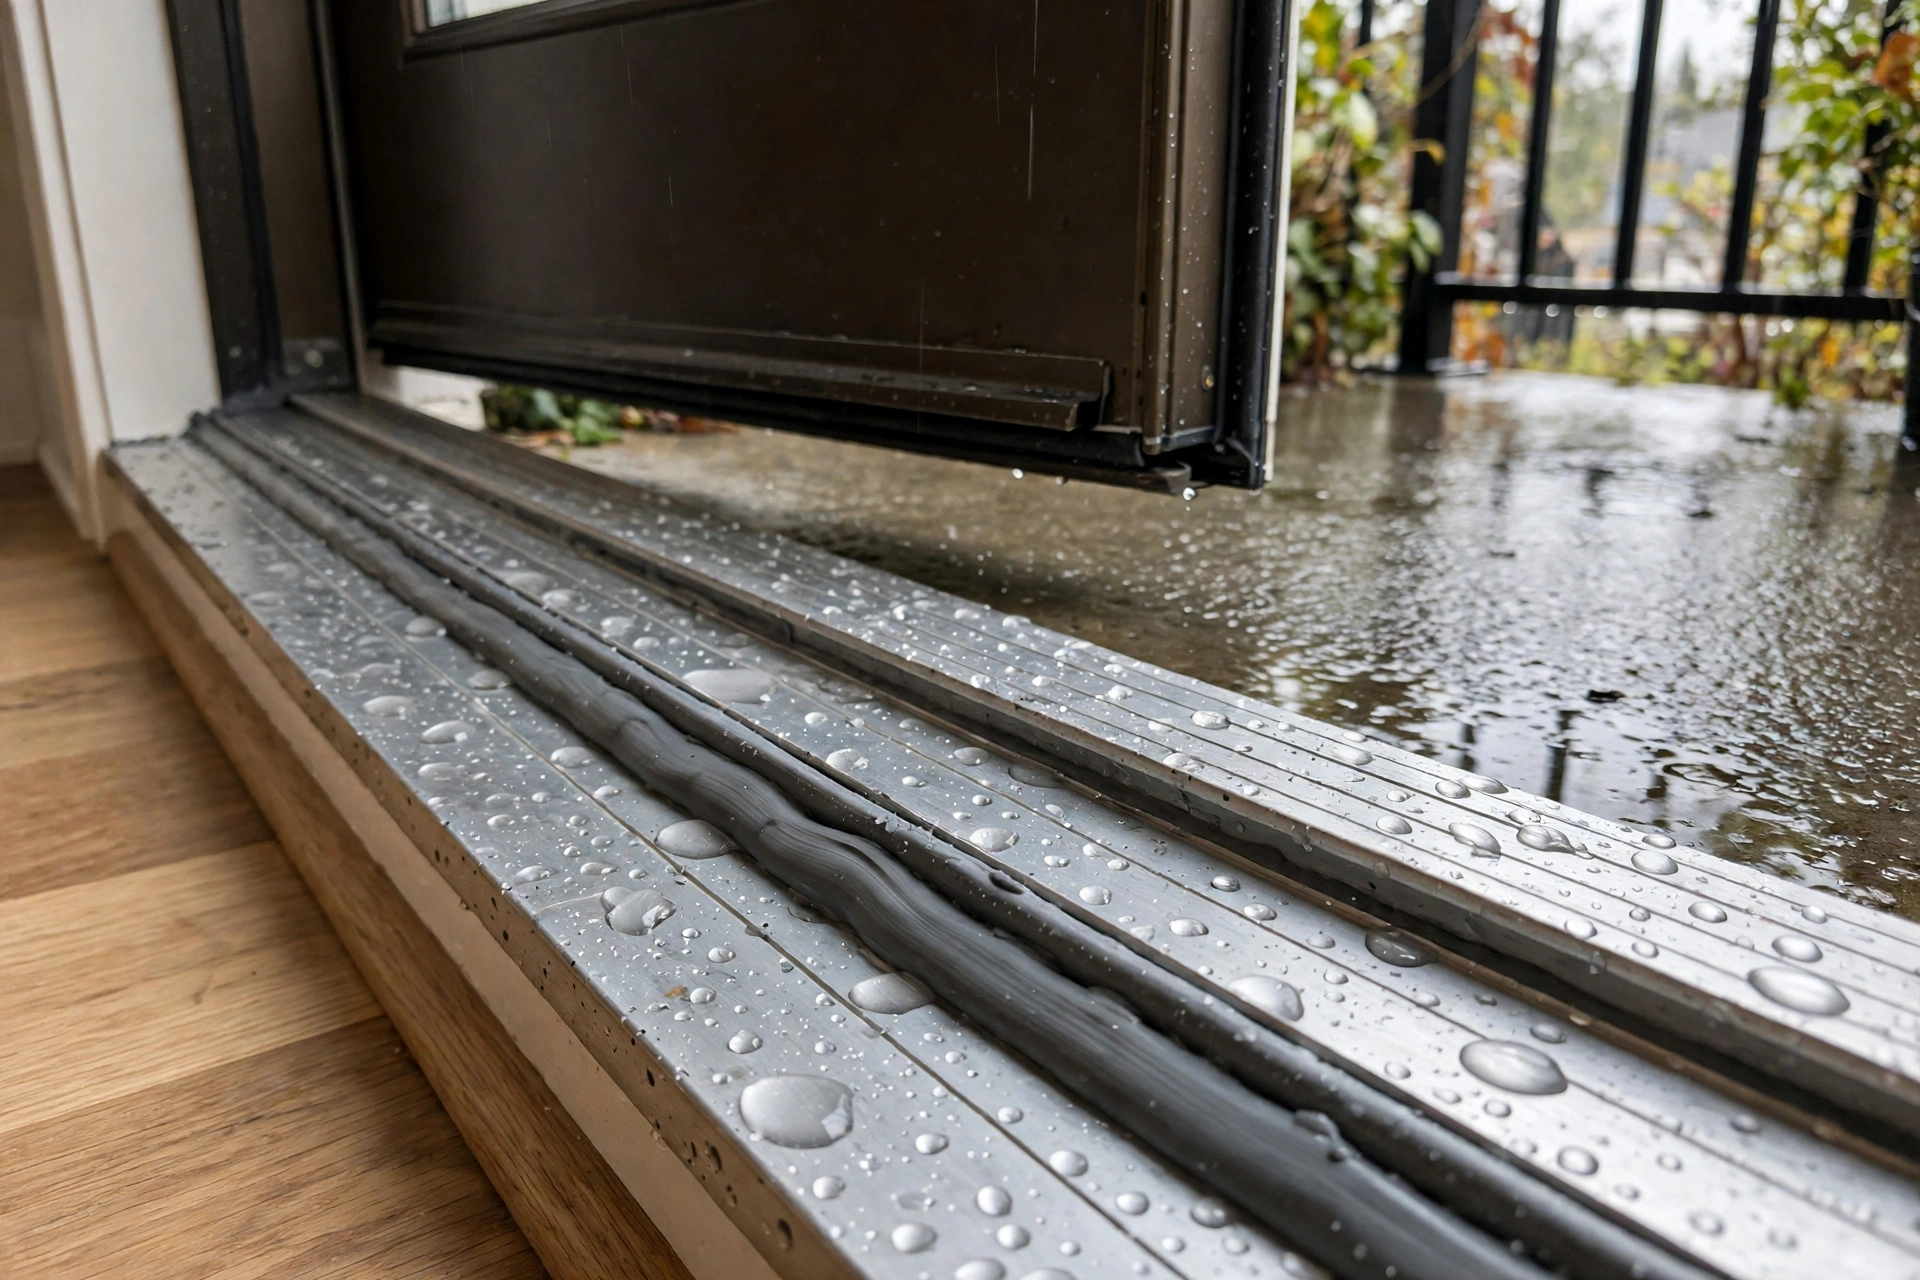
The strip of floor where a balcony door meets the house is one of the most leak-prone spots in any home. Wind-driven rain pushes water against the door, it collects on the threshold, and gravity plus capillary action pulls it under the frame into the subfloor, wall framing, and interior finishes. Good balcony threshold waterproofing is not one product but a small system: a sill pan that catches stray water and sends it back outside, sealant beds that block capillary paths, flashing tape layered in shingle fashion, and drainage in front of the door so water never sits against the opening.
The short answer: assume some water will always reach the threshold, and give every drop a safe path back outside. A sloped sill pan with end dams and weep holes, a continuous polyurethane sealant bed, flashing tape lapped upper-over-lower, and a clear drainage channel or adequate balcony fall will handle almost every leak. Most of these are weekend-scale improvements; only a full sill-pan retrofit usually means lifting the door.
Why Balcony Door Thresholds Leak
A balcony threshold sits where several water problems converge. Knowing the entry paths tells you which improvement will actually fix your leak:
- Wind-driven rain: horizontal rain under pressure pushes water beneath the door bottom and over the threshold, worst on exposed facades and upper floors.
- Standing water: ponding from storms or poor balcony drainage overwhelms thresholds that rely only on a door sweep.
- Capillary wicking: water creeps sideways and upward through tight joints between threshold, subfloor, and jambs, even with no visible gap.
- Differential movement: thermal expansion and settlement break sealant joints over time, opening hairline paths at the corners.
- Blocked drainage: clogged weep holes and door-track drains trap water the system was designed to shed.
- Missing sill pan: many older installations have none, so water past the primary seal lands directly on wood framing.
The damage is rarely just a damp patch. Persistent leaks rot subfloor edges, feed mould inside wall cavities, and stain interior finishes — often discovered only after years of hidden deterioration.
How Balcony Threshold Waterproofing Works
Effective threshold waterproofing is a layered drainage system governed by the shingle-lap principle: every upper flashing layer overlaps the layer below, so gravity always carries water outward and downward. When one layer is breached, the next catches the water and redirects it:
Exterior seal: weatherstripping, door sweep, and perimeter sealant keep most rain out.
Sill pan: a sloped trough under the threshold that captures stray water and drains it outside through weep holes.
Sealant bed: continuous polyurethane or silicone between pan and subfloor, blocking capillary paths and air leakage.
Flashing tape: self-adhered membrane around the rough opening, lapped shingle-fashion into the wall's weather barrier.
Balcony drainage: falls sloping away from the door plus a drainage channel or clear outlets in front of it.
If any layer is missing — most often the sill pan — water that should have drained reaches vulnerable framing instead. The improvements below restore each layer, roughly in order of impact.
6 Threshold Waterproofing Improvements Worth Making
1. Fit a Sill Pan With End Dams and Weep Holes
The highest-impact upgrade is a sill pan: a pre-formed plastic or site-fabricated metal/membrane trough beneath the entire threshold. It needs an outward slope, raised end dams at the jamb ends so water cannot run sideways into the framing, and weep holes or drain slots at the exterior face. Set it on a continuous bed of polyurethane sealant and seal the threshold to the pan the same way. Retrofitting usually means lifting the door — the most involved job here, but the one that turns the threshold from a surface water sits on into a drain water leaves through.
2. Flash the Rough Opening in Shingle Fashion
Apply self-adhered flashing tape around the rough opening, always lapping upper over lower: start at the sill, extending the tape up the side jambs about 150 mm and folding corner tabs into inverted dams that stop sideways migration; flash the jambs next, overlapping the sill tape; finish with the head, overlapping the jamb pieces and tying into the wall's weather barrier above. Press tape down firmly — adhesion is the waterproofing — and spend extra time on the corners, where flashing fails first.
3. Bed the Threshold on a Continuous Sealant Gasket
Apply a thick, continuous bead of exterior-grade polyurethane sealant to the underside of the threshold before fastening it down. Polyurethane stays flexible through seasonal movement and bonds strongly to wood, concrete, and metal. Press the threshold firmly into the bead, fasten with corrosion-resistant screws driven flush (overtightening deforms the seal), then run a final bead where the threshold meets the jambs and the exterior floor. For large gaps, support the threshold on low-expansion closed-cell foam or non-shrink grout first — but never rely on foam or grout alone for waterproofing.
4. Add a Drainage Channel in Front of the Door
Where the balcony is flush with the interior floor — the modern level-access detail — water needs an engineered escape route: a slim threshold drain set into the balcony surface directly in front of the door, discharging to the balcony drainage or stormwater. Keep at least a 10 mm gap between the frame's front edge and the drain, dress the balcony membrane correctly into the drain body, and confirm the outlet connects to real drainage. On parapet balconies, also check the overflow — a blocked primary outlet with no overflow is how balconies fill like bathtubs in a cloudburst.
5. Fix the Balcony Fall and Keep Every Drain Clear
No threshold detail survives long if water ponds against it. The surface should fall away from the door in one direction (design falls around 1:40 settling to about 1:80 are a common standard). First clear balcony outlets and threshold weep holes with a thin wire or compressed air — blocked drainage is the easiest fix of all. On sliding doors, check the track drainage channels, which silt up unnoticed. If ponding persists after clearing, the fall itself is wrong and correcting it is a bigger project, usually involving lifting finishes.
6. Renew the Door Sweep, Weatherstripping, and Perimeter Sealant
The cheapest improvement with immediate effect: replace a worn door sweep so it makes continuous contact with the threshold (many thresholds have an adjustable riser to fine-tune compression), replace flattened weatherstripping in the jamb kerfs, and rake out cracked perimeter sealant where the frame meets the exterior wall, replacing it with fresh exterior-grade silicone or polyurethane. Test on a rainy day or with a light garden-hose spray from outside — never a pressure washer, which forces water past seals that hold in real weather.
Retrofit vs New Build: What Is Realistic
Choosing Materials: Sill Pans and Sealants Compared
Never rely on interior-grade caulk, expanding foam alone, or mortar smeared under a threshold as the waterproofing layer.
Common Mistakes That Cause Threshold Leaks
- Skipping the sill pan. Assume doors will eventually leak, and detail the opening so the leak drains harmlessly.
- Flashing in the wrong order — water must always step down and outward, never into the wall.
- Leaving corners unsealed; folded, sealed corners with end dams matter more than straight runs.
- Sealing weep holes shut with fresh caulk, turning a drained pan into a bathtub.
- A threshold pitched inward from settlement — restore an outward pitch with non-absorbent shims.
- Butting balcony finishes hard against the frame; leave about a 10 mm gap so water drops to drainage.
- Caulking over rot. Replace damaged material first; sealant hides decay while framing rots.
What Threshold Waterproofing Costs
Costs vary by region and door size. Figures below are rough estimates for planning only.
Sensible sequence: do the cheap fixes first, reassess in the next rain, and only then commit to the bigger jobs.
Safety and When to Call a Professional
Most threshold sealing is safe DIY with gloves, eye protection, and a second person for lifting heavy doors. Never lean your weight on an unverified balcony balustrade.
Call a professional when the subfloor or framing under the threshold is soft or rotted, when you suspect mould inside the wall cavity, when the balcony sits over a living space and the membrane itself may be compromised, or when local regulations govern level-access threshold detailing.
Final Thoughts
Balcony threshold waterproofing rewards a drainage-first mindset: assume water will reach the threshold and give every drop a path back outside. A sill pan with end dams, a continuous sealant bed, shingle-lapped flashing, and clear drainage in front of the door handle wind-driven rain, ponding, and seasonal movement without drama. Start with the simple wins — renew the sweep and seals, clear the weeps and outlets — and test with the next heavy rain. If water still gets in, the sill pan retrofit is the upgrade that changes the outcome, and it is worth doing before hidden framing damage turns a weekend project into a structural repair.
Frequently Asked Questions
What is a sill pan, and do I need one under a balcony door?
A sill pan is a sloped trough — pre-formed plastic, folded metal, or flexible membrane — fitted beneath the threshold with raised end dams and weep holes. It catches water that gets past the door's seals and drains it outside. Since doors can be expected to leak eventually, the pan is what keeps that leak off the subfloor and framing. On an exposed balcony door it is one of the highest-value waterproofing details available.
Can I waterproof a balcony threshold without removing the door?
Partly. You can renew the sweep and weatherstripping, replace cracked perimeter sealant, clear weep holes and balcony drains, and shim a threshold that has settled inward. These stop many minor leaks. But a proper sill pan and full shingle-lapped flashing can only be installed with the door out, so persistent leaks usually mean planning for that bigger job.
Why does water keep coming in at the bottom corners?
The corners where threshold meets jambs are the weakest point: sealant joints fail from movement, flashing corners are hard to fold tightly, and capillary action pulls water sideways into the joint. Treat corners deliberately — folded, sealed flashing with end dams on the pan, plus a continuous sealant gasket — rather than adding more surface caulk.
Should the balcony slope away from the door?
Yes, in a single direction so water never ponds against the threshold. A common standard is a design fall around 1:40 settling to about 1:80. Clear the outlets first if water stands after rain; if ponding persists, the fall itself needs correcting, which is a larger project.
What is a threshold drain and when is one needed?
A slim linear channel set into the balcony surface directly in front of the door. It is needed wherever the threshold is flush with the interior floor, since there is no step to stop surface water running at the door. Keep a small gap between frame and drain, dress the membrane into the drain body, and keep the channel clear of debris.
Polyurethane or silicone sealant for a threshold?
Polyurethane for bedding the threshold and movement joints — it bonds strongly to wood, concrete, and metal and stays flexible. Silicone for exposed perimeter joints, where its UV resistance shines but paint won't stick to it. Apply either to a clean, dry surface, and never seal over weep holes.
How often should I check threshold waterproofing?
At least once a year, before the wettest season: check sweep contact, look for cracked sealant, clear weep holes and balcony outlets, and confirm water drains away rather than ponds. Sealant joints typically need renewal every few years; a correctly installed sill pan and flashing should last the life of the door.