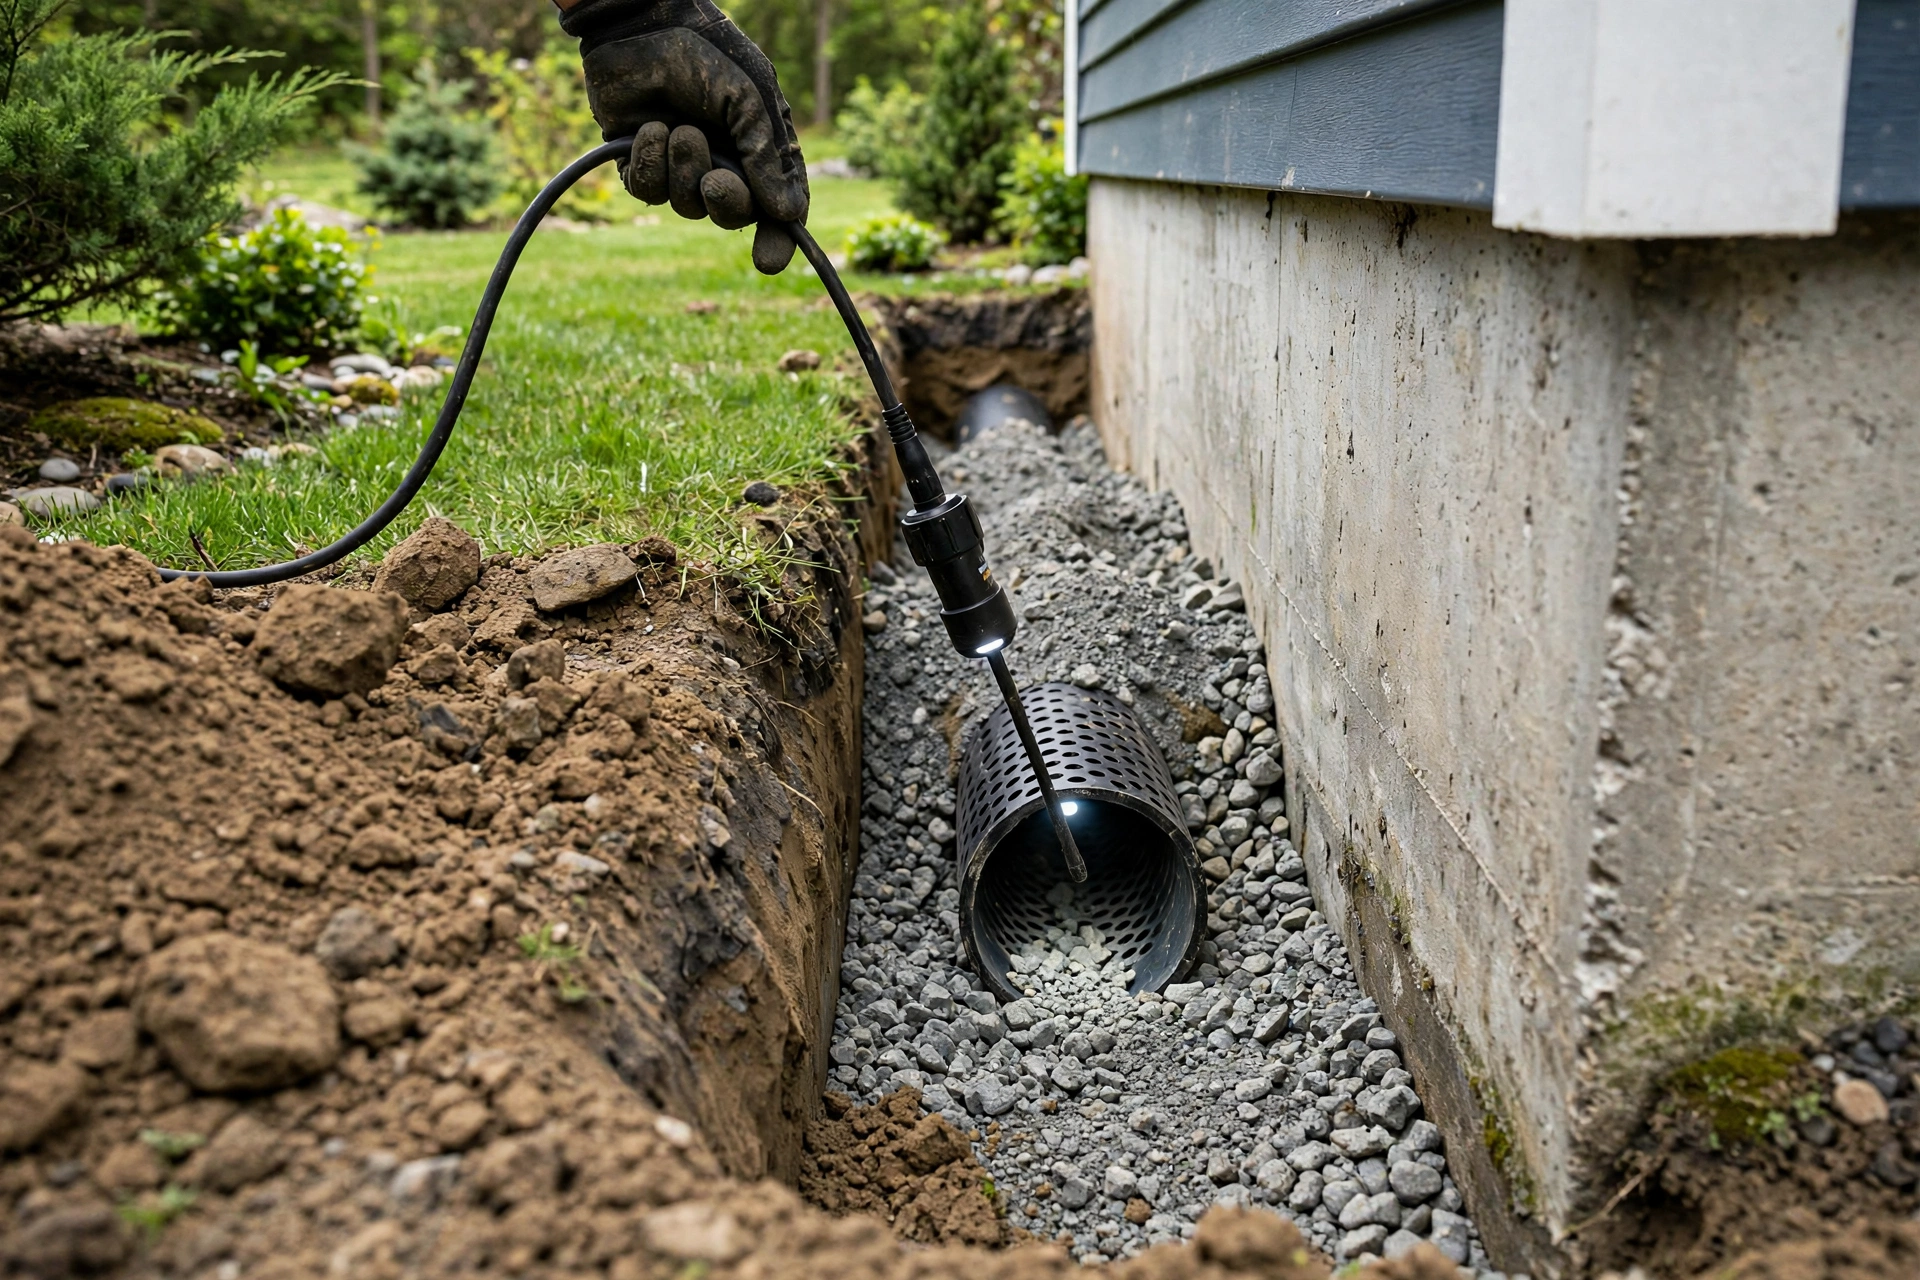
Your lawn looks fine and the flower beds are thriving — yet water may be quietly collecting where you cannot see it, pressed against your foundation walls by every rainstorm. Your foundation drainage lives entirely underground, and it can clog, fill with roots, or crush with no visible sign on the surface.
A foundation drainage inspection is the only reliable way to learn what is happening inside the perforated pipes ringing your foundation before a slow blockage becomes a wet basement, mold, or cracked concrete. This guide covers what foundation drainage is, blockage warning signs, inspection methods from homeowner checks to camera surveys, what inspections find, how often to check, and when to call a professional.
The short answer: Start with what you can observe — warning signs in the basement and yard — then run a garden-hose flow test at the sump basin or cleanout. Slow or absent flow means it is time for a camera inspection, which reveals the exact blockage type and location. The first steps are DIY; camera surveys and hydro-jetting belong to professionals.
What Foundation Drainage Does Beneath Your Landscaping
Foundation drainage goes by several names — drain tile, weeping tile, footing drain, perimeter drain, French drain — all describing a perforated pipe in a gravel-filled trench around your foundation, at or just below footing level. Groundwater seeps through the gravel, enters through the perforations, and gravity carries it to a storm sewer, a daylight outlet, or a sump pump basin.
Its job is to relieve hydrostatic pressure — the force saturated soil exerts against walls and slab. Working drainage keeps the water table around the foundation low; a clogged line lets pressure build until water forces through concrete pores, the floor-to-wall joint, or the slab. Because the system is buried, failure stays invisible until damage appears — which is why scheduled inspection beats reacting to symptoms.
Warning Signs That Your Foundation Drainage May Be Blocked
No single sign proves a blockage, but two or more together make one very likely.
Interior warning signs
Water seepage along the floor-to-wall joint, where pressure enters once the drain cannot keep up.
Efflorescence — white, powdery salt deposits on concrete — left as moisture wicks through and evaporates.
Damp spots on foundation walls, especially after heavy rain or snowmelt.
A persistent musty odor along baseboards, often appearing before any visible water.
New cracks in the slab or walls, particularly horizontal cracks suggesting pressure overload.
Exterior and sump pump warning signs
Pooling water or soggy soil near the foundation after rain that used to drain normally.
Unusually lush grass strips along the foundation line, or a shallow depression over the pipe route.
A sump pump running constantly in moderate rain — or silent in heavy rain while the yard is saturated.
Fine silt in the sump basin — a sign the filter fabric is torn and soil is entering.
Foundation Drainage Inspection Methods, From Simple Checks to Professional Tools
Each method costs more and reveals more than the last. Start at the top and stop when your question is answered.
The visual walk-around and sump basin check
Walk the perimeter during or after heavy rain, noting pooling, soft ground, and whether outlets are discharging. Inside, lift the sump basin lid, shine a flashlight in, and check for silt at the drain tile inlet and a freely moving float switch. Wear rubber gloves — sump water can be contaminated — and keep hands away from the pump’s wiring. Twenty minutes, no cost.
The controlled flow test
Simulate a steady rain: with a helper watching the sump basin or cleanout, run a garden hose at moderate flow into the soil a few feet from the foundation and time how long water takes to arrive. A healthy system responds within minutes. Slow arrival suggests partial obstruction; no arrival after a sustained run points to a full blockage or crushed section. Repeat yearly and log the result.
Borescope inspection
An inexpensive waterproof endoscope fed into the pipe through the sump basin or cleanout can confirm sludge, root hairs, or orange-brown slime in the first few feet. It cannot map the line, but often enough to justify a professional visit.
Professional CCTV camera inspection with sonde location
The definitive diagnostic. A technician feeds a waterproof camera on a push-rod through a cleanout or the sump basin, capturing live video — sediment, root masses, iron ochre, cracked joints, bellies, or crushed sections — with cable markings showing how far along each defect sits. Most camera heads also carry a sonde transmitter (typically 512 Hz or 33 kHz); a receiver swept across the yard pinpoints the pipe’s position and depth, giving a precise repair plan with no exploratory digging. One honest limit: standing water or a complete blockage can stop the camera short.
Hydro-jetting as a diagnostic clean
Hydro-jetting (commonly 1,500 to 3,000 psi for residential lines) scours silt, sludge, and iron ochre from pipe walls and cuts root masses. Contractors often jet, then camera again — always insist on that post-cleaning video as your benchmark. Professionals camera before jetting too, since aggressive pressure can damage brittle clay tile.
How the methods compare:
| Method | What it reveals | DIY or pro | Effort |
|---|---|---|---|
| Walk-around + sump check | Pooling, outlet flow, silt, pump behavior | DIY | ~20 min, no cost |
| Garden-hose flow test | Whether the buried line still moves water | DIY | 30–60 min with helper |
| Borescope | First few feet of pipe at the access point | DIY | Inexpensive tool |
| CCTV camera + sonde | Blockage type, location, depth, pipe condition | Pro | 45–90 min on site |
| Hydro-jet + re-camera | Clears line; confirms what cleaning exposed | Pro | Half day |
How to Locate Your Drainage Access Points
Start with the sump pump basin — the most common entry — then look for cleanout ports: vertical capped pipes at foundation corners or along long runs. A daylight outlet on a slope works too. If you find nothing, check building plans or look for a round cap flush with the soil near a corner. No cleanout? A contractor can still work through the basin, but adding cleanouts at corners is a smart upgrade after a first camera visit.
What Inspections Typically Find
Fine silt and sediment
The most common finding, especially where filter fabric is torn. Soil washes through the gravel and settles inside the pipe year by year. Jetting clears it, but torn fabric means it returns — the fabric is the long-term fix.
Tree and shrub root intrusion
Roots enter through perforations seeking moisture, then grow into mats that trap debris. Willows near the foundation are classic offenders. Cutting clears mats, but only vegetation management — trimming, root barriers, or removal — lasts. Recheck with a camera within a year.
Iron ochre
A rust-colored slime from iron-oxidizing bacteria. It coats pipe walls, smells metallic, and reforms quickly — sometimes within a season. Jetting clears it, but affected homes need light maintenance every 18 to 36 months.
Crushed, collapsed, or disconnected sections
The most serious finding: vehicles, settlement, or bad installation crush the pipe, and old renovations leave orphaned segments. This needs excavation and replacement by a foundation specialist — the sonde locate shows where to dig.
How Often Should Foundation Drainage Be Inspected?
Visual checks are free, so do them often; camera surveys cost money, so match them to your risk.
| Your situation | Visual check | Camera inspection |
|---|---|---|
| Modern PVC, filter fabric, few trees | Twice yearly | Every 5–7 years |
| Some trees; downspouts tied into line | Twice yearly + after storms | Every 3–5 years |
| Older clay/concrete tile or heavy tree cover | Quarterly | Every 2–3 years |
| Past dampness or blockages; iron ochre present | Quarterly + yearly hose test | Every 1–2 years |
| After regrading or driveway work | Within the season | Within a year |
Schedule professional work in late summer or early fall, before the wettest months. Selling soon? A recent camera report and cleaning invoice reassures buyers far better than a verbal promise of a dry basement.
Step-by-Step: A Homeowner’s DIY Foundation Drainage Inspection
Set aside about an hour on a dry day, ideally with a helper. You need gloves, a flashlight, a garden hose, and a notepad.
Walk the perimeter; note pooling, soft spots, or depressions. Photograph anything unusual.
Confirm every discharge point — outlets, storm connections, downspout adapters — is clear.
Open the sump basin: check for silt at the inlet and a freely moving float switch.
Test the pump by lifting the float or pouring in a bucket of water; confirm it runs and shuts off.
Run the hose flow test with your helper watching the basin; time the arrival and log it.
Scan the basement: floor-to-wall joint, lower walls for efflorescence, baseboards for mustiness.
Check landscaping: thirsty trees within 10–15 feet? Downspouts discharging 5–10 feet away?
Write it all down — date, weather, findings. This log turns observations into an actionable trend.
What a Foundation Drainage Inspection Costs
Treat every figure as an estimate — access drives the price, and regions vary. Get a local quote first.
| Service | Estimated range |
|---|---|
| DIY visual + flow test | $0 |
| Consumer borescope (purchase) | $30–$80 |
| Pro camera inspection (cleanout access) | $125–$500 |
| Pro camera (difficult access / long run) | $500–$1,000+ |
| Hydro-jetting / line cleaning | $300–$1,000+ |
| Excavation + section replacement | $1,500–$5,000+ |
A camera survey costs a fraction of a full drain replacement or a flooded finished basement — cheap insurance.
Common Mistakes Homeowners Make
Ignoring the sump basin for years — silt there is the earliest warning.
Assuming a dry basement means healthy drains; a half-blocked system copes until the one storm that matters.
Planting thirsty trees against the foundation, then wondering why roots return.
Piling soil or mulch above the foundation line, trapping moisture against the wall.
Feeding every downspout into the perimeter line with no leaf filters or cleanouts.
Relying on chemical root killers — a temporary assist at best, never a cure.
Skipping the post-cleaning camera video, so the next blockage starts diagnosis from zero.
Safety and When to Call a Professional
DIY inspection is low-risk with two cautions: treat sump water as potentially contaminated and wear gloves, and never handle the pump’s wiring with wet hands. Do not enter a deep pit; inspect from the surface.
Call a professional when the flow test is slow or dry, warning signs cluster, or you suspect iron ochre. Call a foundation specialist — not just a general plumber — for crushed sections, and a structural engineer for foundation movement such as stair-step cracks or bowing walls. Excavation near a foundation can undermine it, so never a DIY dig.
Final Thoughts
Foundation drainage fails quietly, which is why inspecting on a schedule beats reacting to a flood. A twice-yearly walk-around, a yearly hose flow test, and a camera survey every few years catch silt, roots, and iron ochre while they are still cheap problems. Your next step: pick a dry weekend, run the eight-step inspection above, and write down what you find.
Frequently Asked Questions
How do I know if my foundation drain is clogged without digging?
Look for the cluster: efflorescence on basement walls, water at the floor-to-wall joint, a sump pump running constantly or silent in heavy rain, and new pooling near the foundation. A garden-hose flow test at the basin or cleanout then tells you more — slow or absent flow strongly suggests a blockage, and a camera inspection confirms it with no digging.
Where is the cleanout for my foundation drain?
Check the sump pump basin first, then vertical capped pipes at foundation corners or along long runs, and any daylight outlet on a slope. If none exists, a contractor can work through the basin — consider having cleanouts installed at corners to make future service easier.
Can tree roots really get into a buried drain pipe?
Yes — they enter through the pipe’s own perforations and joints, drawn by constant moisture, then expand into mats that trap sediment. Willows, maples, and other thirsty species near the foundation are the usual culprits. Cutting clears the line, but only vegetation management lasts.
What is the orange slime in my sump basin?
Most likely iron ochre, from iron-oxidizing bacteria. It is rust-colored, smells metallic, coats pipe interiors, and reforms quickly. Jetting removes it, but affected homes need repeat maintenance every 18 to 36 months.
How much does a foundation drain camera inspection cost?
As an estimate, roughly $125–$500 with an accessible cleanout, and $500–$1,000+ for difficult access or a survey with sonde locate and written report. Get a local quote — either way, it is far cheaper than excavating a failed line.
Will hydro-jetting damage my old drain tile?
It can on brittle pipe. Older clay or concrete tile is more vulnerable than modern PVC, so reputable contractors camera first, then match pressure — commonly 1,500–3,000 psi for residential lines — and nozzle to the material. Ask what pressure they plan to use and why.
My basement is dry. Do I still need to inspect the drainage?
Yes, on a schedule. A partially blocked drain handles ordinary rain for years and fails only in an extreme storm — exactly when you need it most. Twice-yearly visual checks plus a camera survey every few years is inexpensive protection.