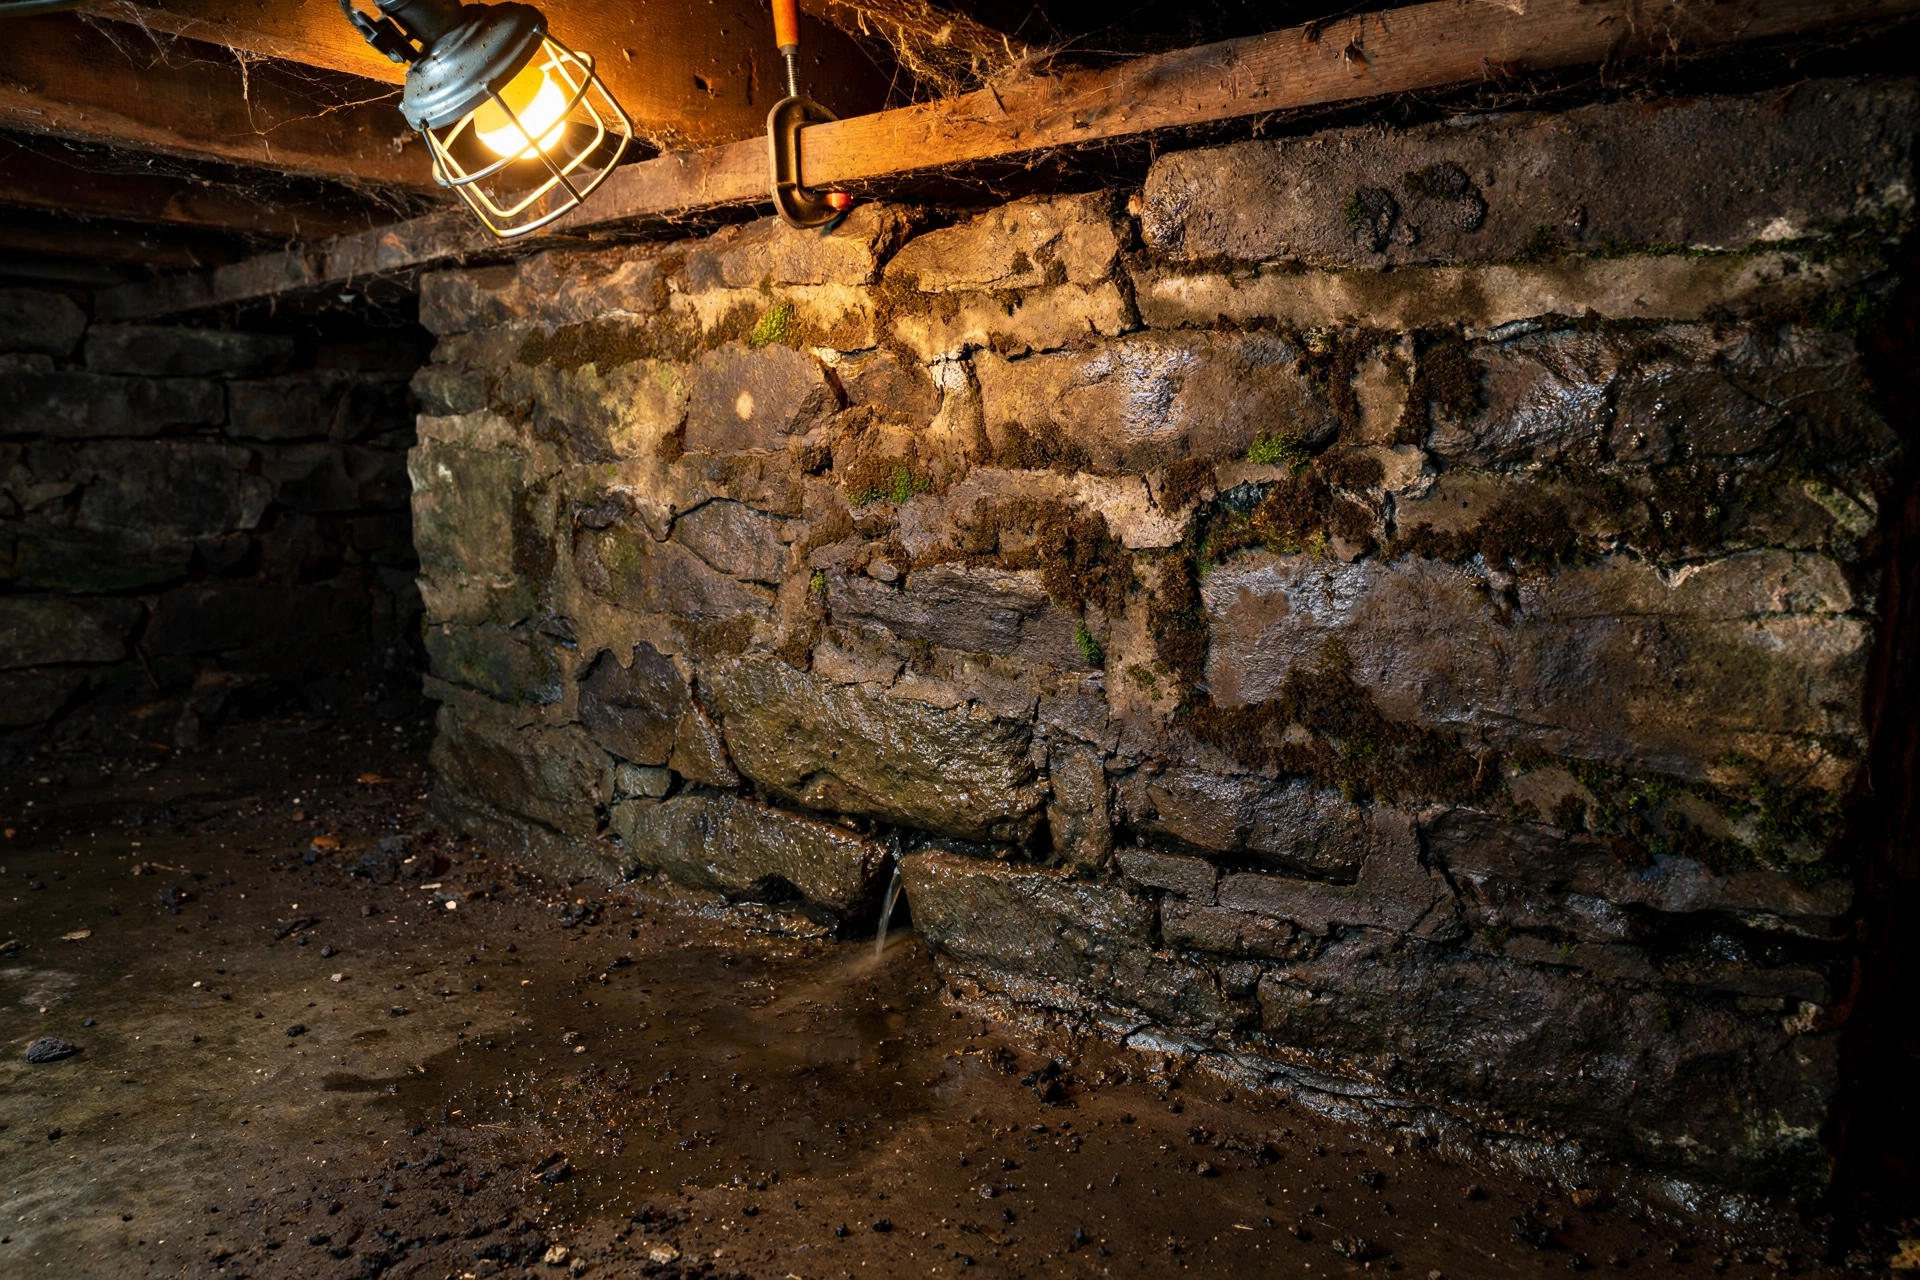
If your old stone basement keeps taking on water — during storms, or even when it has not rained at all — you are facing one of the most common problems of historic homes. Stone foundations were built to manage moisture, not to be watertight, and repeated intrusion usually means the water management around the house has failed, not the stones. Understanding how these walls work is the key to a traditional stone foundation repair that lasts.
The short answer: move surface water away first (grading, gutters, downspouts), then stabilize the masonry with breathable lime-mortar repointing, and finally control groundwater with drainage — an exterior footing drain where practical, or an interior drain tile and sump pump where it is not. Sealing the walls alone, especially with hard cement or waterproof paint, almost never stops repeated intrusion and often accelerates deterioration.
How Traditional Stone Foundations Handle Water — and Why They Leak
Pre-1915 homes commonly sit on fieldstone, rubble stone, or limestone foundations laid in soft lime-and-sand mortar — dense, water-resistant stones with porous mortar joints. In most stone foundations, water does not come through the stones. It comes through deteriorated mortar joints, the wall-to-floor joint, and sometimes straight up through the floor when hydrostatic pressure is high.
Built to breathe, not to be sealed
Old masonry walls manage moisture by absorbing small amounts of water and releasing it as vapor — they were built to breathe. A lime mortar joint is intentionally softer and more permeable than the stones, so moisture travels through the joint and evaporates. Treating a stone foundation like concrete is the most damaging mistake a homeowner can make: hard cement coatings or waterproof paint trap moisture inside the wall, salts accumulate behind them, and the stone faces spall and crumble.
How groundwater pressure finds its way in
Repeated intrusion is usually driven by three mechanisms. Surface water — roof runoff or pooling against the house — saturates the soil and seeps through mortar joints. Lateral groundwater pressure pushes against the buried wall in wet seasons. And hydrostatic pressure from below forces water up through the cove joint or floor cracks when the water table rises.
Diagnose the Source Before You Spend a Dollar
Most failed stone foundation repairs treated the symptom instead of the source. A quick diagnosis costs almost nothing.
Rule out surface water first
A large share of basement seepage in older homes comes from surface water, not a failed foundation. Check these in order:
- Gutters: Clean and inspect them — overflowing gutters dump roof runoff directly against the foundation.
- Downspouts: Every downspout should discharge at least six feet from the house; burying them in solid pipe to daylight is even better.
- Grading: Soil should slope away from the foundation for at least six feet — about an inch of drop per foot. Building that slope is often the single most effective first step.
- New runoff sources: A new driveway, patio, or road uphill can redirect runoff toward your house and start a leak that did not exist before.
If the basement stays dry after fixing gutters and grading, the problem was surface water all along. If water still appears — especially in dry weather or welling up through the floor — groundwater is involved and you need drainage.
Read the clues on the wall
The wall itself tells you where water comes from:
- Efflorescence location: Efflorescence high on the wall points to surface water from poor grading or downspouts; dampness at the wall-to-floor joint suggests hydrostatic pressure pushing groundwater upward.
- Soft mortar: Mortar you can scrape out with a screwdriver needs repointing, whatever else you do.
- Cove-joint seepage: Stains or mineral trails at the cove joint in wet periods indicate pressure-driven seepage from below.
- Structural warning signs: Bulging or loose stones, or stair-step cracks through mortar joints, can signal structural movement — get a professional assessment first.
Traditional Stone Foundation Repair Options Compared
There is no single correct fix. The right combination follows the diagnosis: surface water needs surface solutions, deteriorated masonry needs repointing, persistent groundwater needs drainage.
All figures are rough estimates that vary with region, access, and wall condition.
Repointing With Lime Mortar: Restoring the Masonry Itself
When mortar joints have washed out or crumbled to powder, repair starts with repointing — removing the failed mortar and packing in fresh material. On a stone foundation, the mortar choice is critical.
Why lime mortar, never hard Portland cement
Historic stone walls were designed to move slightly and pass moisture through the joints. A soft, lime-based mortar flexes with the wall, lets vapor escape, and weathers sacrificially instead of the stone. Portland cement is much harder and nearly impermeable: on old stone it forces moisture through the softer stones, cracking and spalling the faces. For pre-1930s foundations, a natural hydraulic lime (NHL) mortar or lime-putty mix is the standard recommendation.
Step-by-step repointing
Remove loose, crumbling mortar to at least one inch deep, or until sound material is reached, with a cold chisel, joint raker, or small grinder with a diamond blade. Wear respiratory protection — old mortar contains silica dust.
Brush out the joints, rinse, and saturate the stone and joints with water before applying new mortar. Dry stone sucks moisture from the mix and weakens the bond.
Mix one part lime to three parts washed, well-graded sand, to a stiff consistency. Do not add Portland cement to speed the set on historic stone.
Pack the mortar firmly into the joints in thin layers with a pointing trowel, filling every void. Work in sections small enough to tool before the mortar stiffens.
Keep fresh mortar damp and shaded for several days. Lime mortar cures slowly; drying out in sun or heat produces weak joints.
When repointing alone is not enough
Repointing restores the wall, but it does not lower a high water table. If water wells up through the floor, streams from the cove joint, or fresh repointing fails within a season or two, water pressure is the real problem. Repoint first, then add drainage.
Managing Groundwater: Drainage Solutions That Actually Work
You cannot seal groundwater out of a stone foundation, but you can intercept it and carry it away before it reaches the wall.
Exterior footing drain
A perforated pipe bedded in washed gravel at the base of the wall, wrapped in filter fabric and sloped to discharge by gravity or to a sump, collects lateral groundwater before it presses against the wall. Installing one means excavating around the perimeter down to the footing — disruptive, expensive, and sometimes risky on very old or unstable stone walls. Where the wall is sound and access is reasonable, it is the most complete fix.
Interior drain tile and sump pump
An interior drain tile is installed by breaking up the basement floor around its perimeter, laying perforated pipe in washed gravel alongside the footing, and sloping it to a sump pit. It intercepts water coming up under the floor and water running down the inside wall face, and a submersible pump discharges it well away from the house. Interior systems are less disruptive than excavation and directly relieve hydrostatic pressure from below — the one thing an exterior drain cannot do.
Sizing and protecting the sump system
The sump pit should be at least 24 inches deep and 24 inches in diameter so the pump can cycle properly. A power outage during a storm is the most common cause of failure, so a battery backup pump is a necessary safeguard. Discharge the line at least 10 feet from the foundation — ideally to daylight or a storm drain. Test the pump twice a year by pouring water into the pit.
Cost Considerations: What to Budget
Costs vary widely with region, access, and wall condition. Treat these as estimates only.
The cheapest repair that addresses the diagnosed cause beats the most expensive one aimed at the wrong target.
Common Mistakes That Make Intrusion Worse
- Wrong mortar: Repointing with hard Portland cement or dense coatings — traps moisture and spalls the stone.
- Interior-only sealing: Relying on interior waterproof paint alone — blisters under pressure and hides the moisture path.
- Covering the walls: Framing drywall tight against stone walls — blocks airflow, hides leaks, grows mold behind panels.
- Planting too close: Planting trees or deep-rooted shrubs by the foundation — roots work into joints and disrupt drainage.
- Short discharge lines: Discharging the sump pump beside the house — recycles the same water against the foundation.
- Treating symptoms first: Starting with the most expensive option before diagnosing — excavation first, questions later.
Safety and When to Call a Professional
Grading, gutter work, downspout extensions, and monitoring are solid DIY territory. Repointing is skilled, dusty labor — a competent DIYer can learn it for small areas, but large areas or deep joints belong to an experienced mason, and anyone grinding old mortar must wear a respirator rated for silica dust.
Call a structural engineer or foundation contractor for bulging or leaning walls, stair-step cracks through the mortar, stones shifting out of plane, sagging floors above, or water entering in volumes that suggest a spring or broken drain. Excavation around an old stone foundation is never DIY: removing the soil that braces the wall can cause collapse in long, unsupported sections. In historic districts, check local requirements first.
Final Thoughts
Repeated groundwater intrusion in a stone foundation is almost never solved by a single product. The durable fix is a sequence: diagnose whether the water is surface runoff or true groundwater, correct the surface water first, restore the masonry with breathable lime mortar, then control what remains with drainage — interior drain tile and sump pump for pressure from below, an exterior footing drain where the site allows it. Done in that order, a hundred-year-old stone foundation can serve for a hundred more.
Your next step: walk the house in the next heavy rain and watch the gutters, downspouts, and where the ground sheds water. Note what you see before calling anyone — it may reveal that the biggest part of your problem costs less than a weekend of yard work to fix.
Frequently Asked Questions
Can an old stone foundation be made completely waterproof?
No — and it should not be. Fully sealing a stone foundation traps moisture inside the wall, accelerating mortar decay and stone spalling. Aim for a dry, well-drained basement through grading, drainage, and compatible masonry repairs instead.
Is water in a stone basement normal?
Some dampness is common in historic stone basements, especially in wet seasons. Occasional damp spots that dry between rains are typical. Standing water, streams across the floor, or water in dry weather is not normal and signals a drainage problem.
What is the biggest mistake homeowners make with stone foundations?
Using modern Portland cement mortar — or dense cement coatings — on walls built with lime mortar. The hard material traps moisture and forces it through the softer stones, cracking the faces. It looks good briefly, then damages the wall faster than doing nothing.
Should I waterproof from the inside or the outside?
It depends on the source. Exterior excavation stops lateral water at the source but is disruptive, costly, and cannot relieve upward hydrostatic pressure. An interior drain tile and sump pump handles pressure from below with less disruption. Lasting solutions often combine repointing, exterior surface-water control, and interior drainage.
How long does stone foundation repointing last?
Properly done lime-mortar repointing can last 30 to 50 years or more, but only if bulk water is kept away — saturated repointing fails much sooner.
Do I need a sump pump if I fix the grading?
Not always. If the basement stays dry through a full wet season after grading and downspout work, a pump may be unnecessary. But water welling up through the floor or cove joint — the signature of hydrostatic pressure — needs drainage and a pump regardless.
Can I repoint a stone foundation myself?
Small areas of deteriorated joints are a reasonable DIY project with lime mortar, safety gear, and correct technique. Large-scale repointing, deep joints, or structural concerns belong to an experienced mason. Never use hard Portland cement on historic stone.